Creating your first flow
Let’s build a flow that’ll actually make a difference for your business. We’re going to create a complete customer engagement flow that welcomes new users, tracks their progress, and helps keep them around.
This isn’t just theory - by the end of this guide, you’ll have a working flow that handles onboarding, monitors usage, and automatically intervenes when customers need help. Pretty cool, right?
Start your flow
We’re going to start simple - welcome new customers and track their journey. Here’s what we’ll build:
- Welcome email when someone installs your app
- Tag them as a new customer
- Update a custom field to track their status
What you’ll need before we start:
- Mantle Email set up for sending messages
- A way to import customer email addresses
- A custom field created (we’ll call ours “Customer Status”)
Ready? Let’s build this thing.
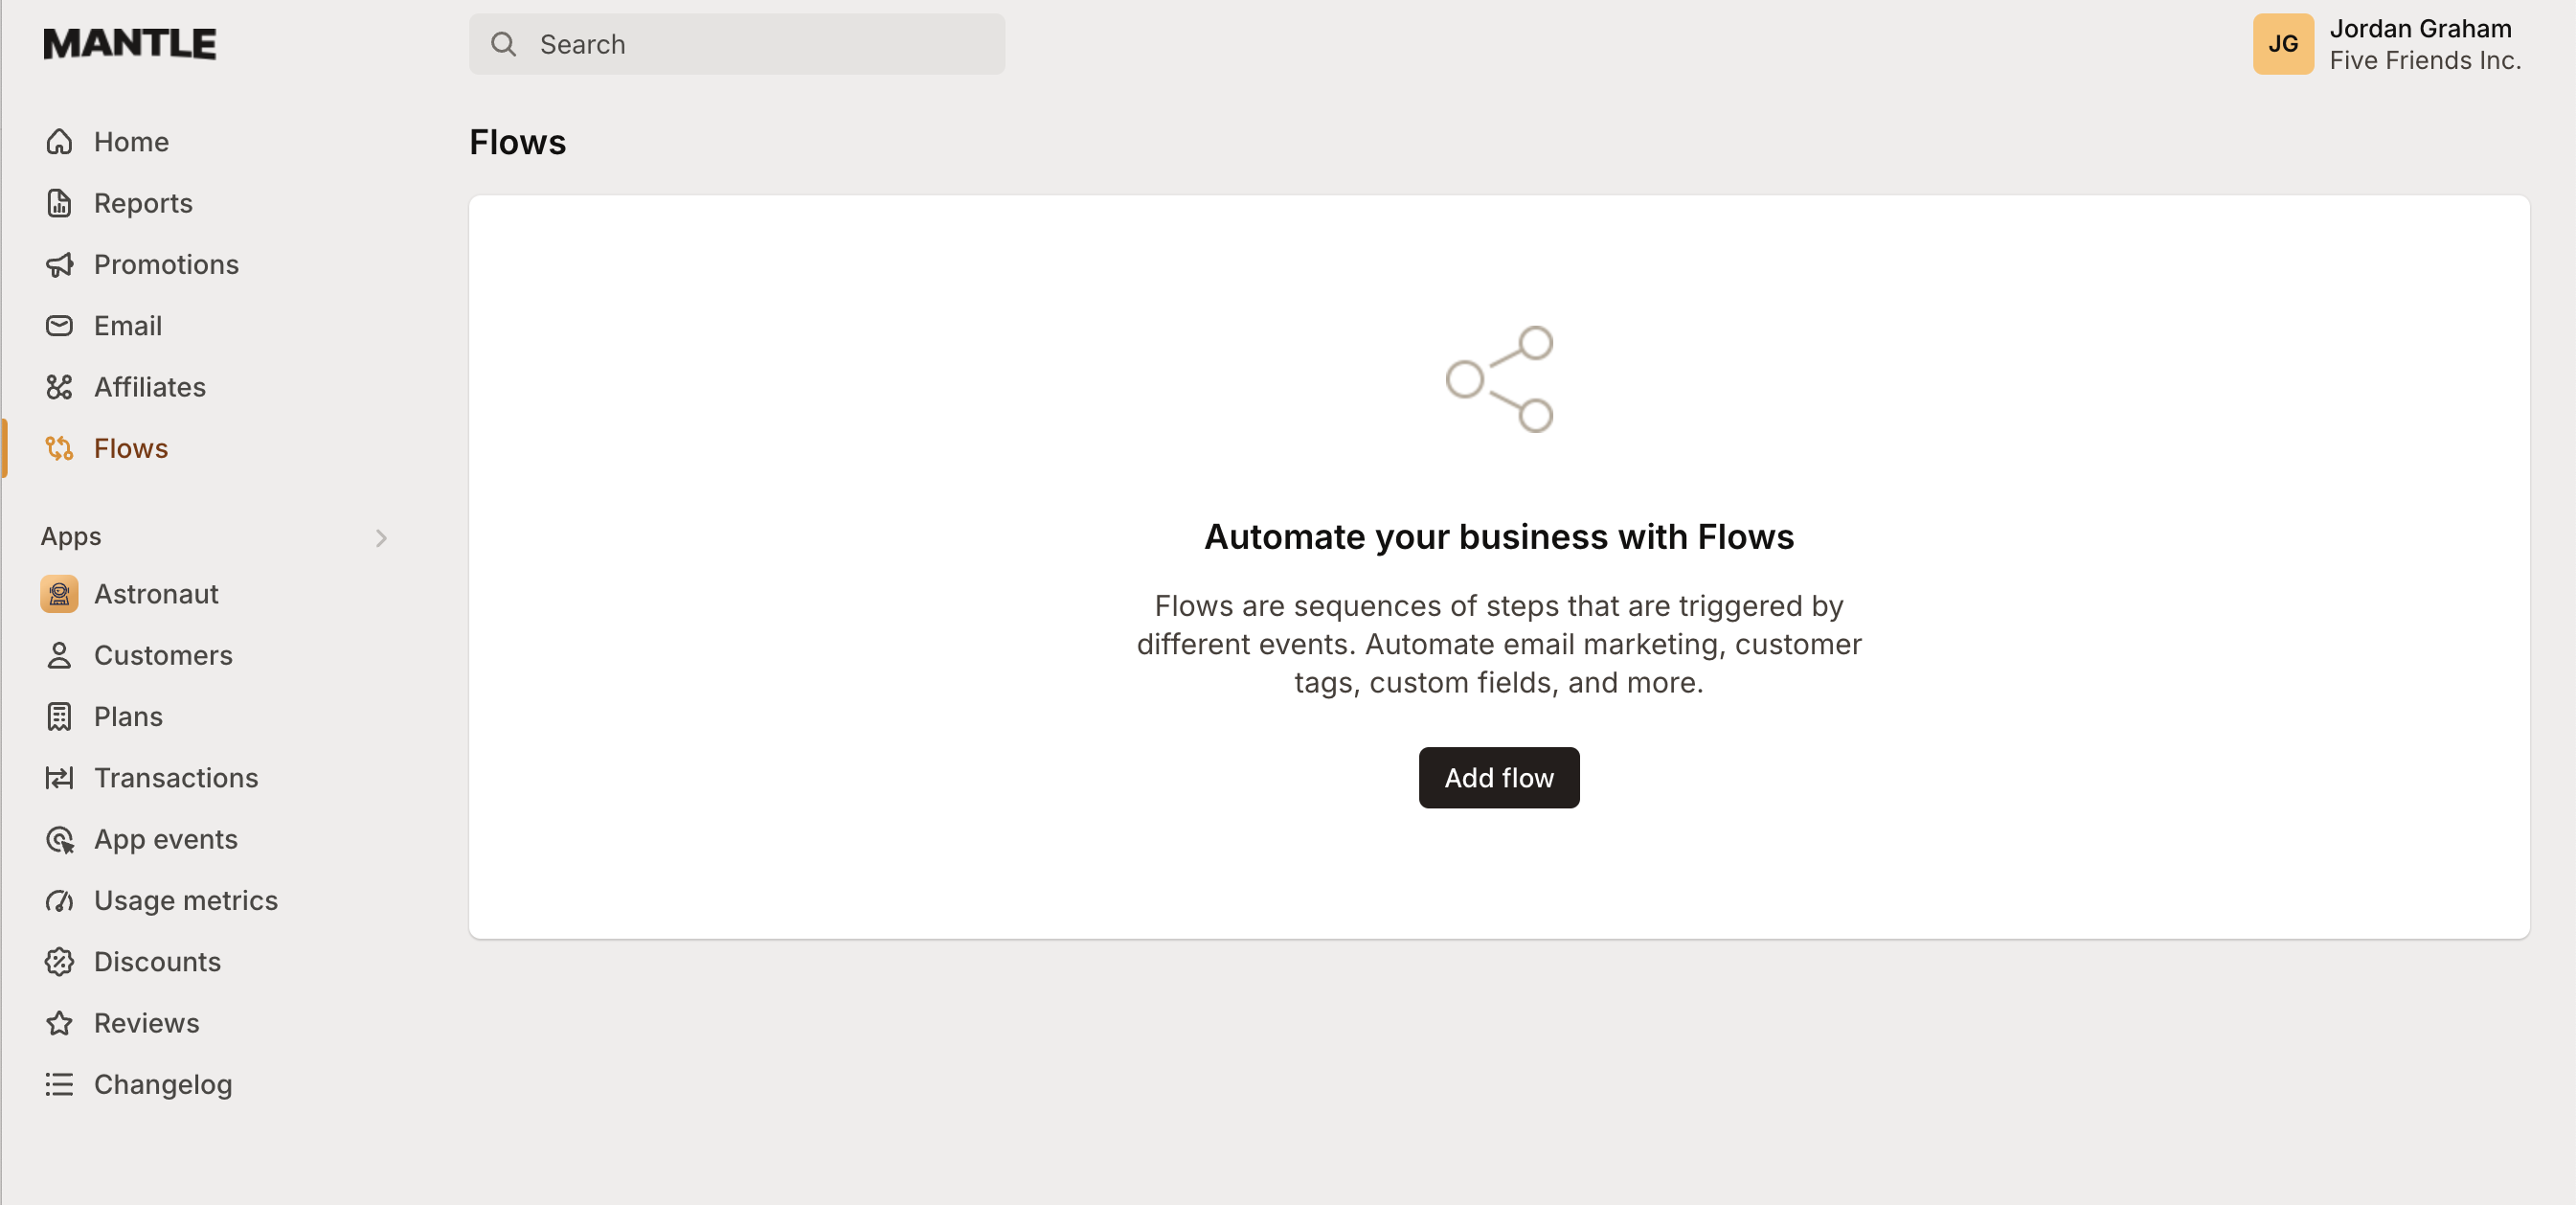
Head to Flows in the left sidebar and click Add flow:
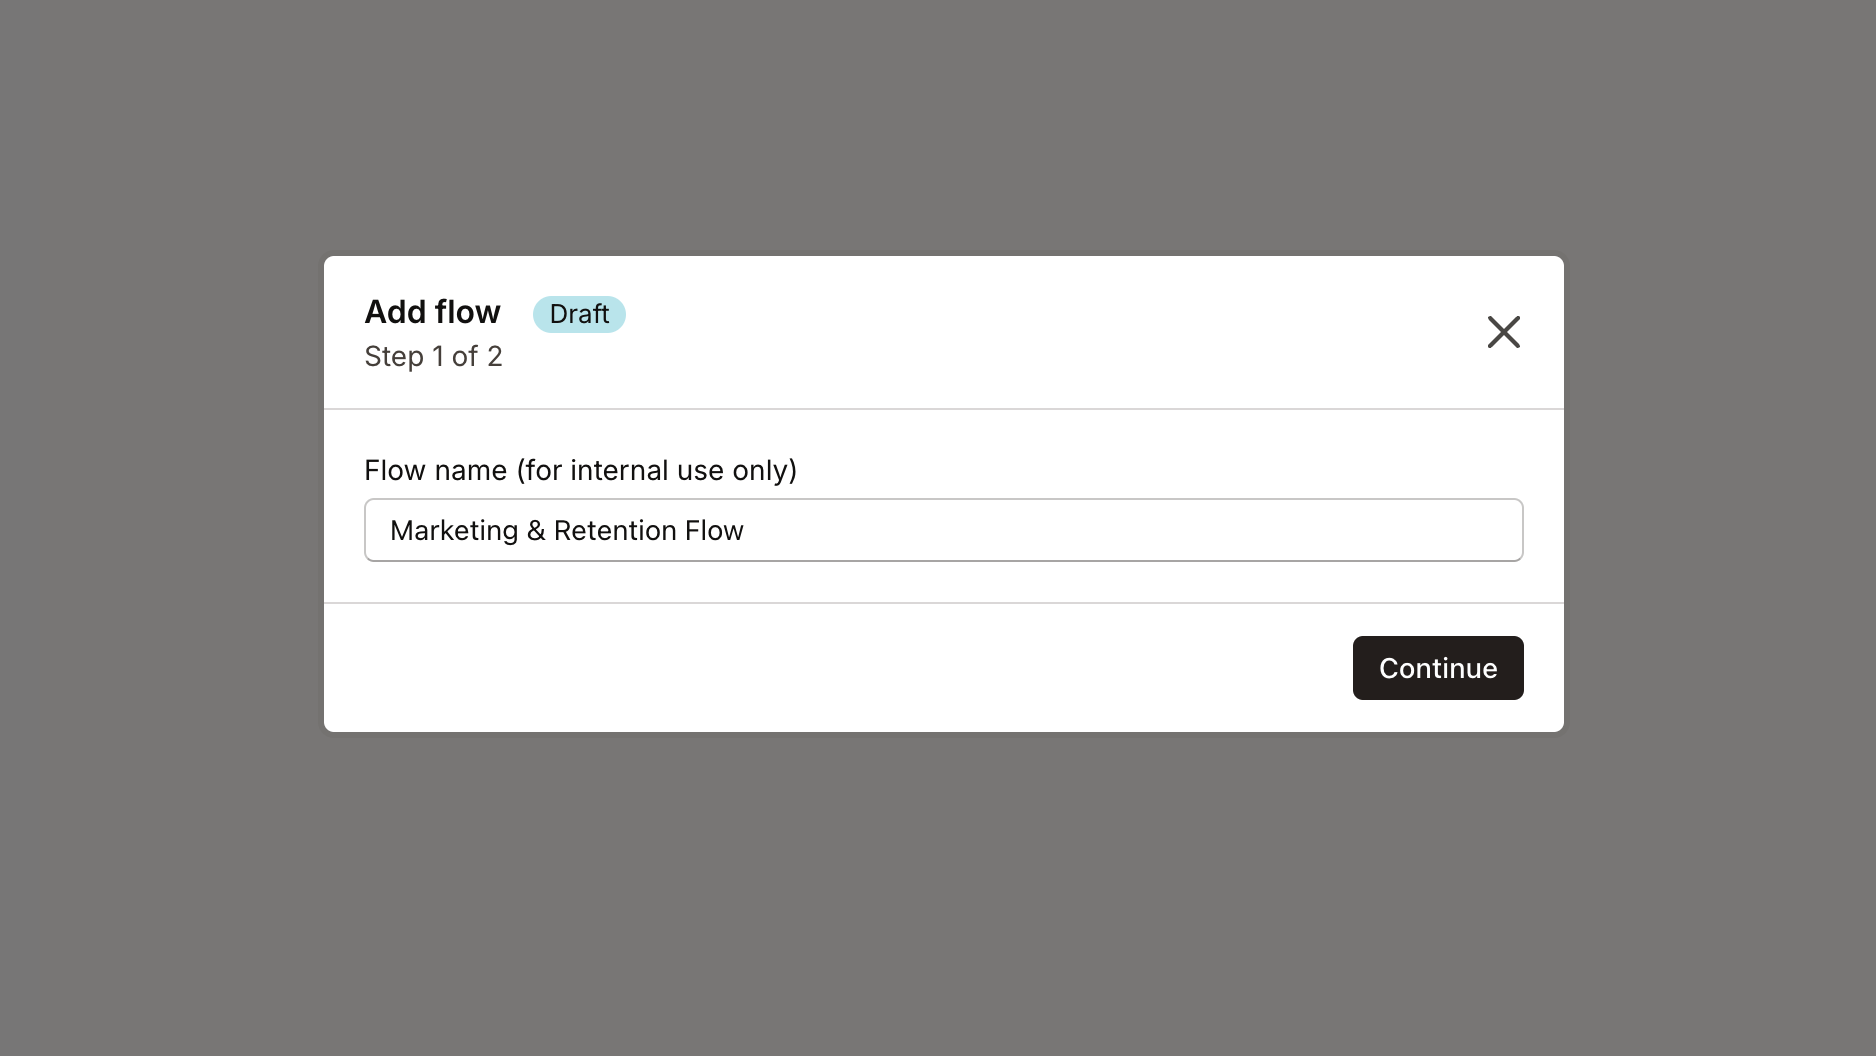
Give your flow a name - something like “New Customer Welcome Flow” works great:
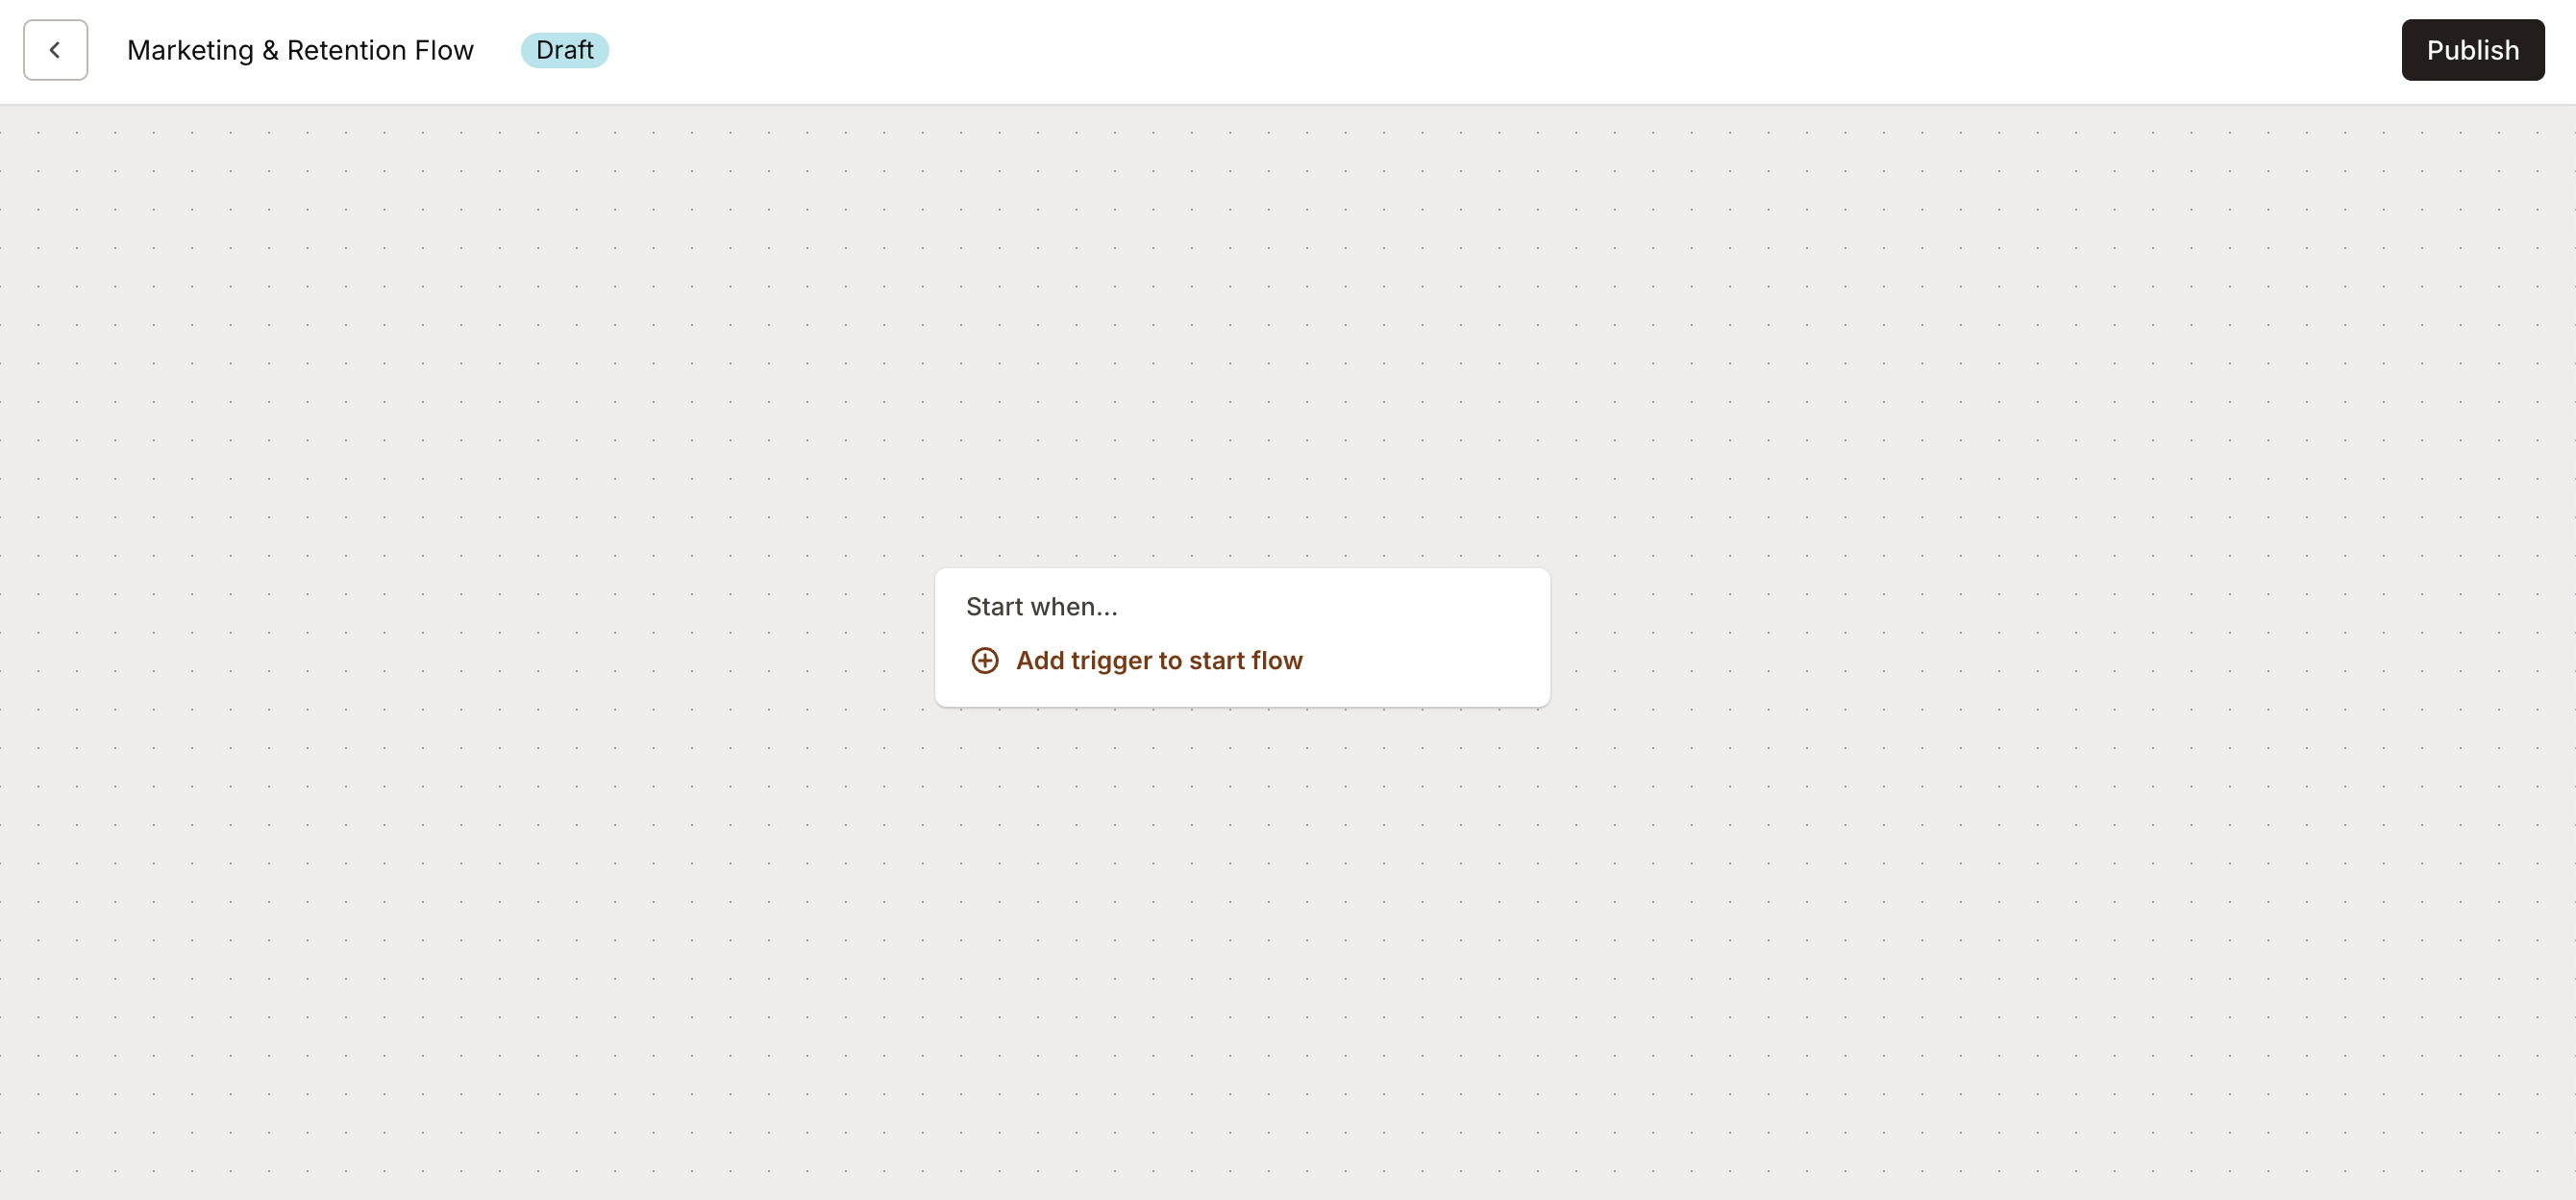
Now you’re in the flow editor! This is where the magic happens. You’ll build your flow visually, test it, then publish it when you’re happy.
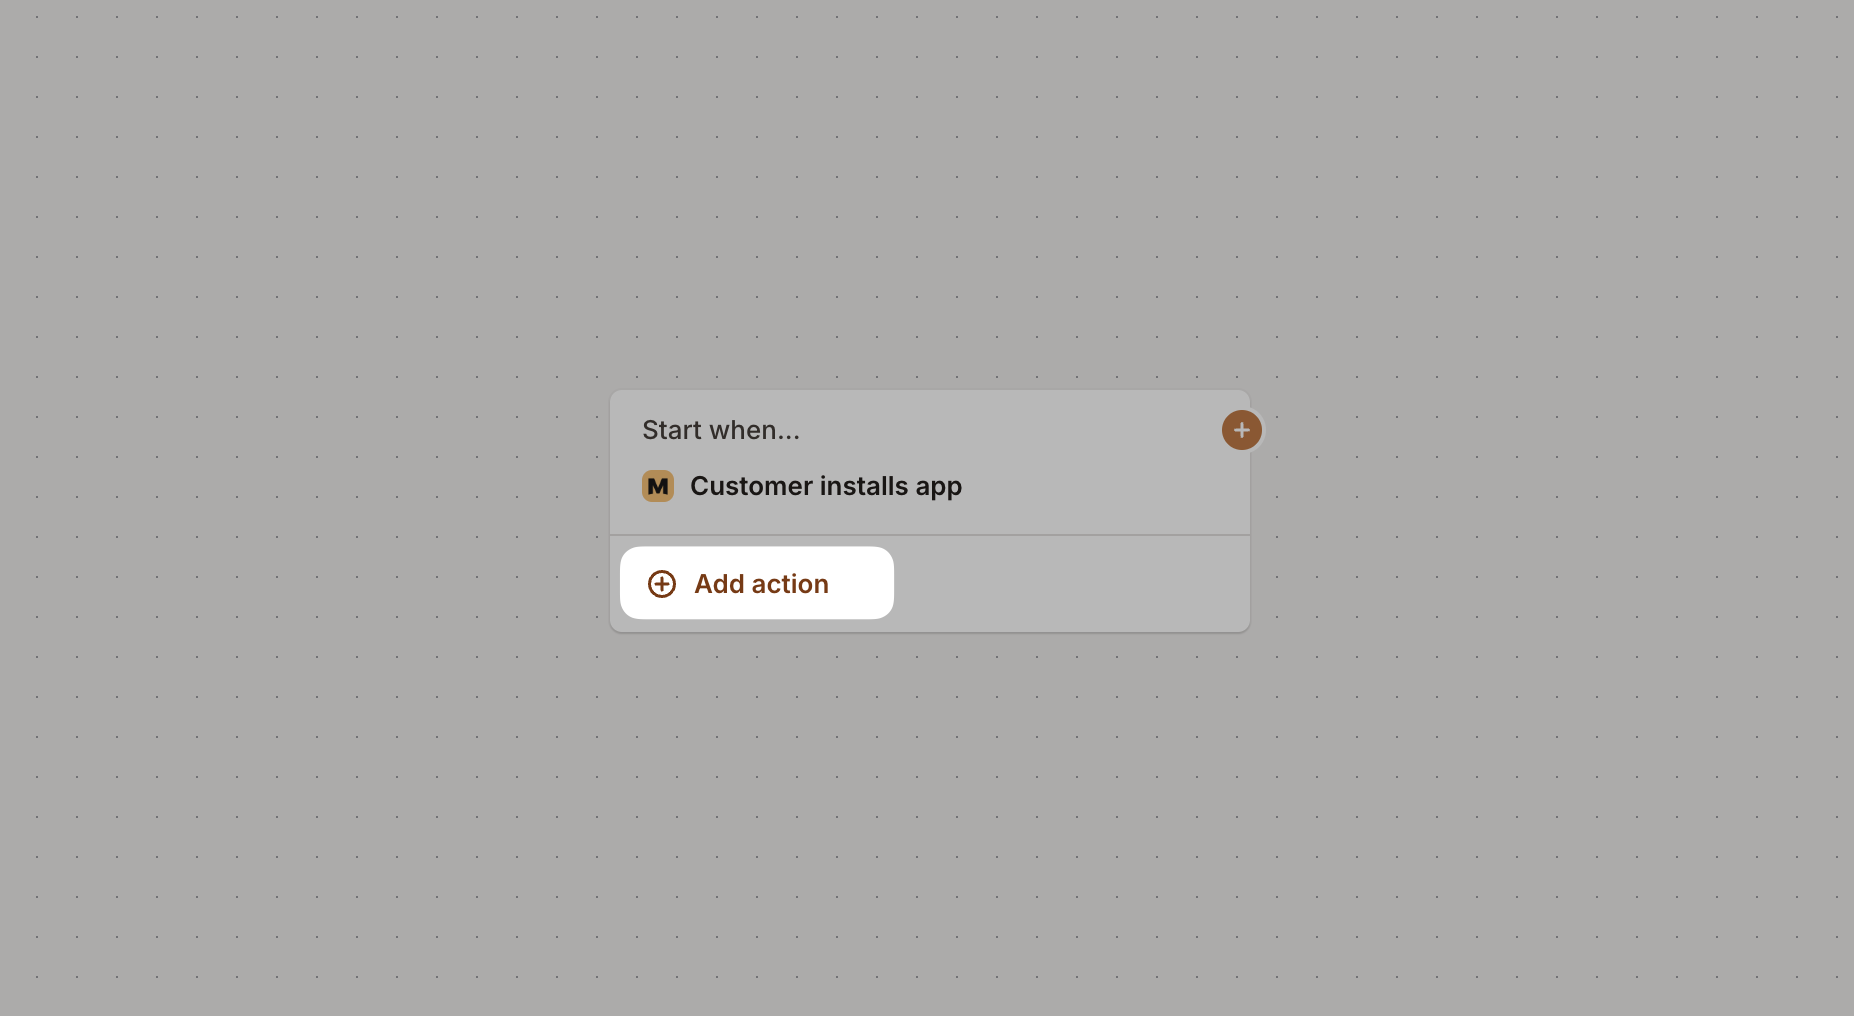
Let’s set up our first trigger. Since we want to welcome new customers, we’ll trigger when someone installs your app. Click Add trigger to start flow:
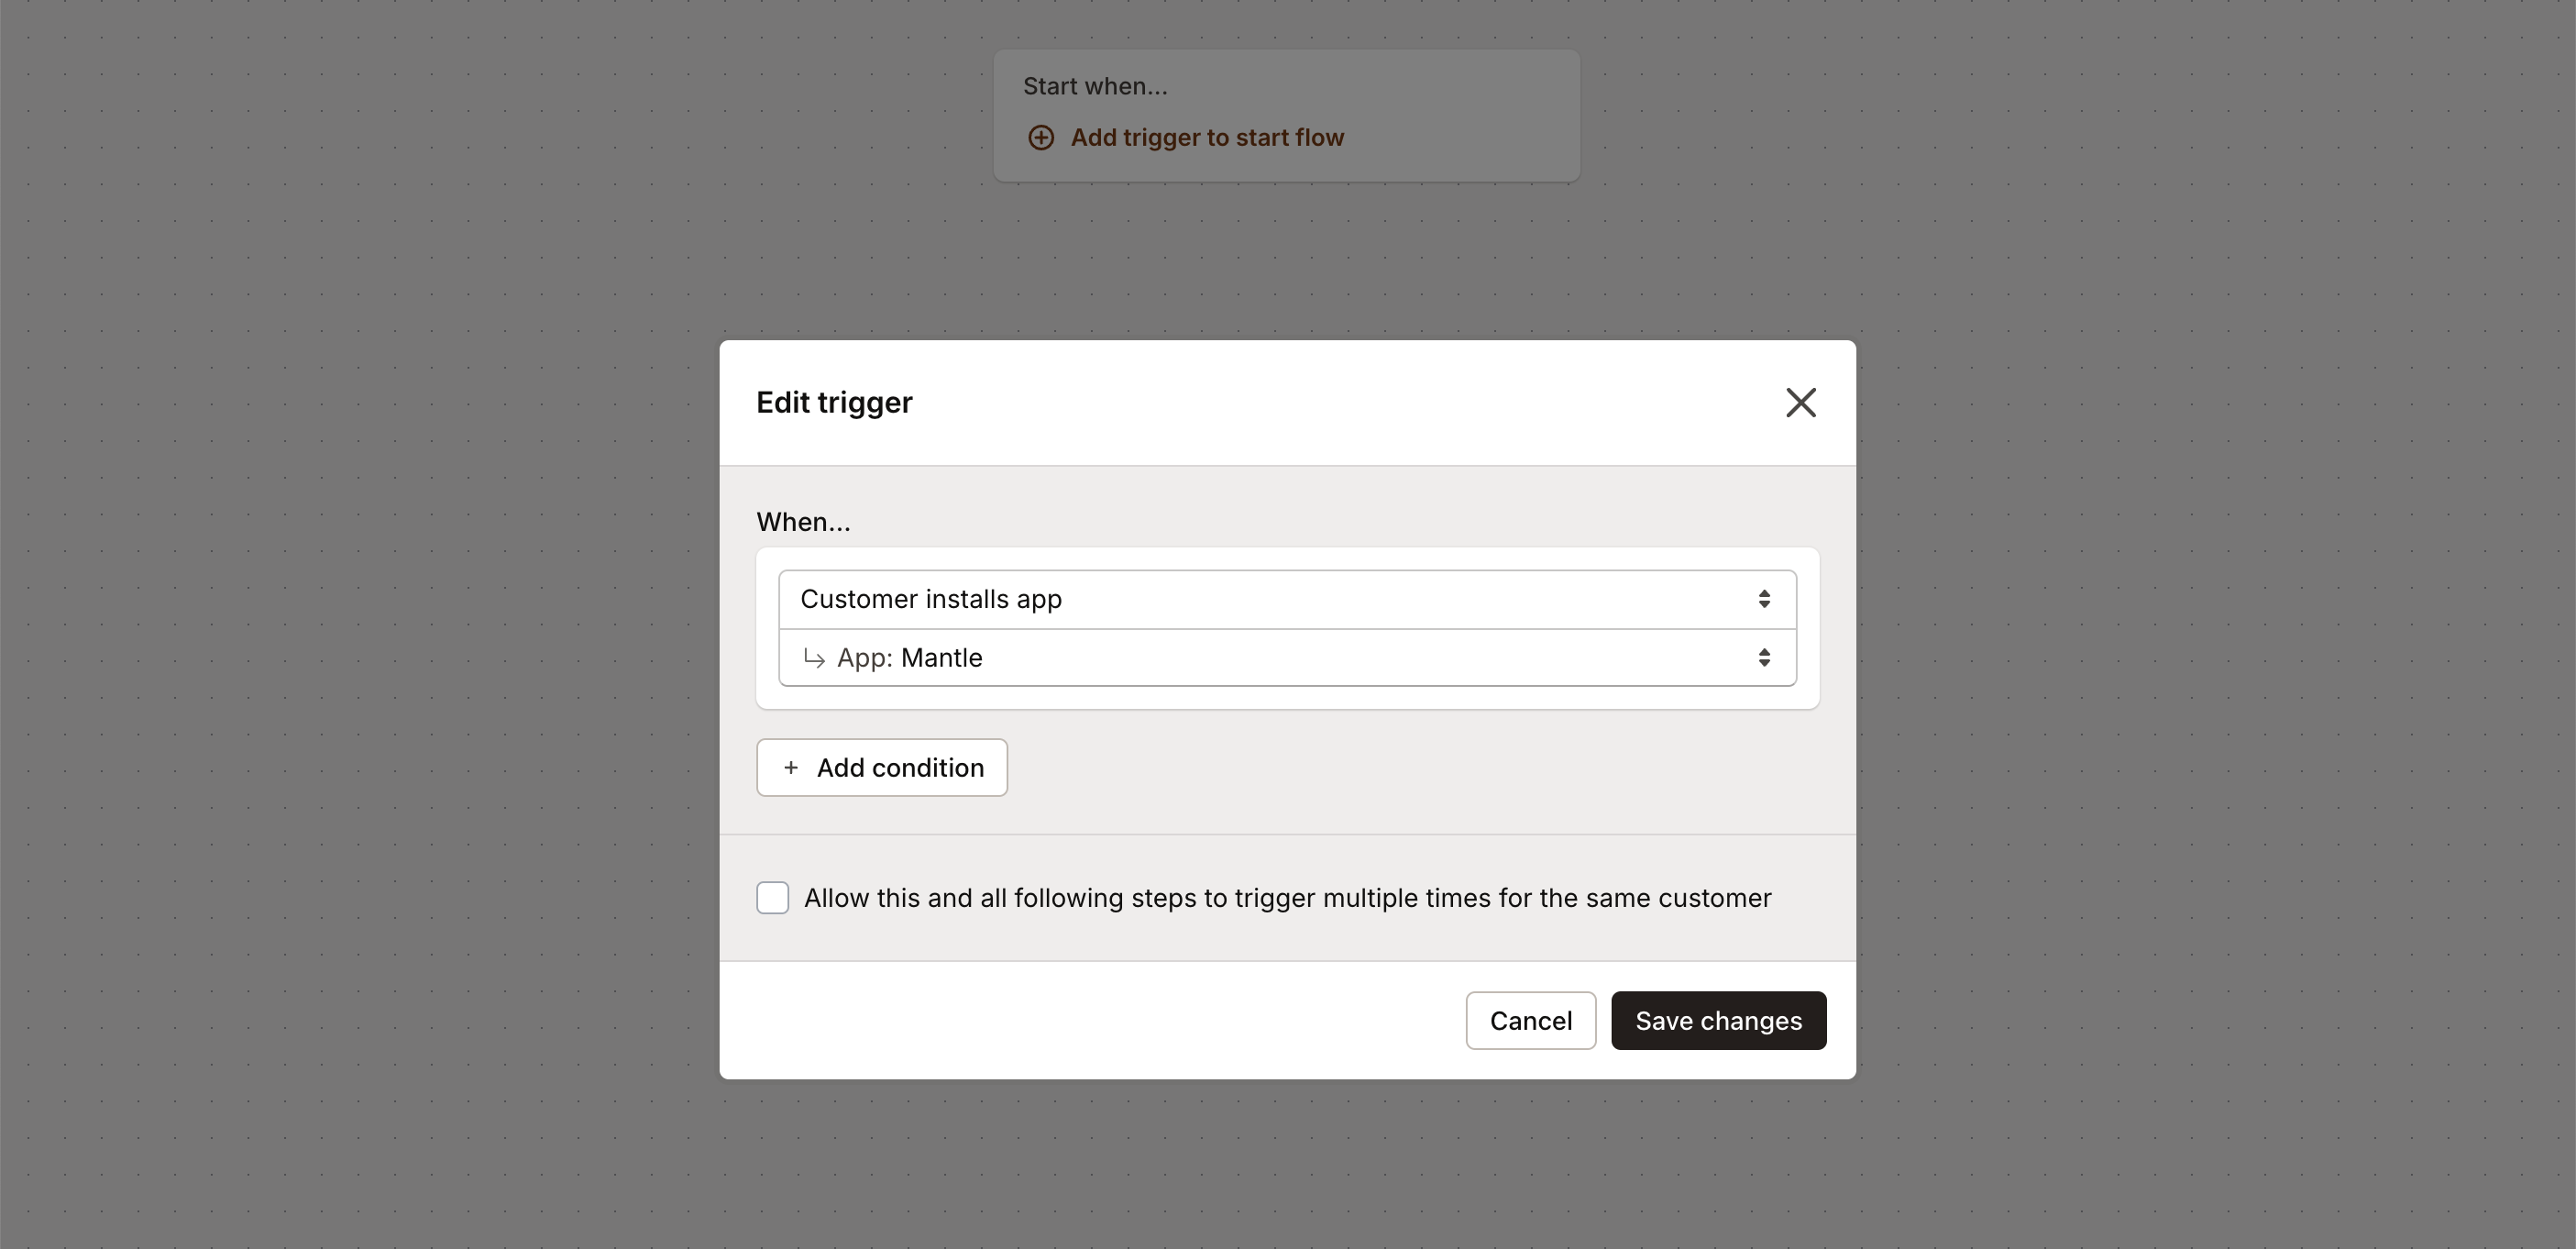
Pick your app and select Customer installs app:
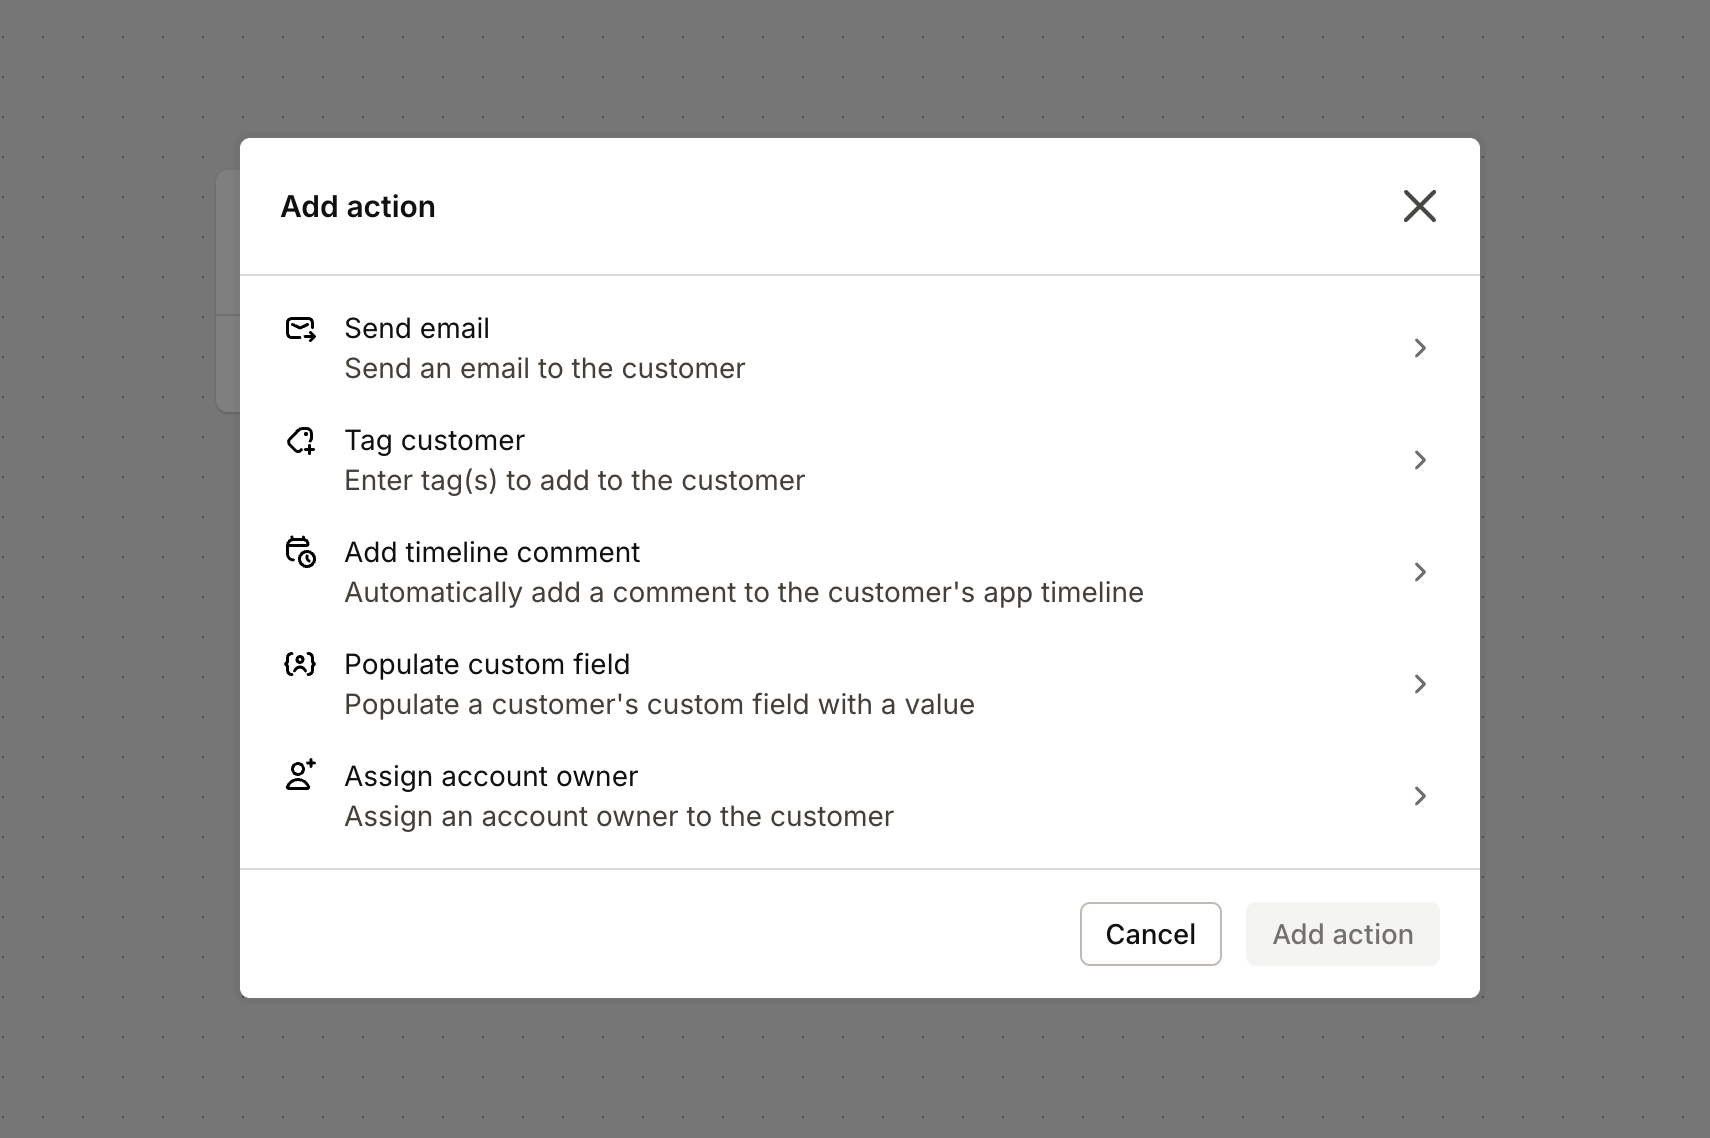
Perfect! Now we need to decide what happens when someone installs your app. We’re going to send them a friendly welcome email with some helpful getting-started tips:
From the action list, choose Send email:
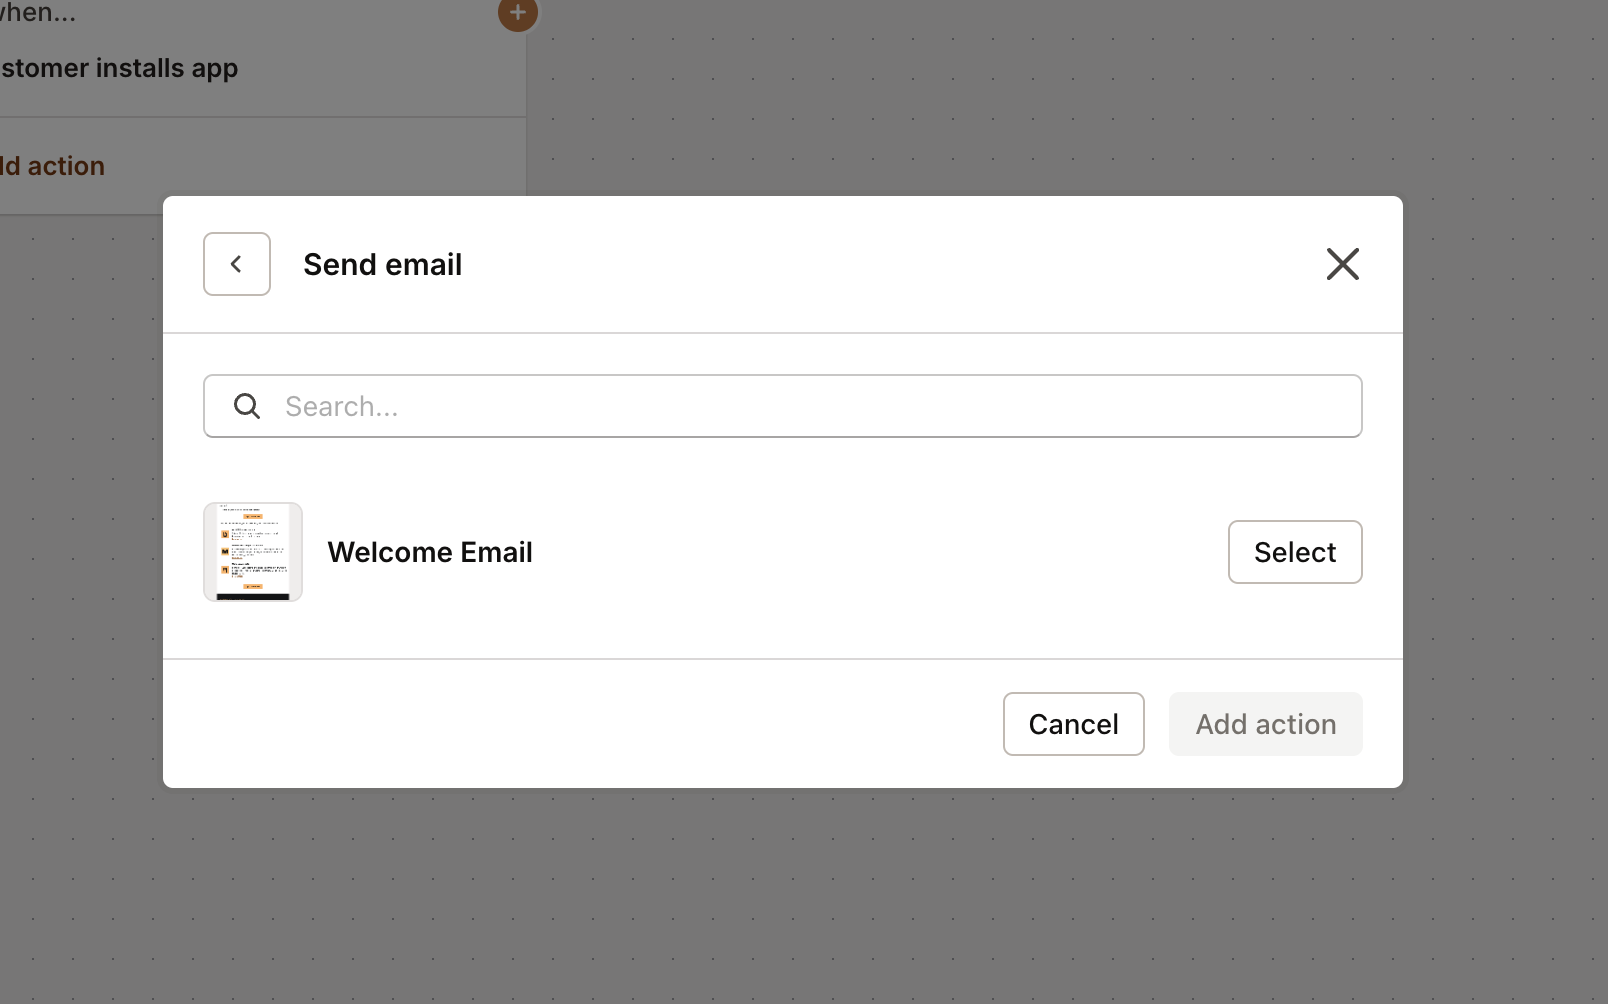
Then pick which email to send (you’ll need to have created this in Mantle Email first):
Nice! Now let’s add another action to track this customer’s status. Click the plus button again and this time select Populate custom field. Set the custom field to “Customer Status” and the value to “New user”.
Take a look at what you’ve built:
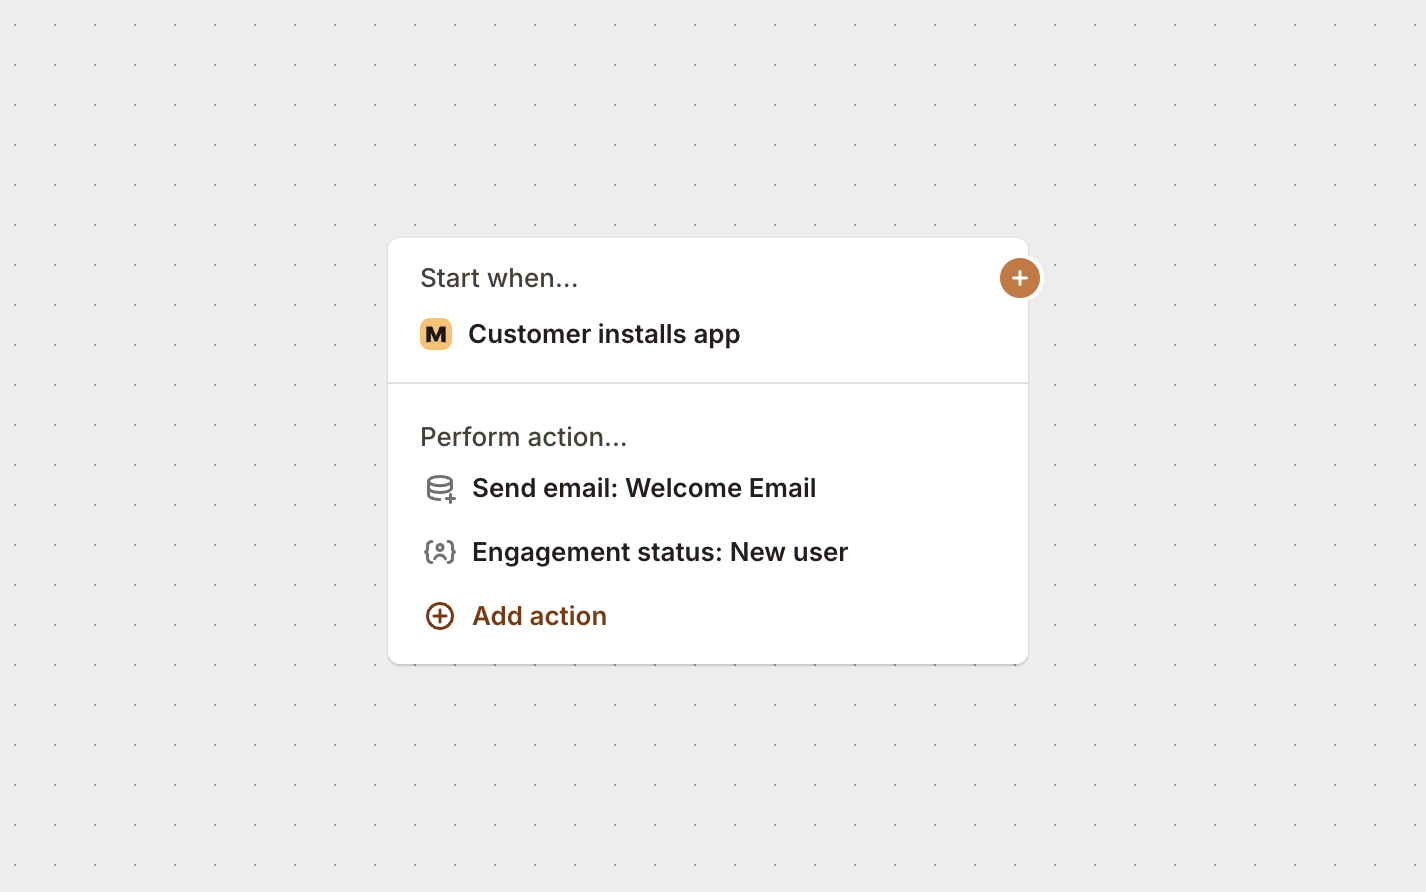
Not bad! Now every time someone installs your app, they’ll automatically get your welcome email and be tagged as a new user. Your flow is already working for you.
Enhance your flow
Let’s make this flow even better by handling different customer scenarios. We’ll add:
- A branch for customers who uninstall
- Time-based follow-ups
- Usage-based conditions
You’ll need: Usage events set up to track customer behavior
Here’s the reality - some people will install your app and then uninstall it. Instead of just letting them go, let’s create a flow that tries to win them back.
Let’s add a branch for uninstalls:
Click the plus sign on your original trigger and add Customer uninstalls app:
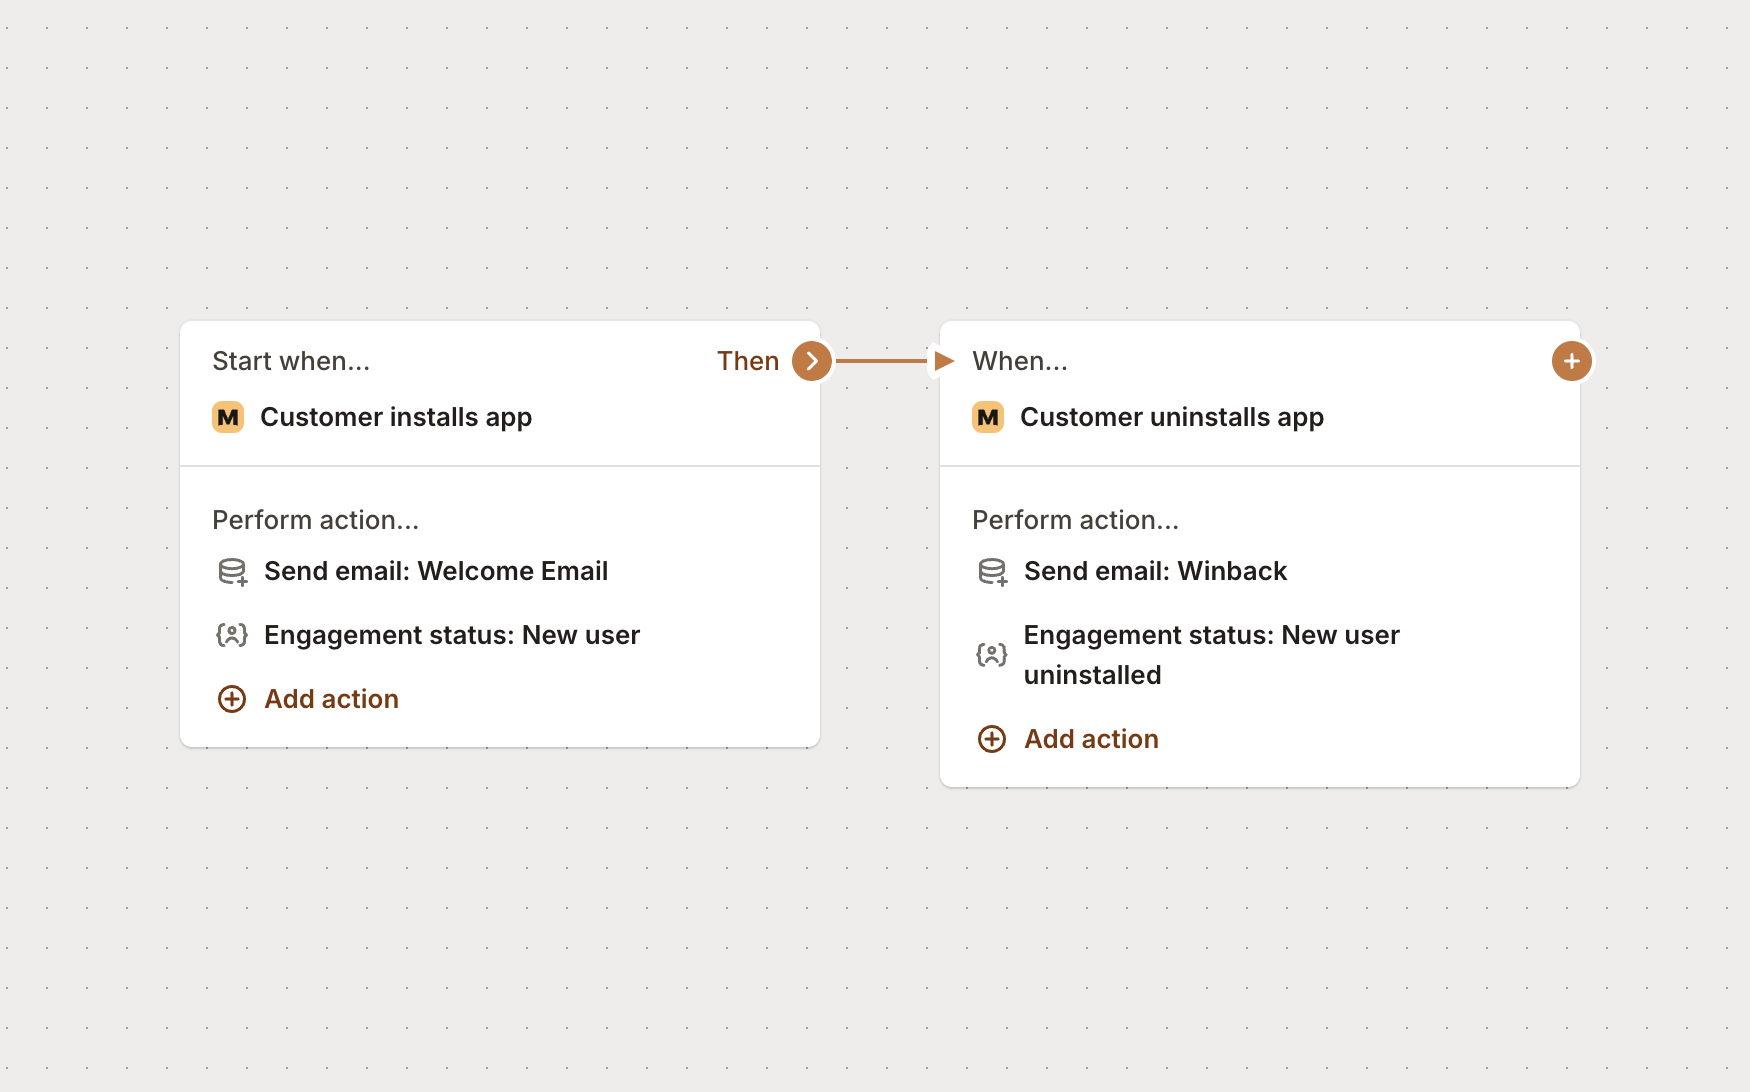
Now here’s where it gets smart. Instead of immediately sending a “please come back” email (which feels pushy), let’s wait a week and see if they’re still gone. If they are, then we’ll reach out.
Here’s the plan:
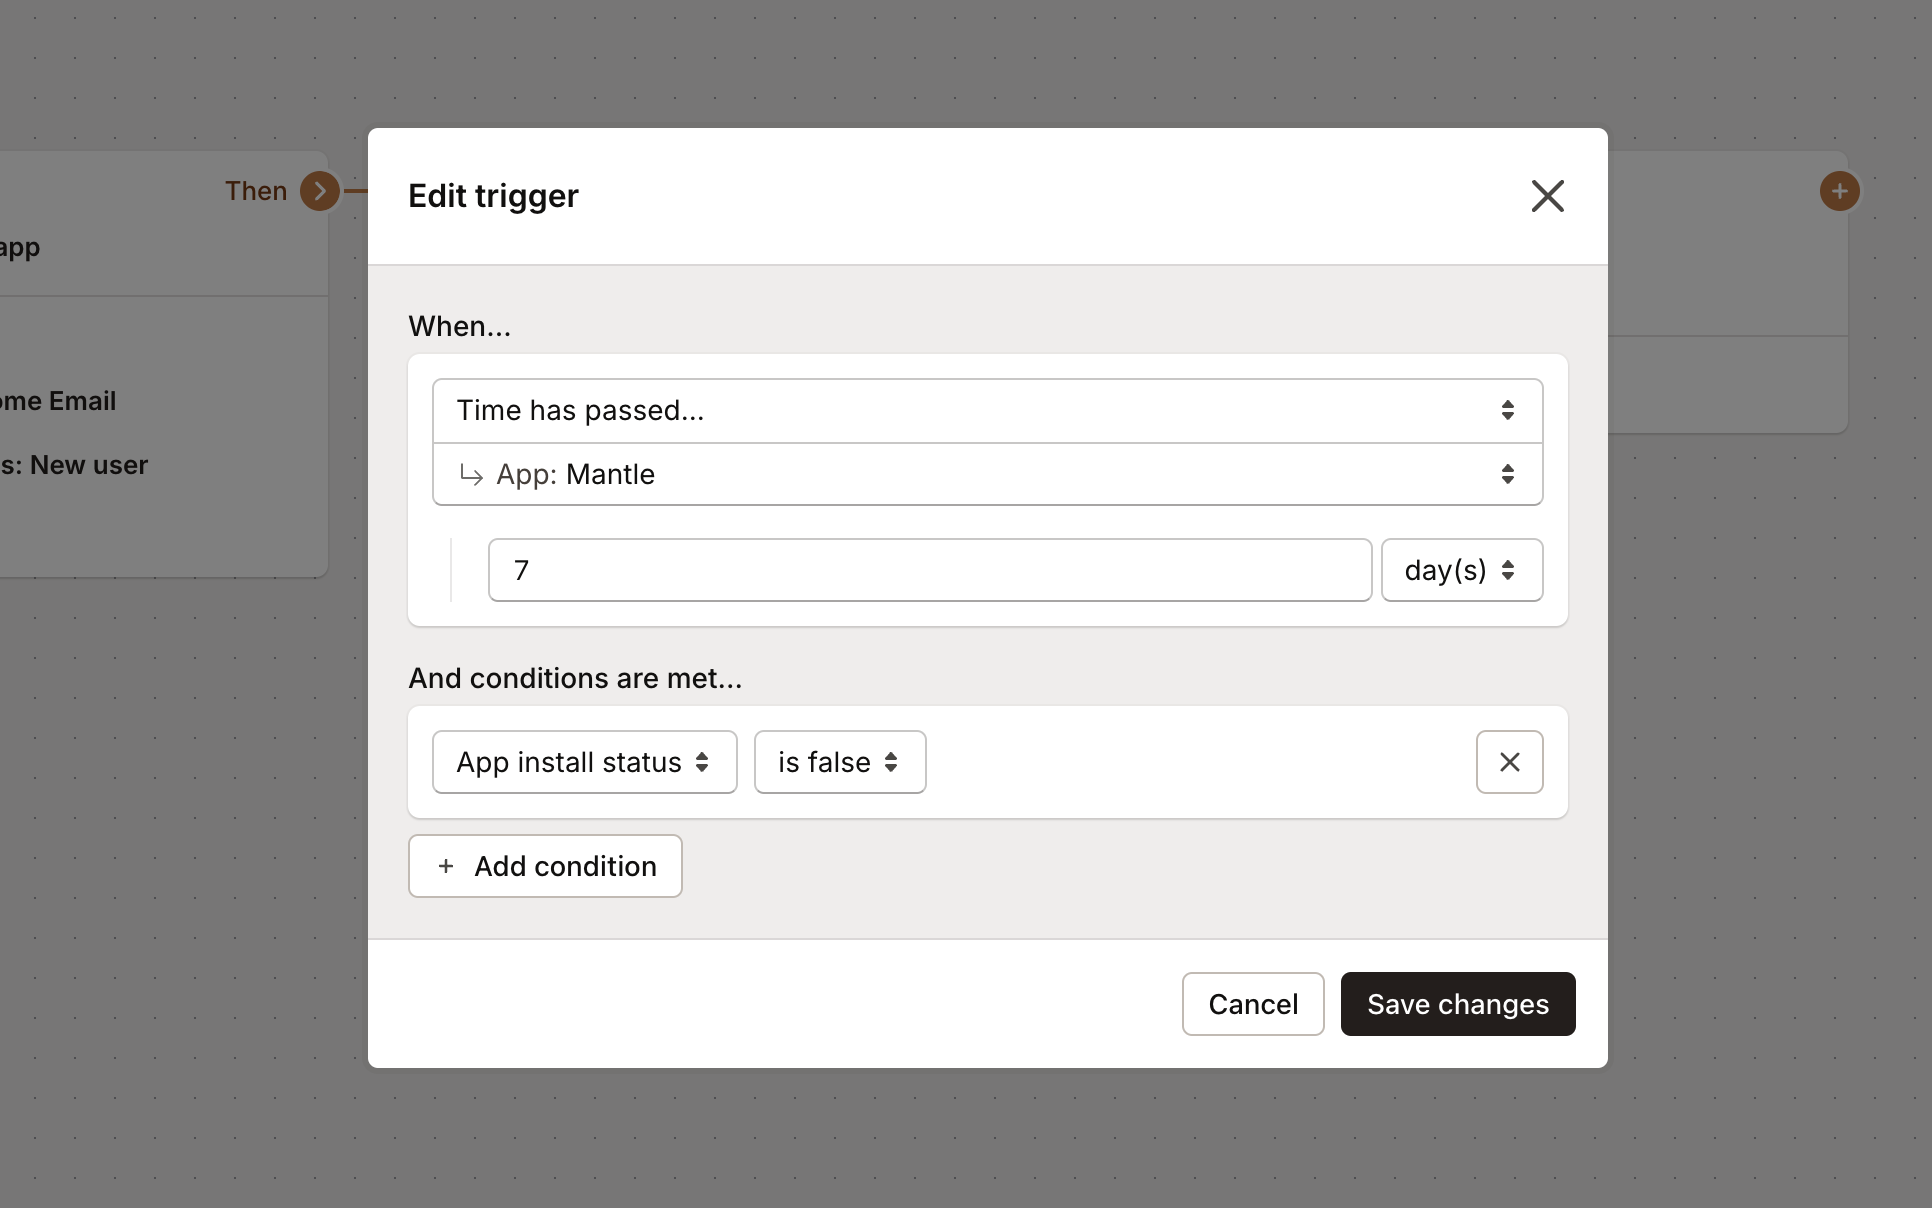
- Wait 7 days after they uninstall
- Check if the app is still uninstalled
- If yes, send a thoughtful re-engagement email
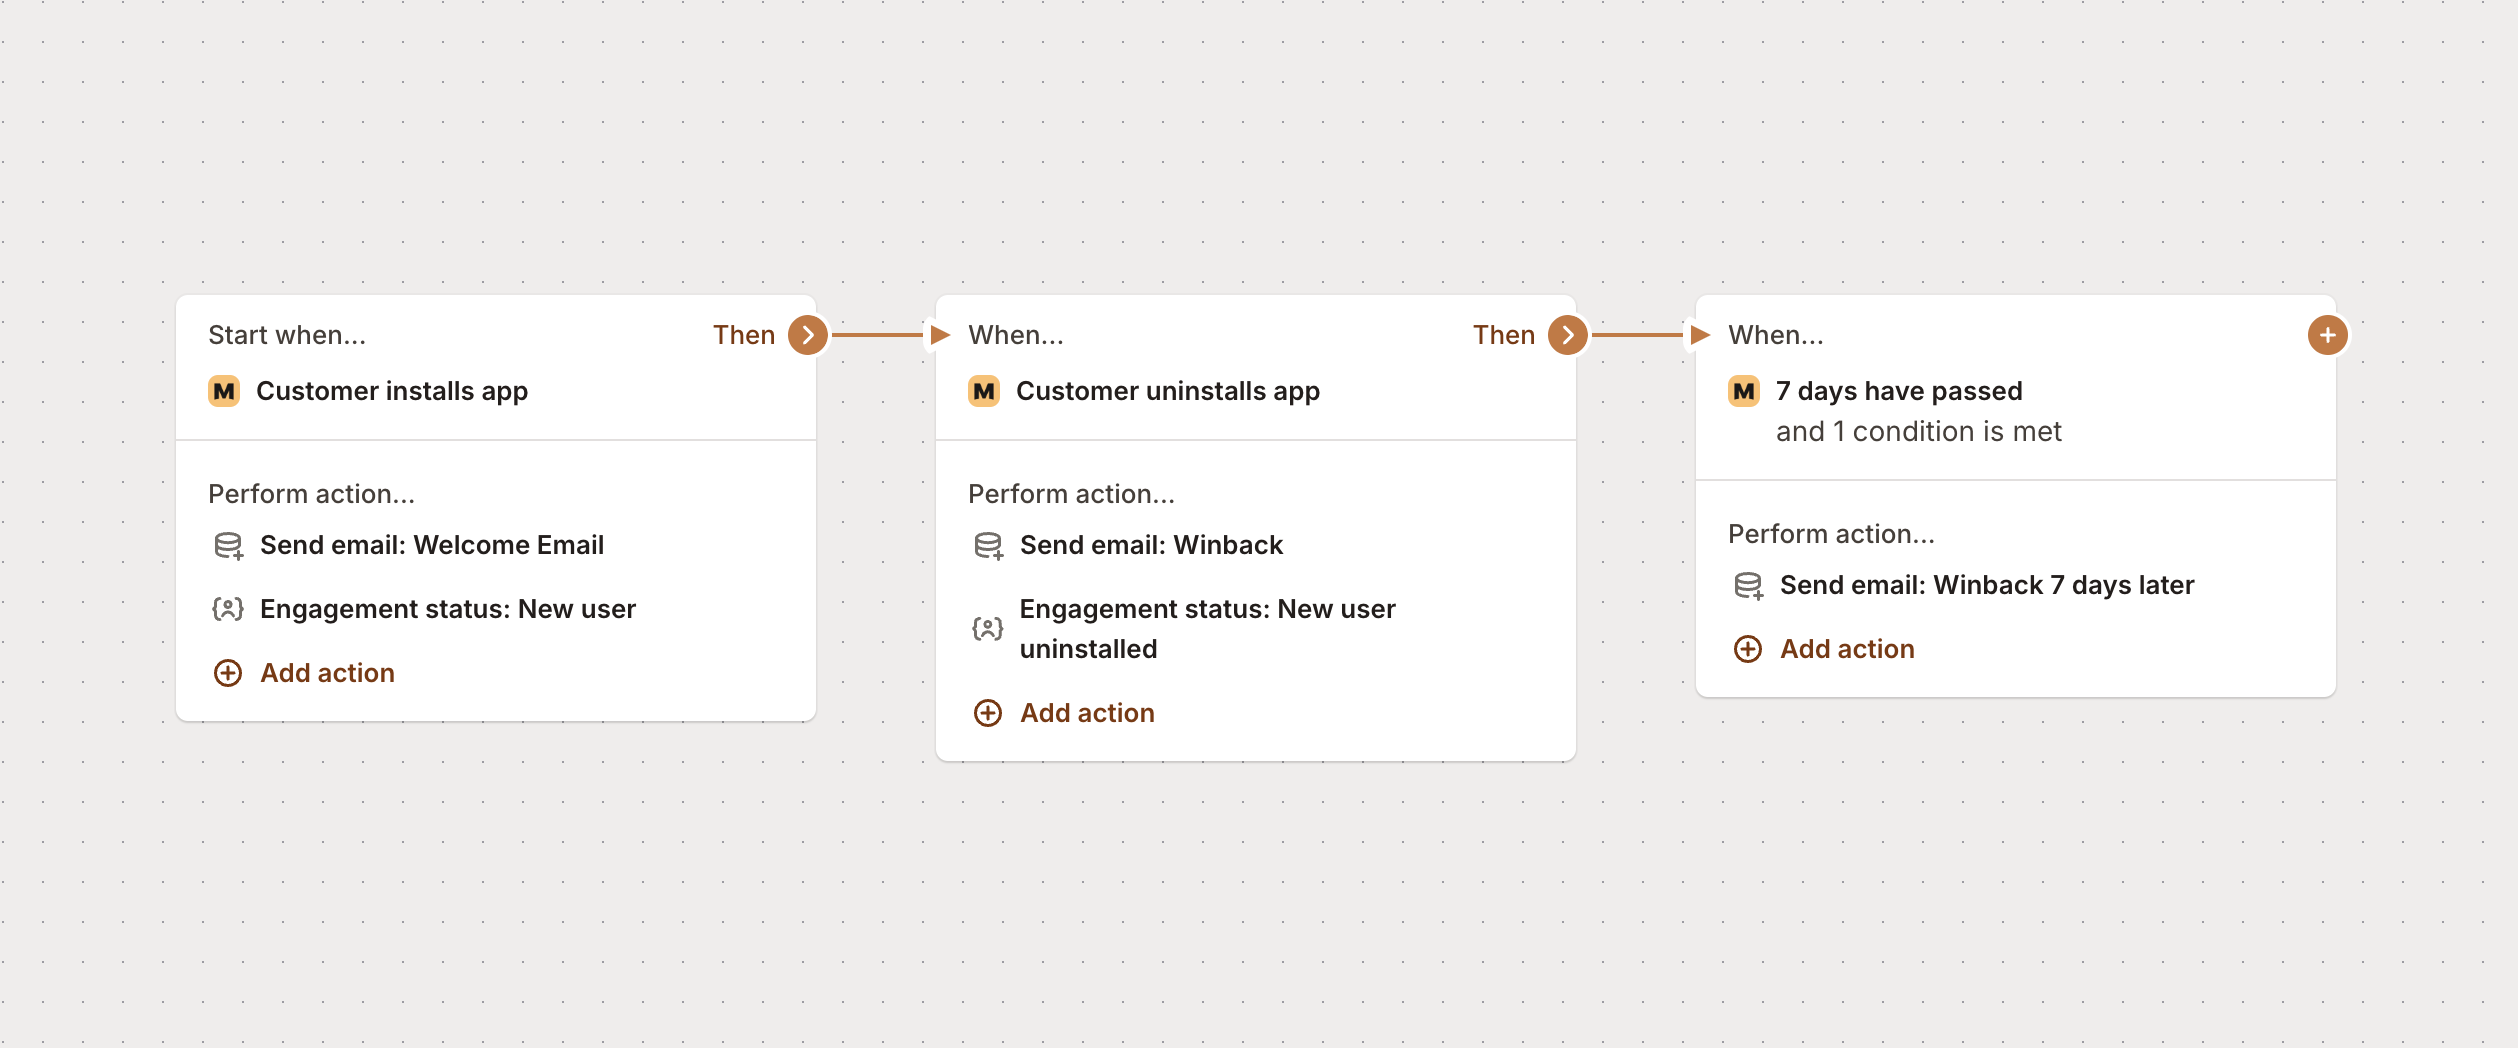
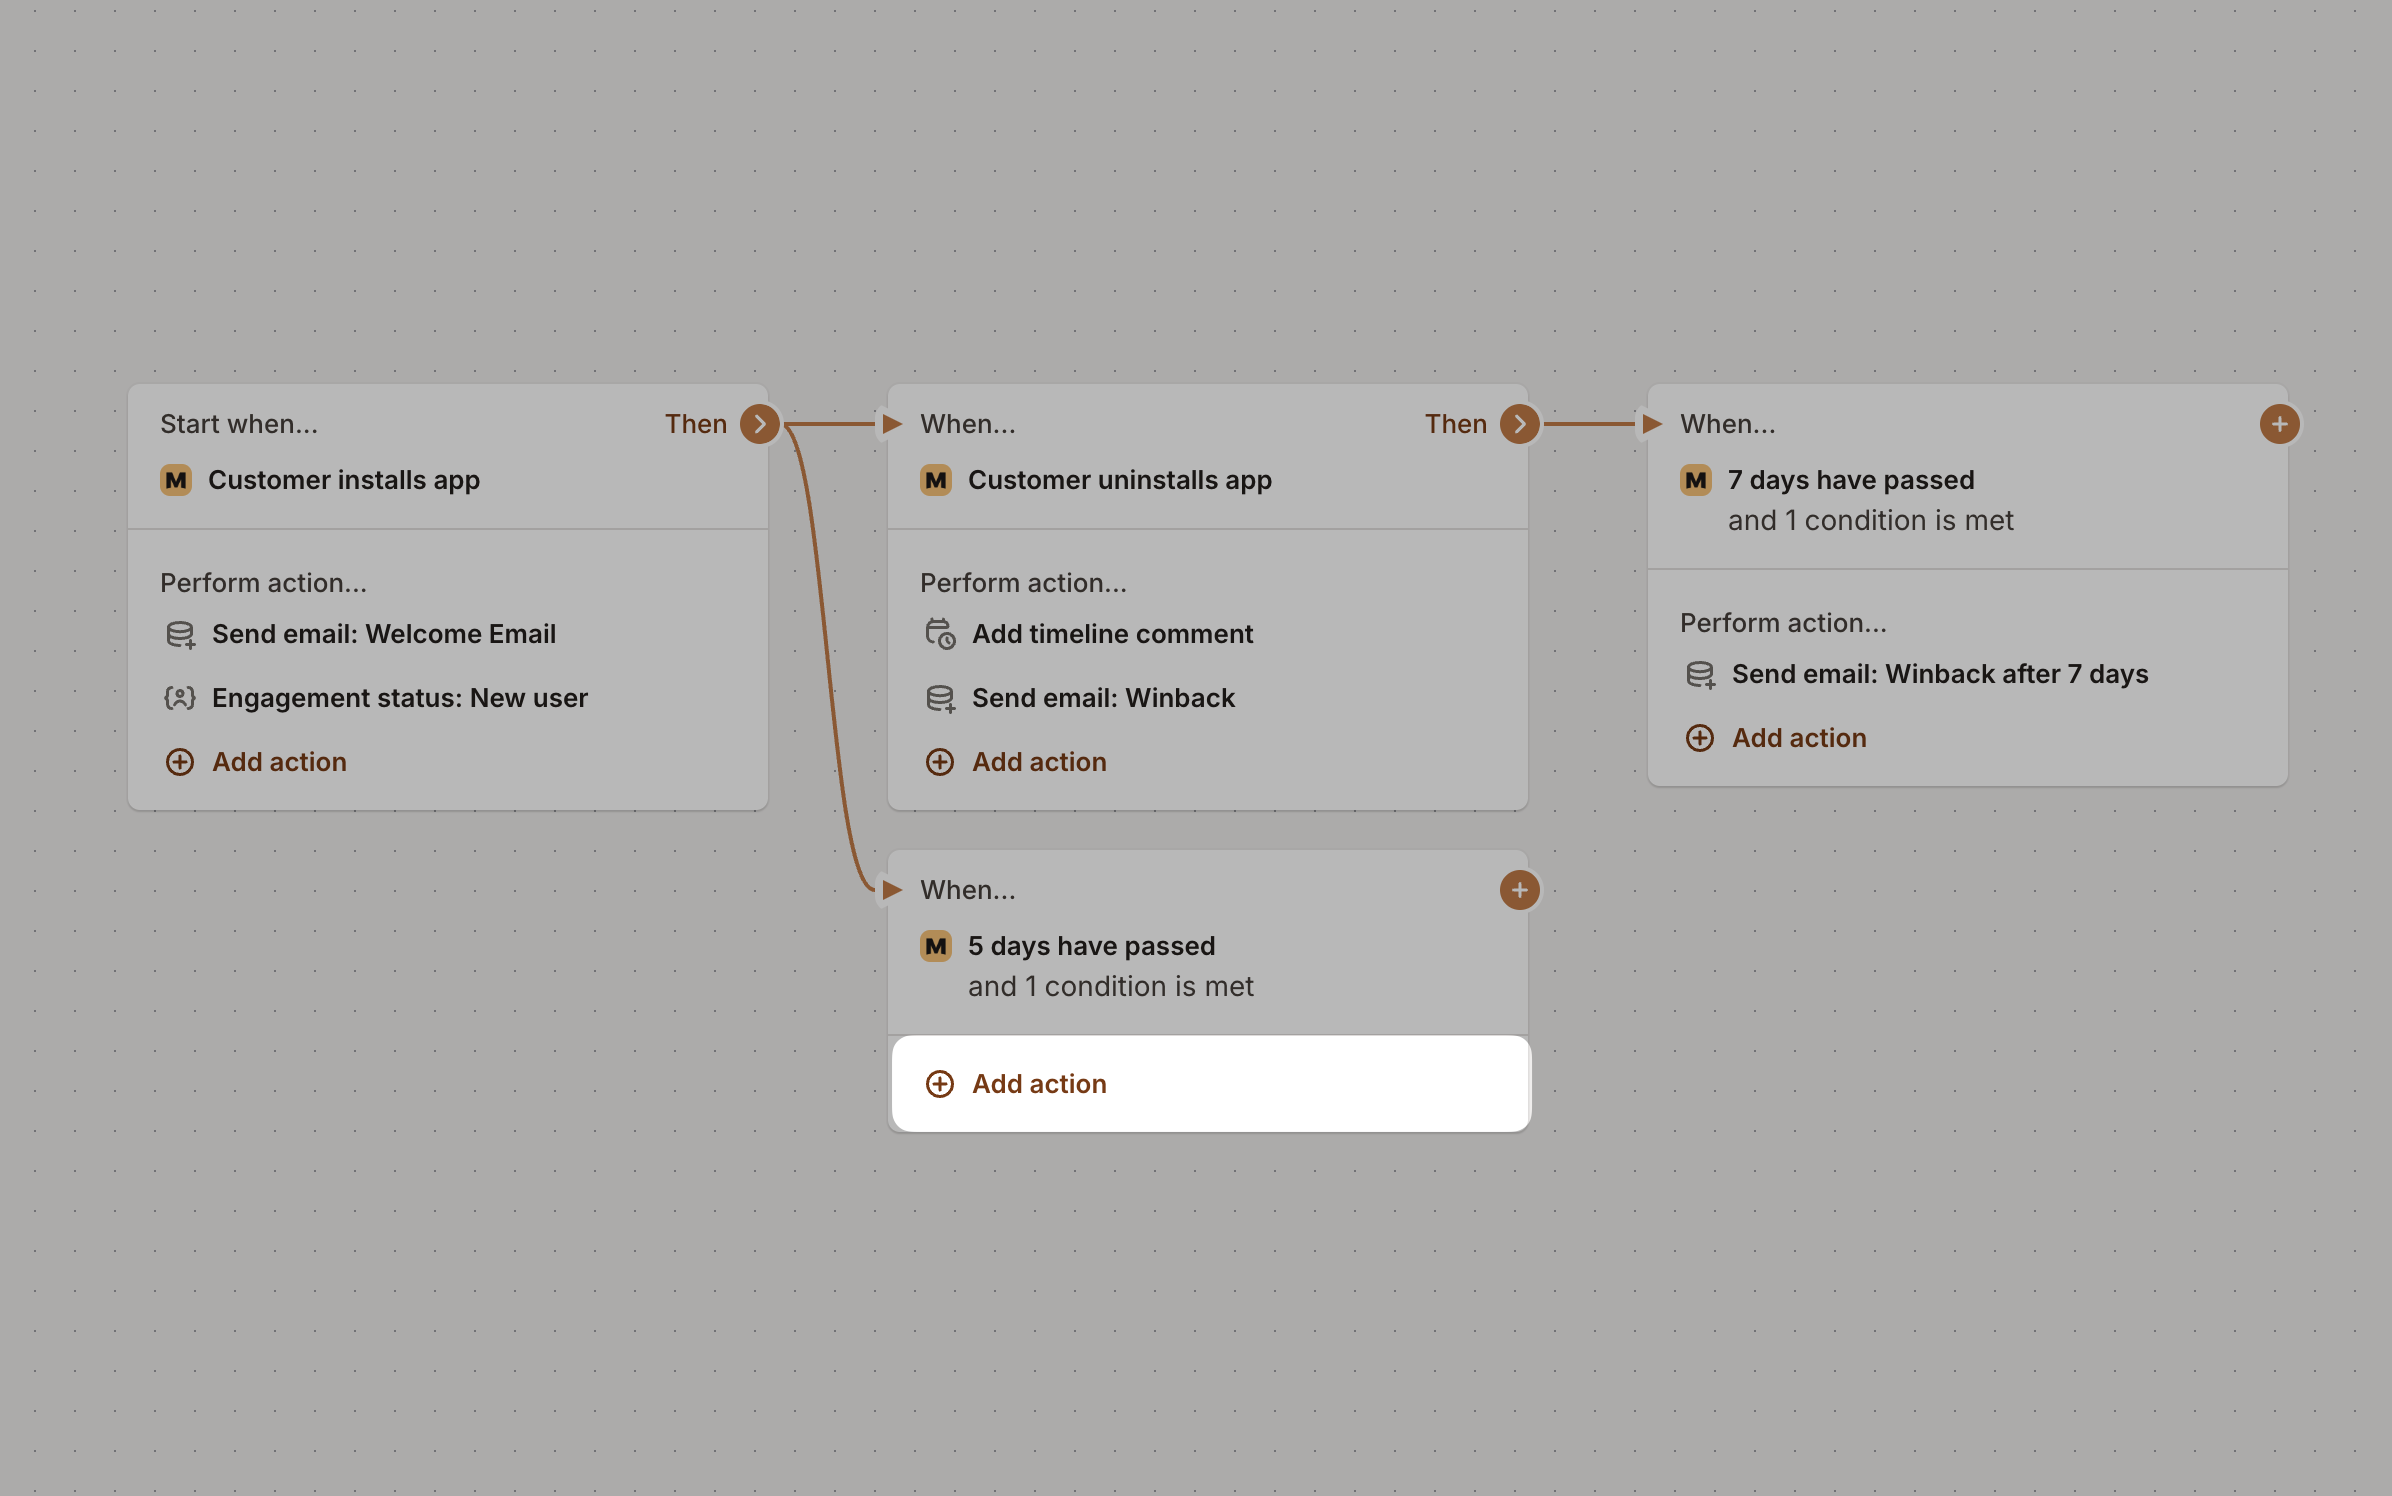
Add a Wait action for 7 days, then add a condition to check the app status:
Looking good! Your flow now handles both installs and uninstalls:
Supercharge your flow
Time to take this flow to the next level. We’re going to add some really powerful automation that:
- Monitors customer usage and intervenes when needed
- Automatically applies discounts to boost engagement
- Notifies your team about important customers
You’ll need:
- Mantle Billing set up with discounts
- Slack integration configured
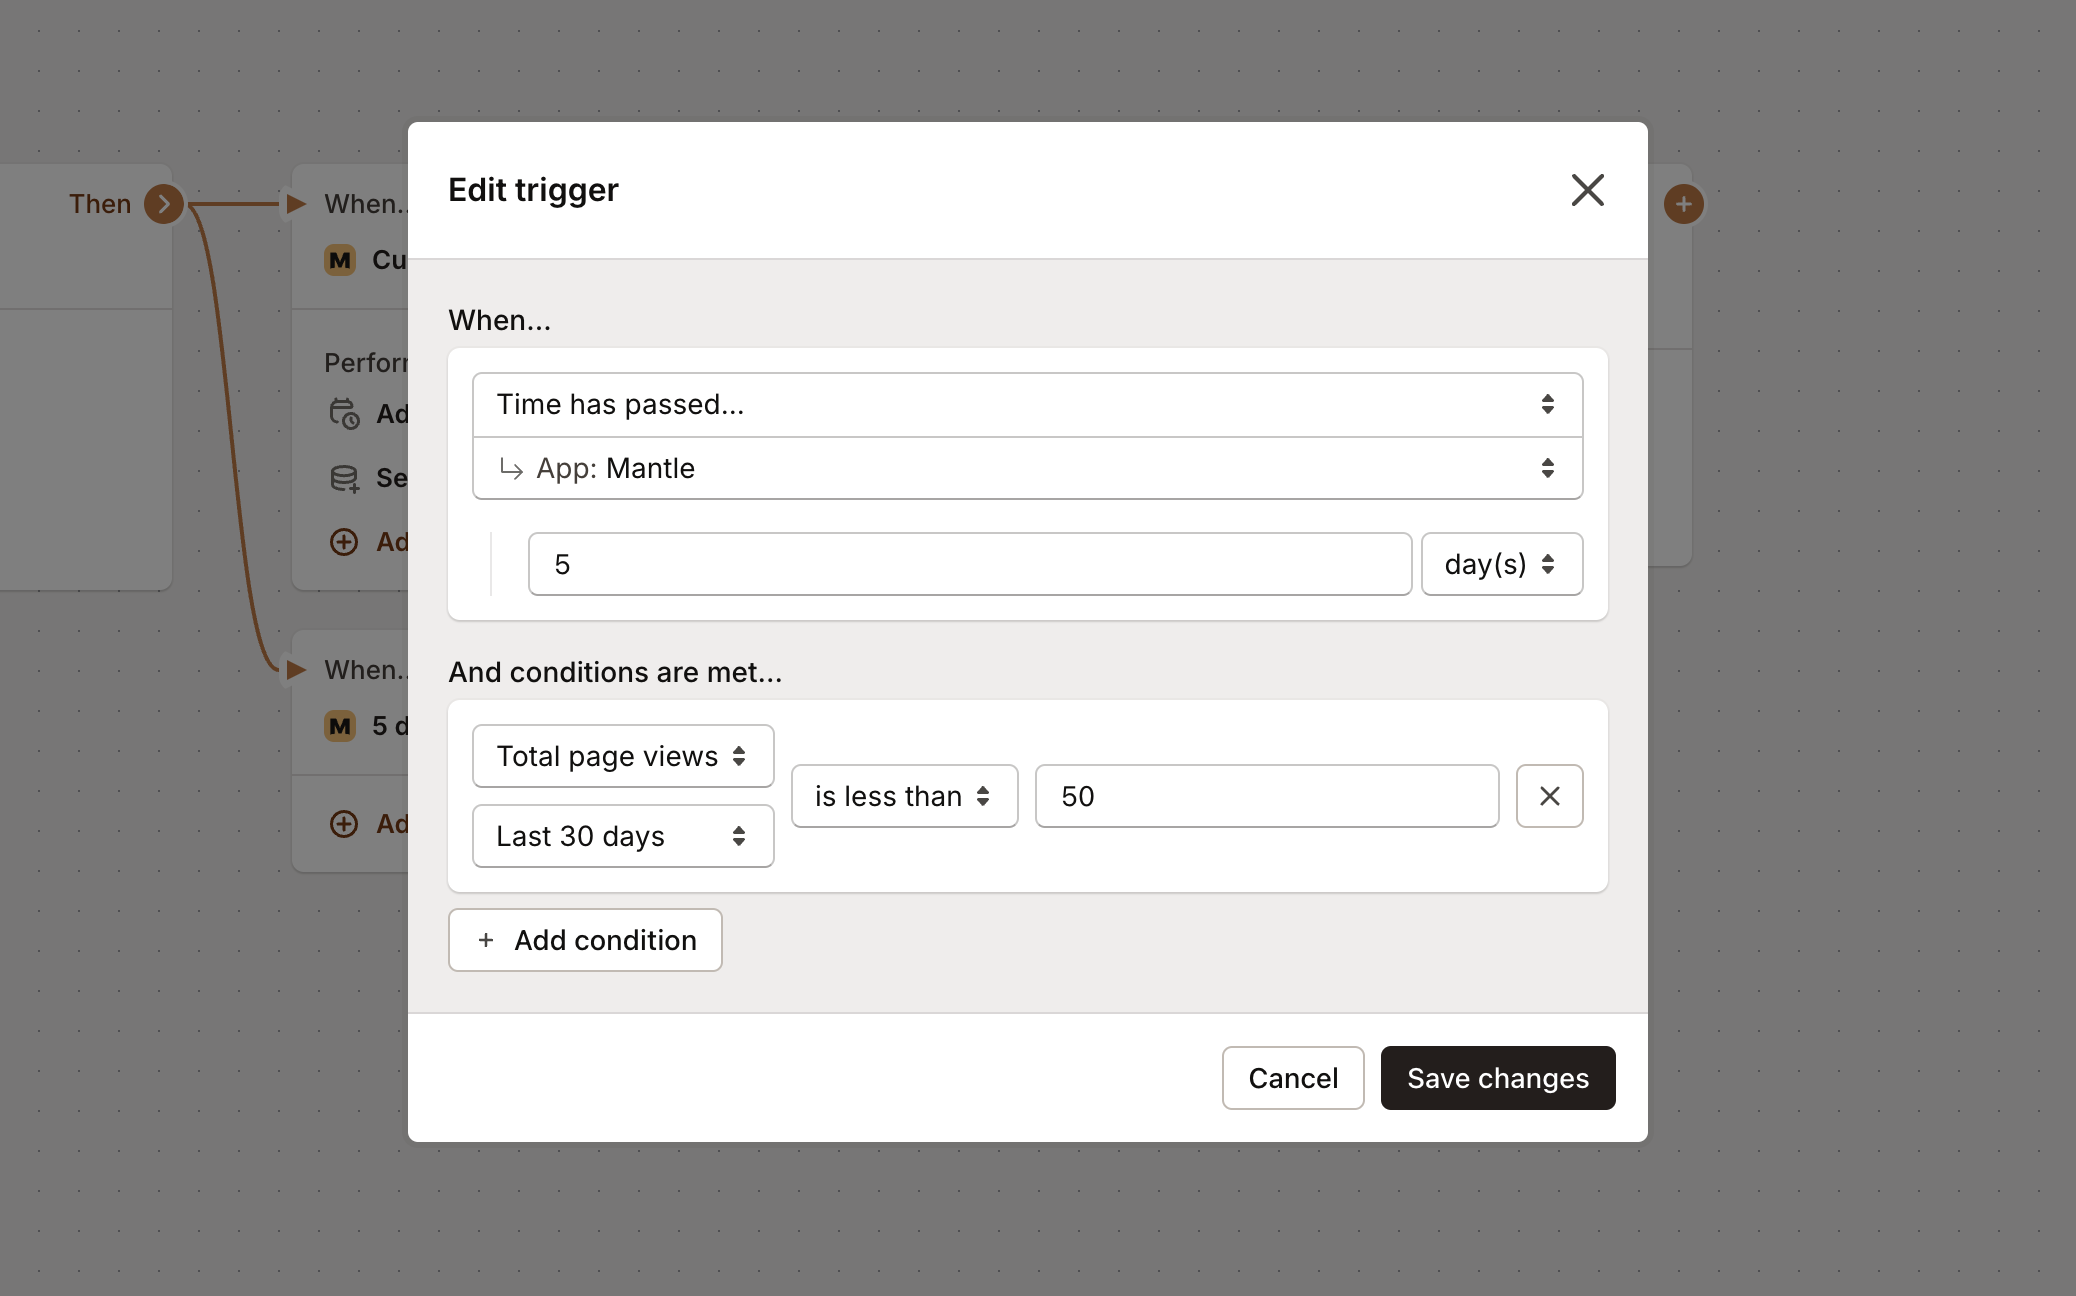
Let’s go back to the install branch and add some usage monitoring. We’ll check how customers are doing after 5 days and help the ones who aren’t getting value yet.
The idea: if someone’s page views are low after 5 days, we’ll send them a helpful email with tips to get more value.
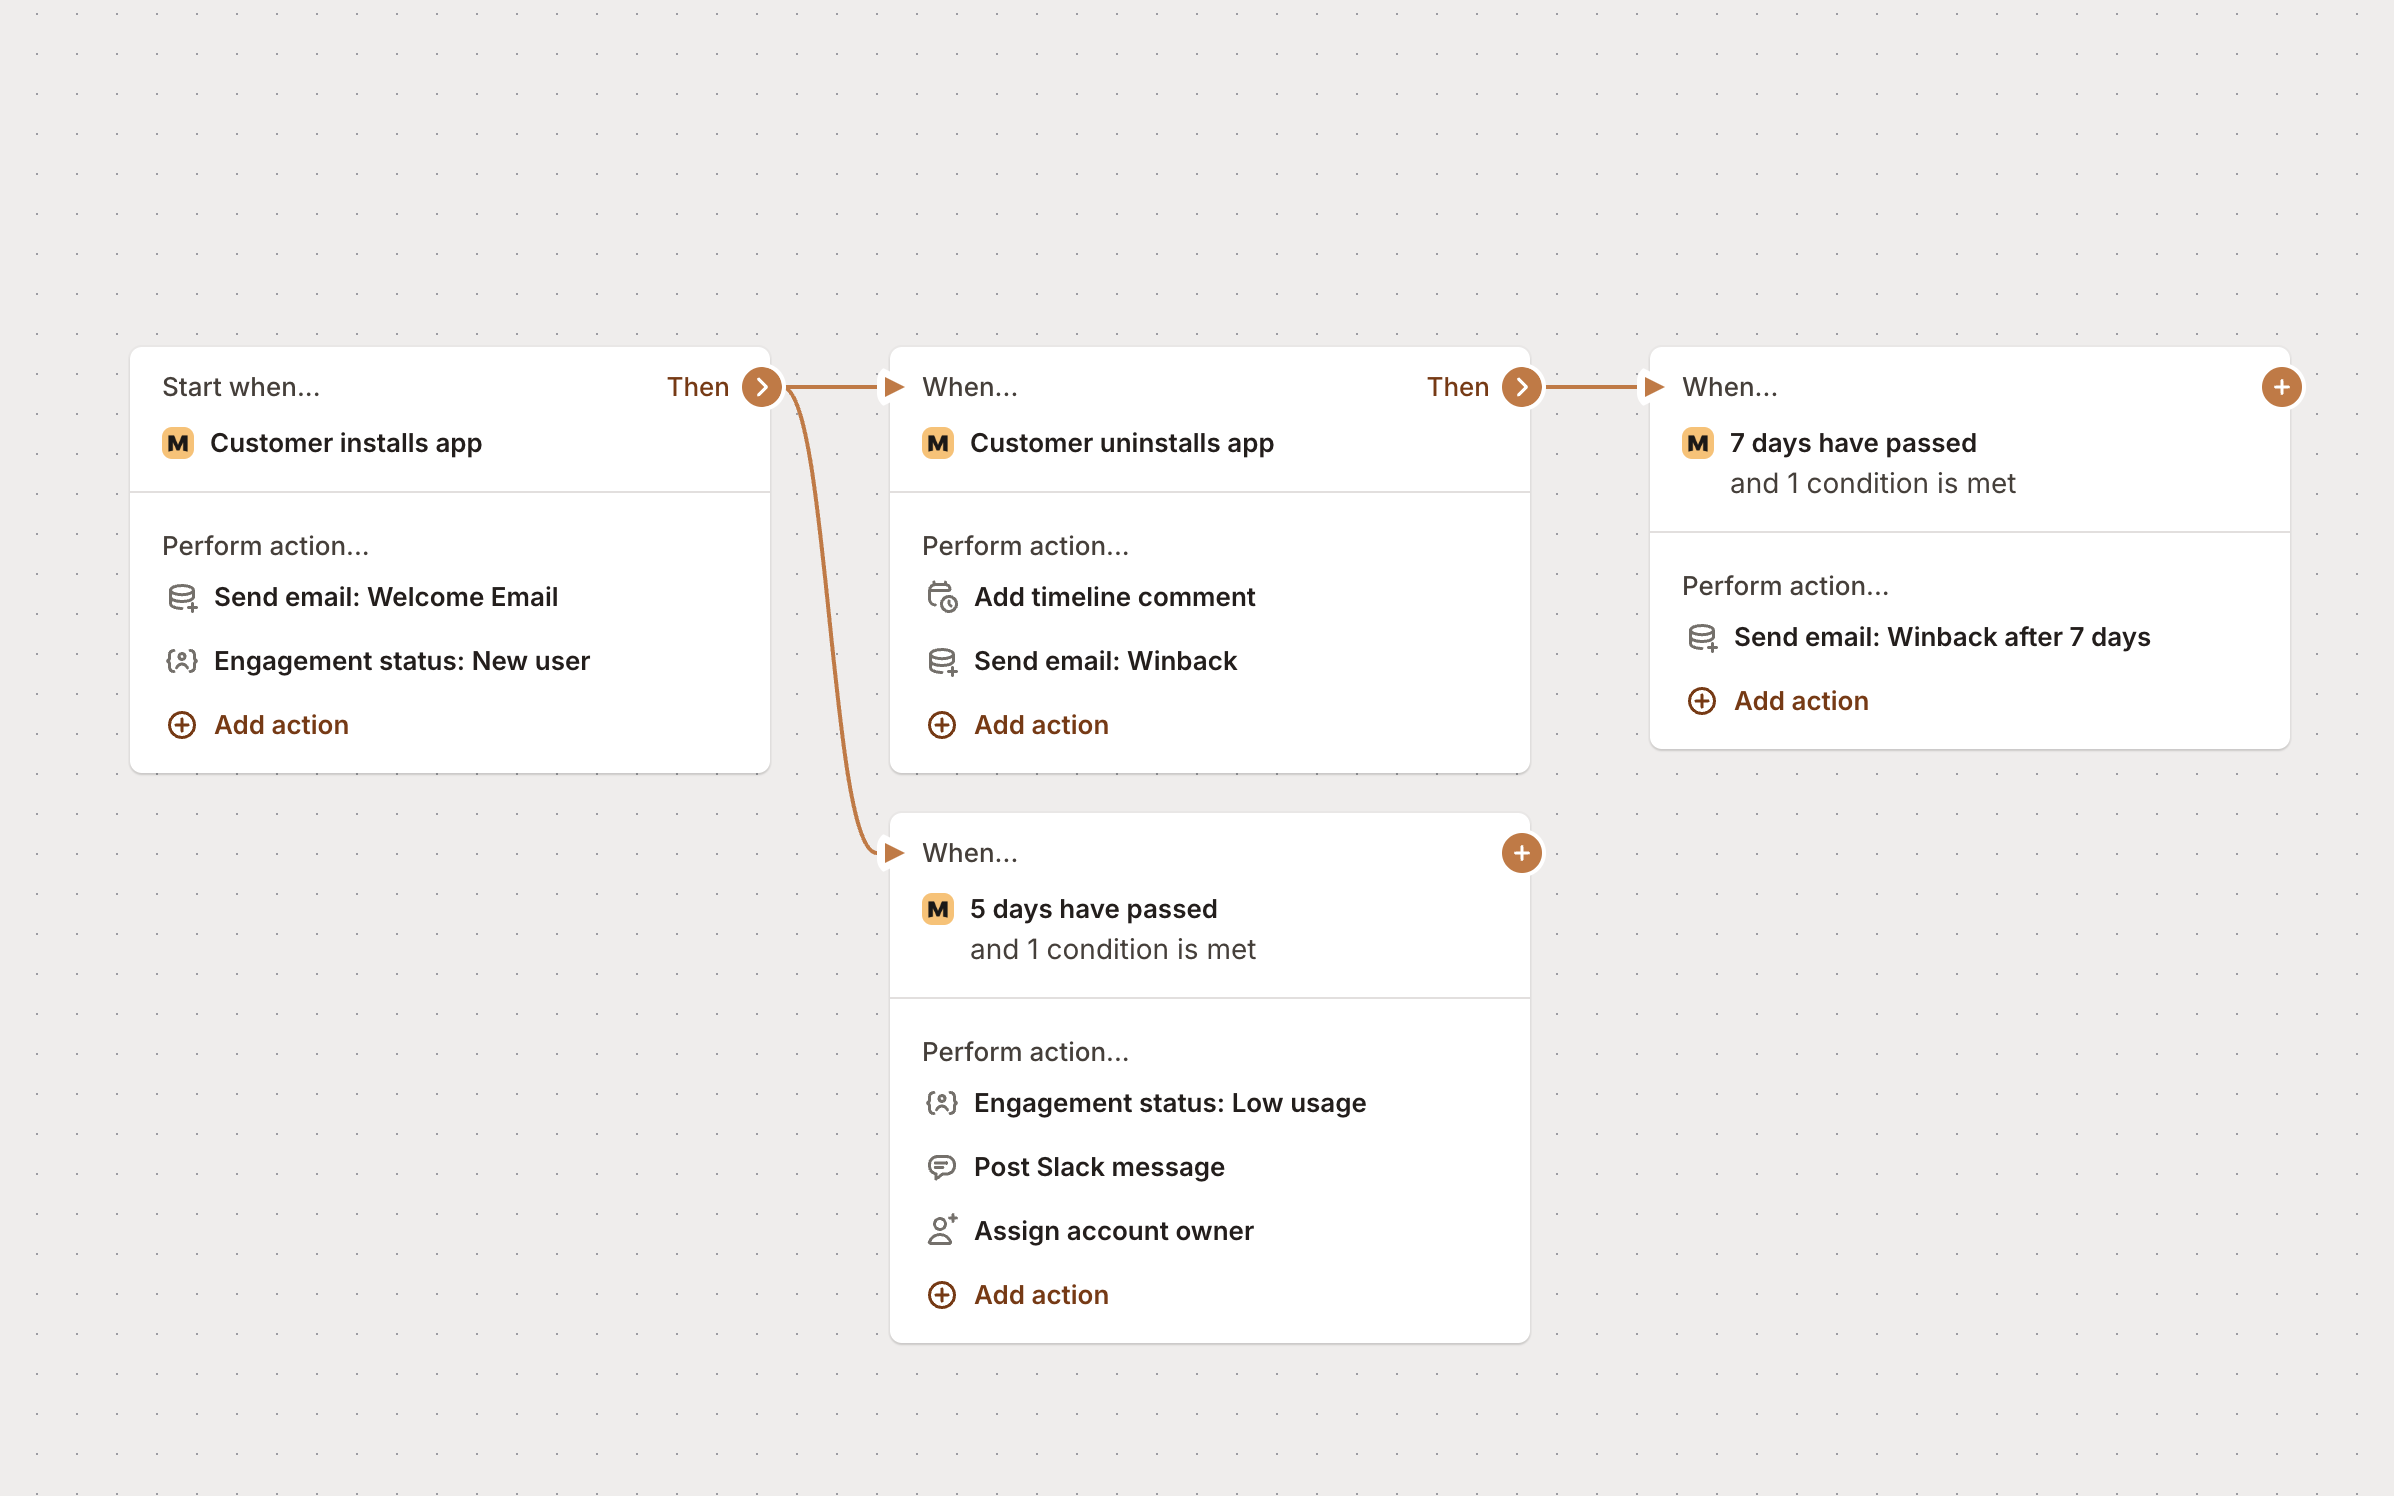
Add your time trigger and usage condition:
Then add an email action to help them out:
Perfect! But let’s not stop there. When we identify a customer who needs help, let’s also:
- Update their custom field to “Needs Help”
- Send a Slack notification to your team
- Assign them to someone for personal follow-up
Now here’s where it gets really powerful. Let’s say you have a 14-day trial - we can check engagement again after another 5 days. If usage is still low, we’ll automatically apply a discount to incentivize them.
First, create a discount in Mantle that gets triggered by a specific tag (like “low-usage-discount”).
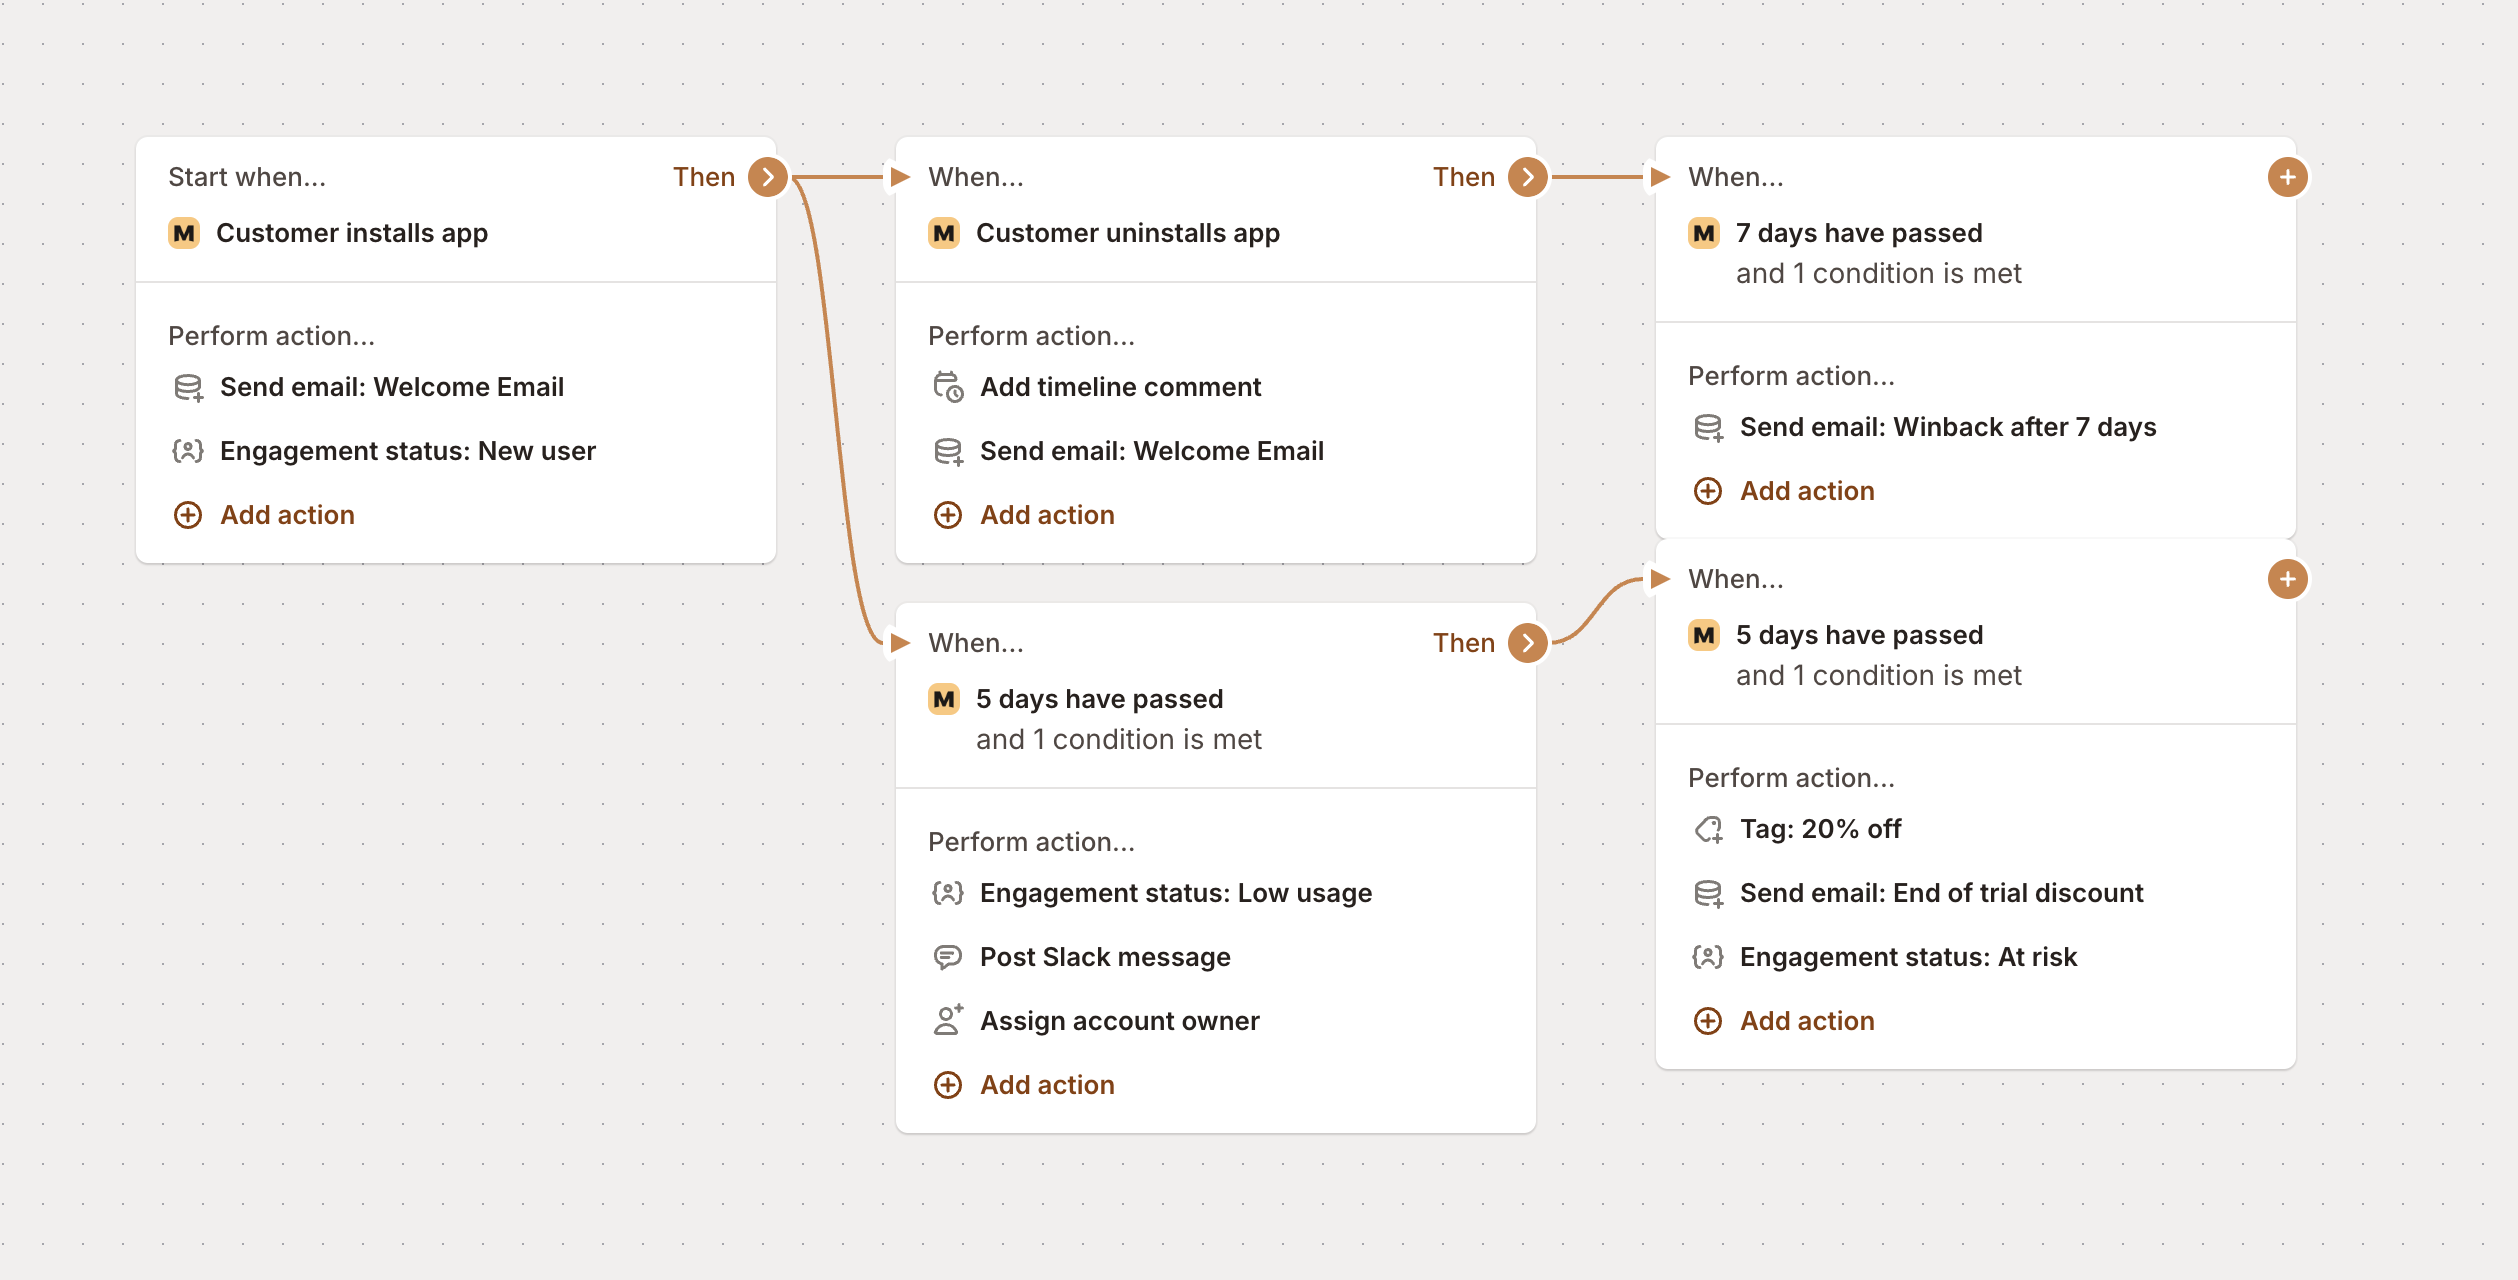
Then add another time-based trigger with these actions:
- Wait 5 more days
- Check usage again
- If still low, add the discount tag
- Send an email about their special promotion
- Update their status to “Discount Applied”
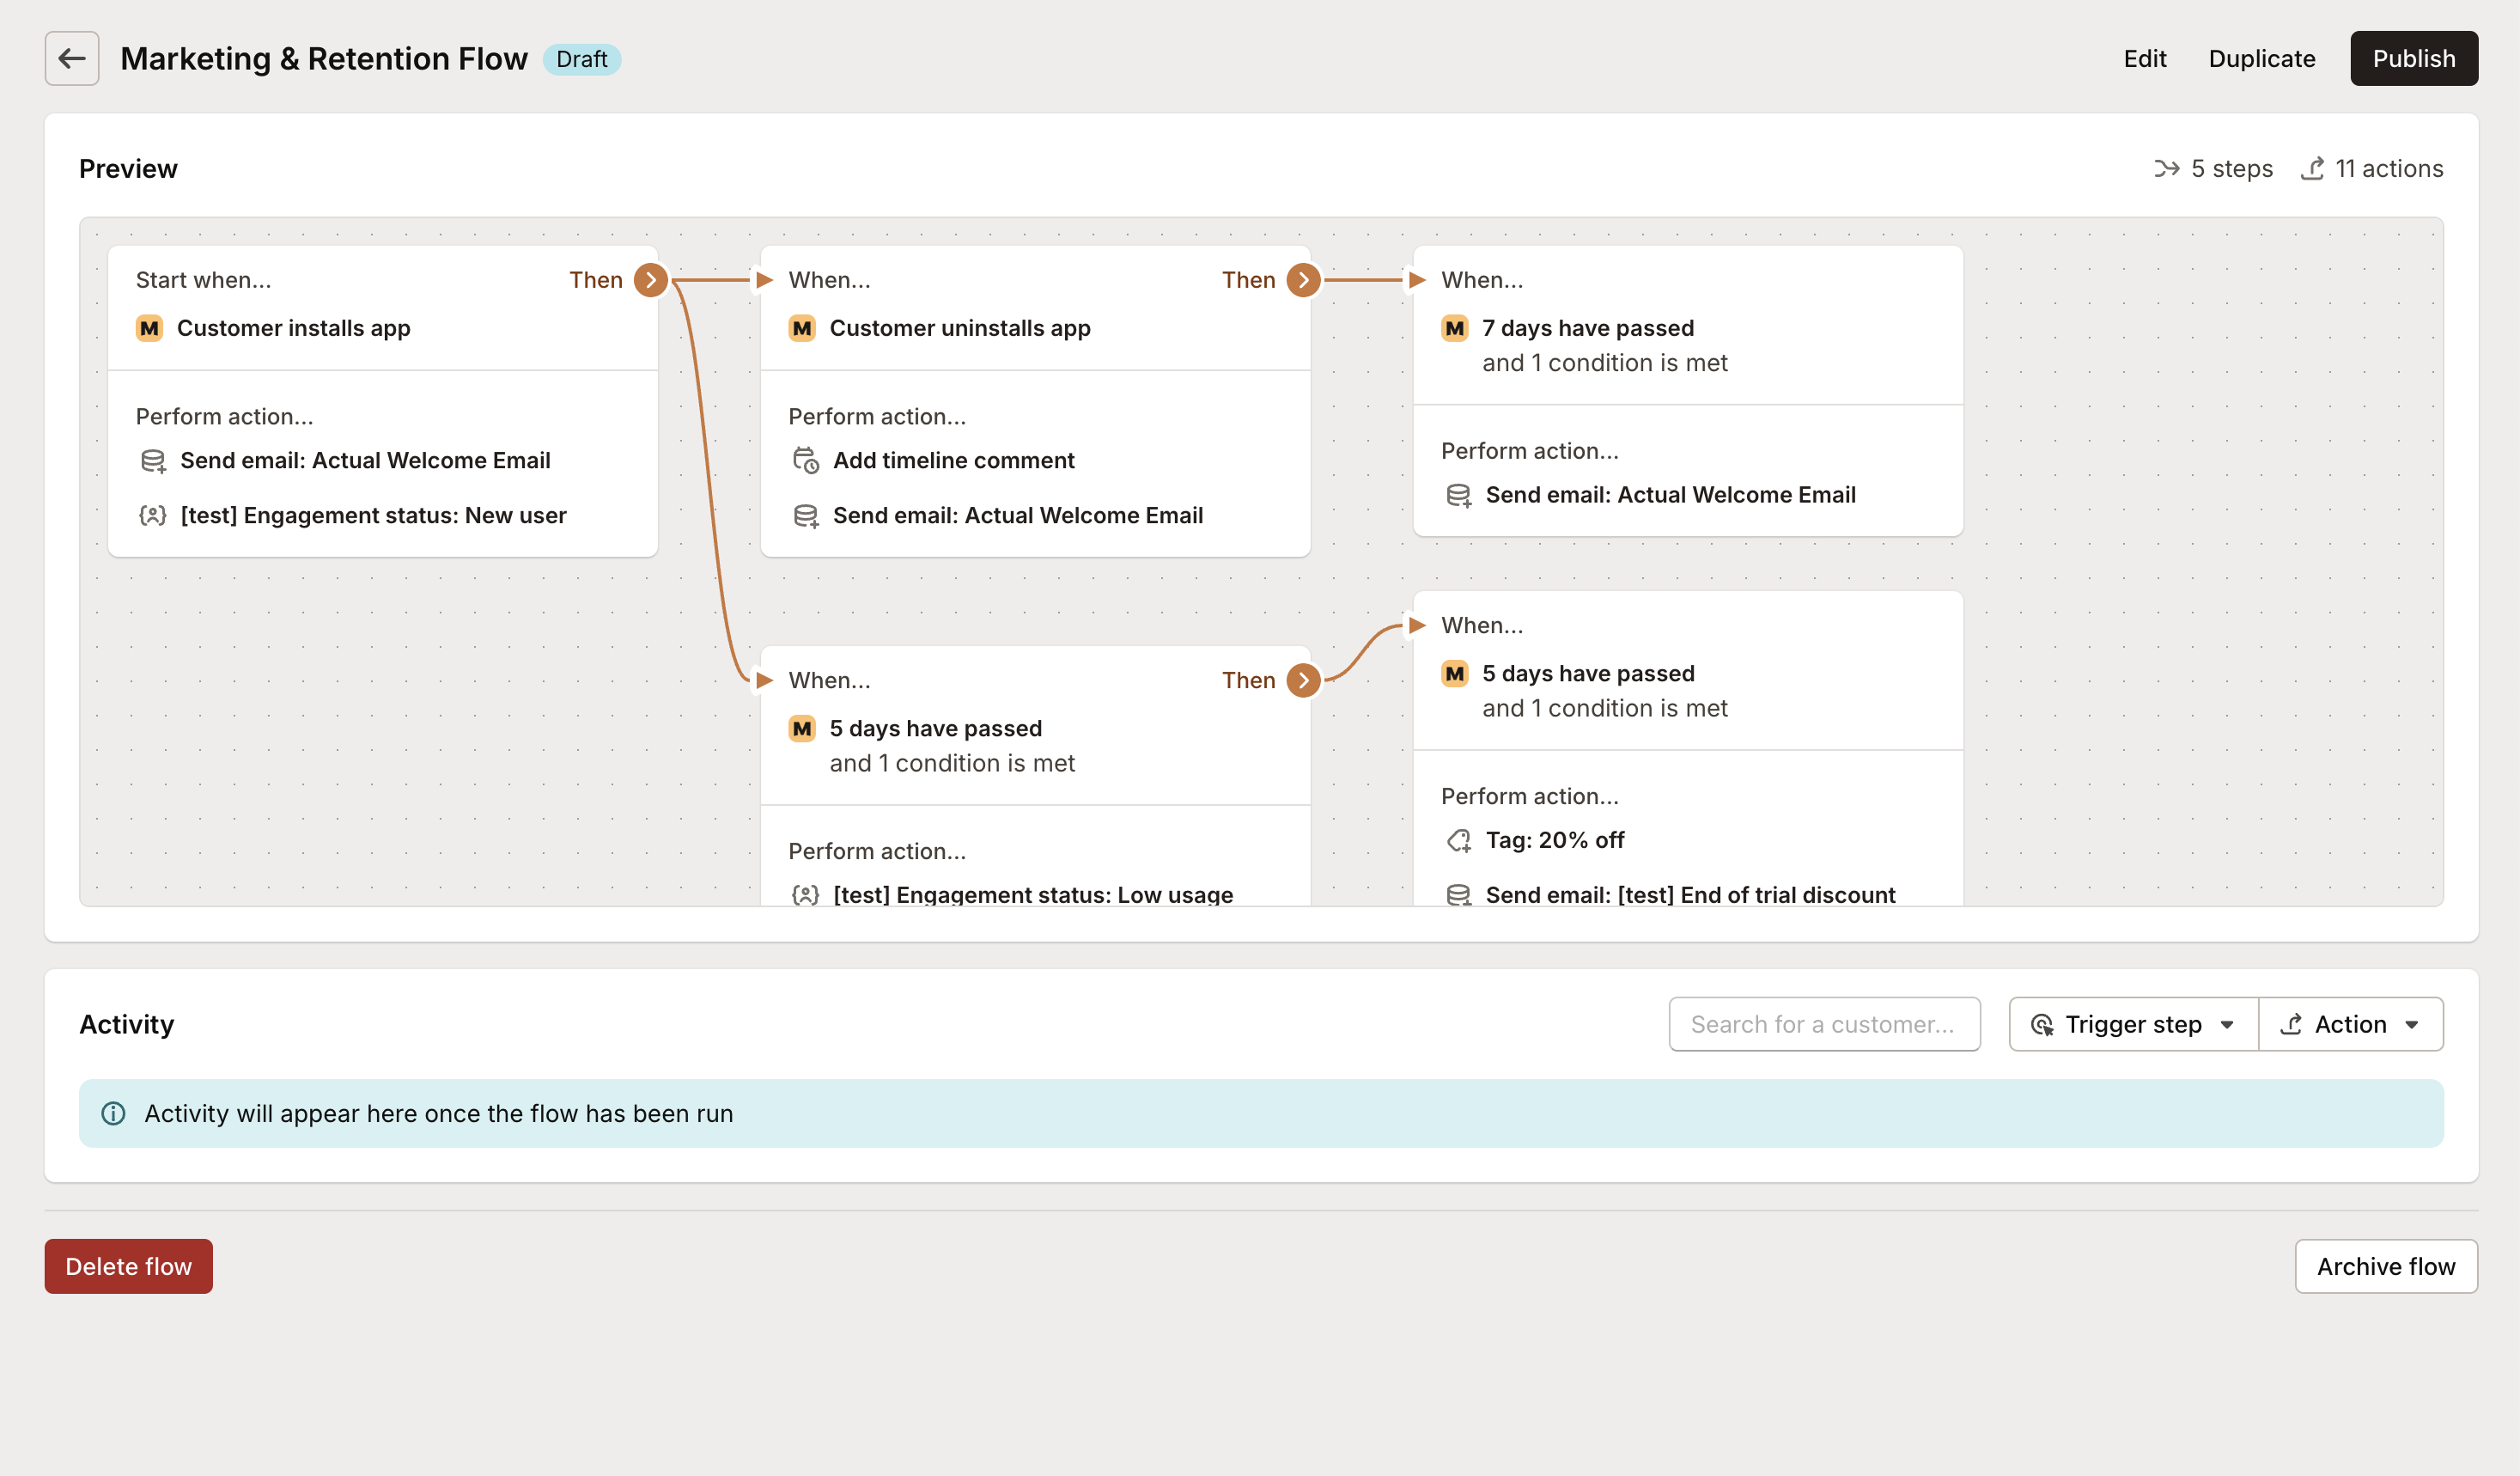
Here’s your complete flow - pretty impressive, right?
Want to tweak anything? Click Settings in the top-right corner to adjust flow preferences:
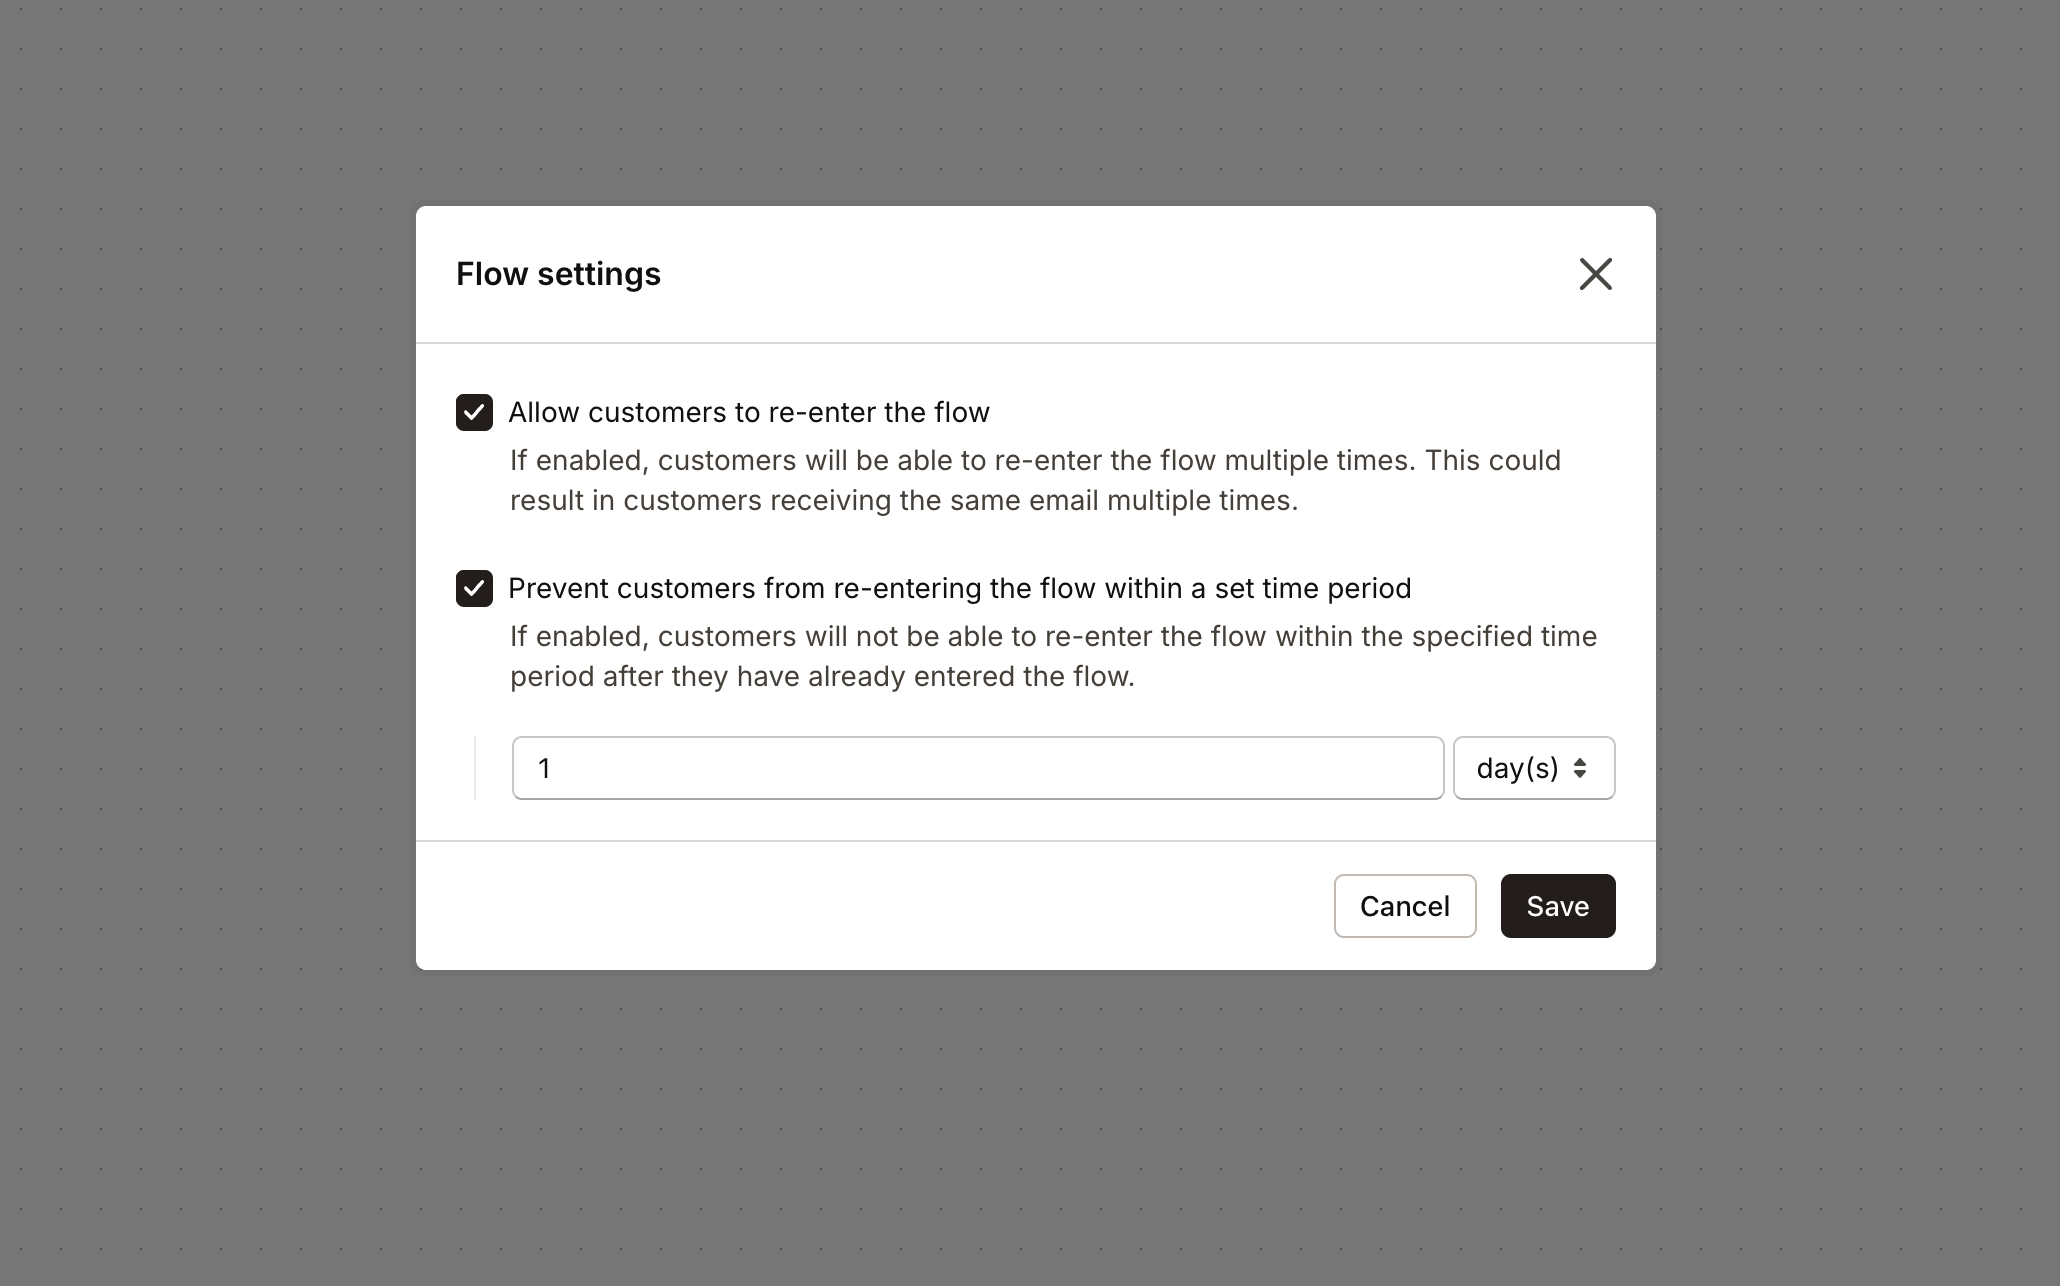
When you’re happy with your flow, hit Publish to make it live. You can also preview it first to make sure everything looks good:
What you just built
Congrats! You’ve created a flow that:
- Welcomes new customers automatically
- Tracks their journey with custom fields
- Handles uninstalls gracefully with delayed follow-up
- Monitors usage and intervenes when customers need help
- Applies discounts automatically to boost engagement
- Keeps your team in the loop with notifications
This isn’t just automation - it’s a complete customer success system that works 24/7.
Ready to build more flows? Check out our abandoned subscription recovery guide for another powerful automation, explore the full list of available triggers, conditions, and actions, or browse our FAQ for troubleshooting and tips.