Getting started with Partnerships
Whether you’ve just joined Mantle or you’re an existing customer looking to enable Partnerships, this guide will walk you through the initial setup process. Setting up your partnership profile is the first step to connecting with other businesses and discovering valuable collaboration opportunities.
Creating your partnership profile
Your partnership profile contains the information that will be shared with your partners when you connect. To create your profile:
- Navigate to the Partnerships tab in the left-hand menu
- If this is your first time, you’ll be prompted to set up your profile (existing users can edit their profile by clicking Edit Profile)
- Fill in the following details:
- Display Name: Your company’s name as it will appear to partners
- Connect Link: A unique link you’ll share with potential partners (usually your company name)
- Website URL: Your company’s primary website
- Description: A brief overview of your business and partnership objectives
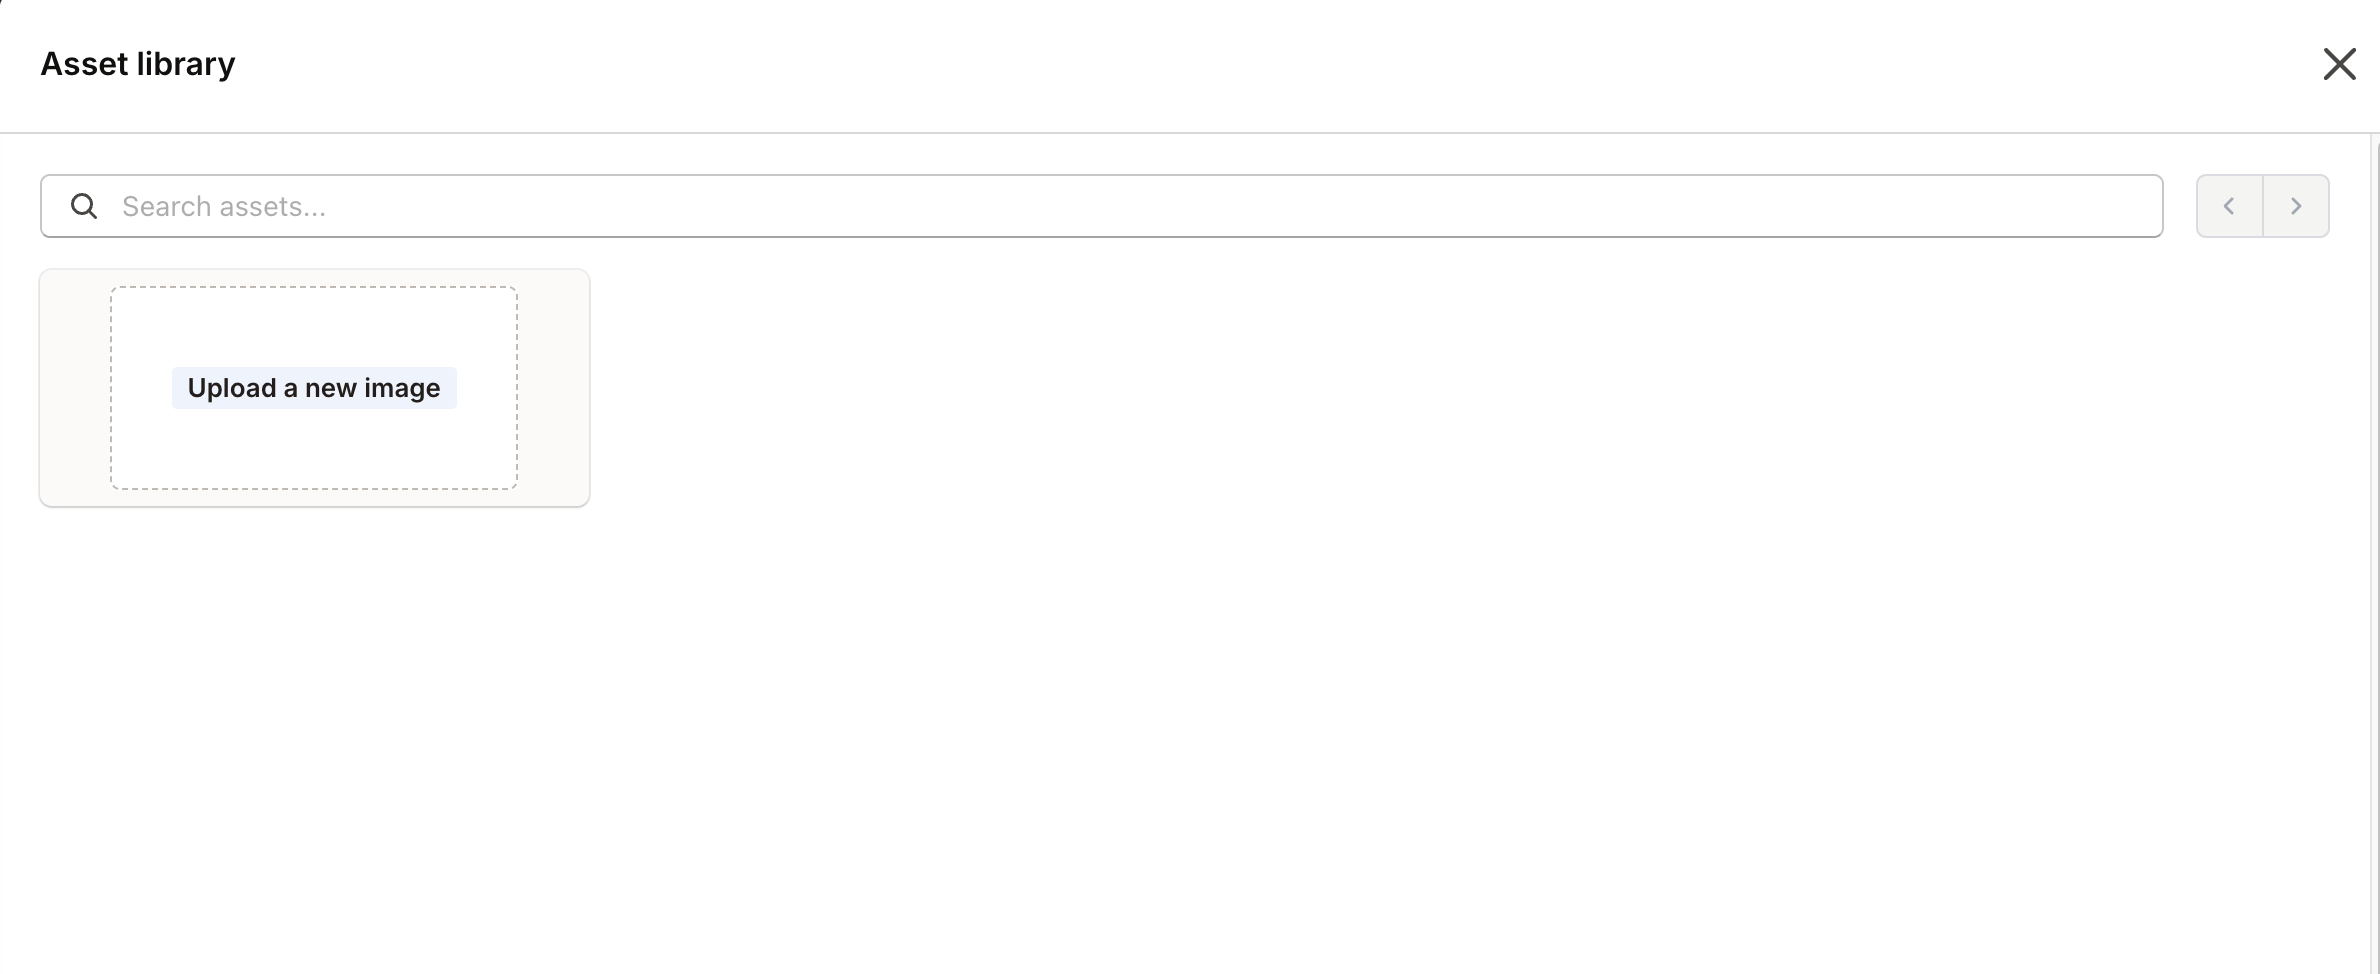
- Profile Picture: Your company logo or another identifying image
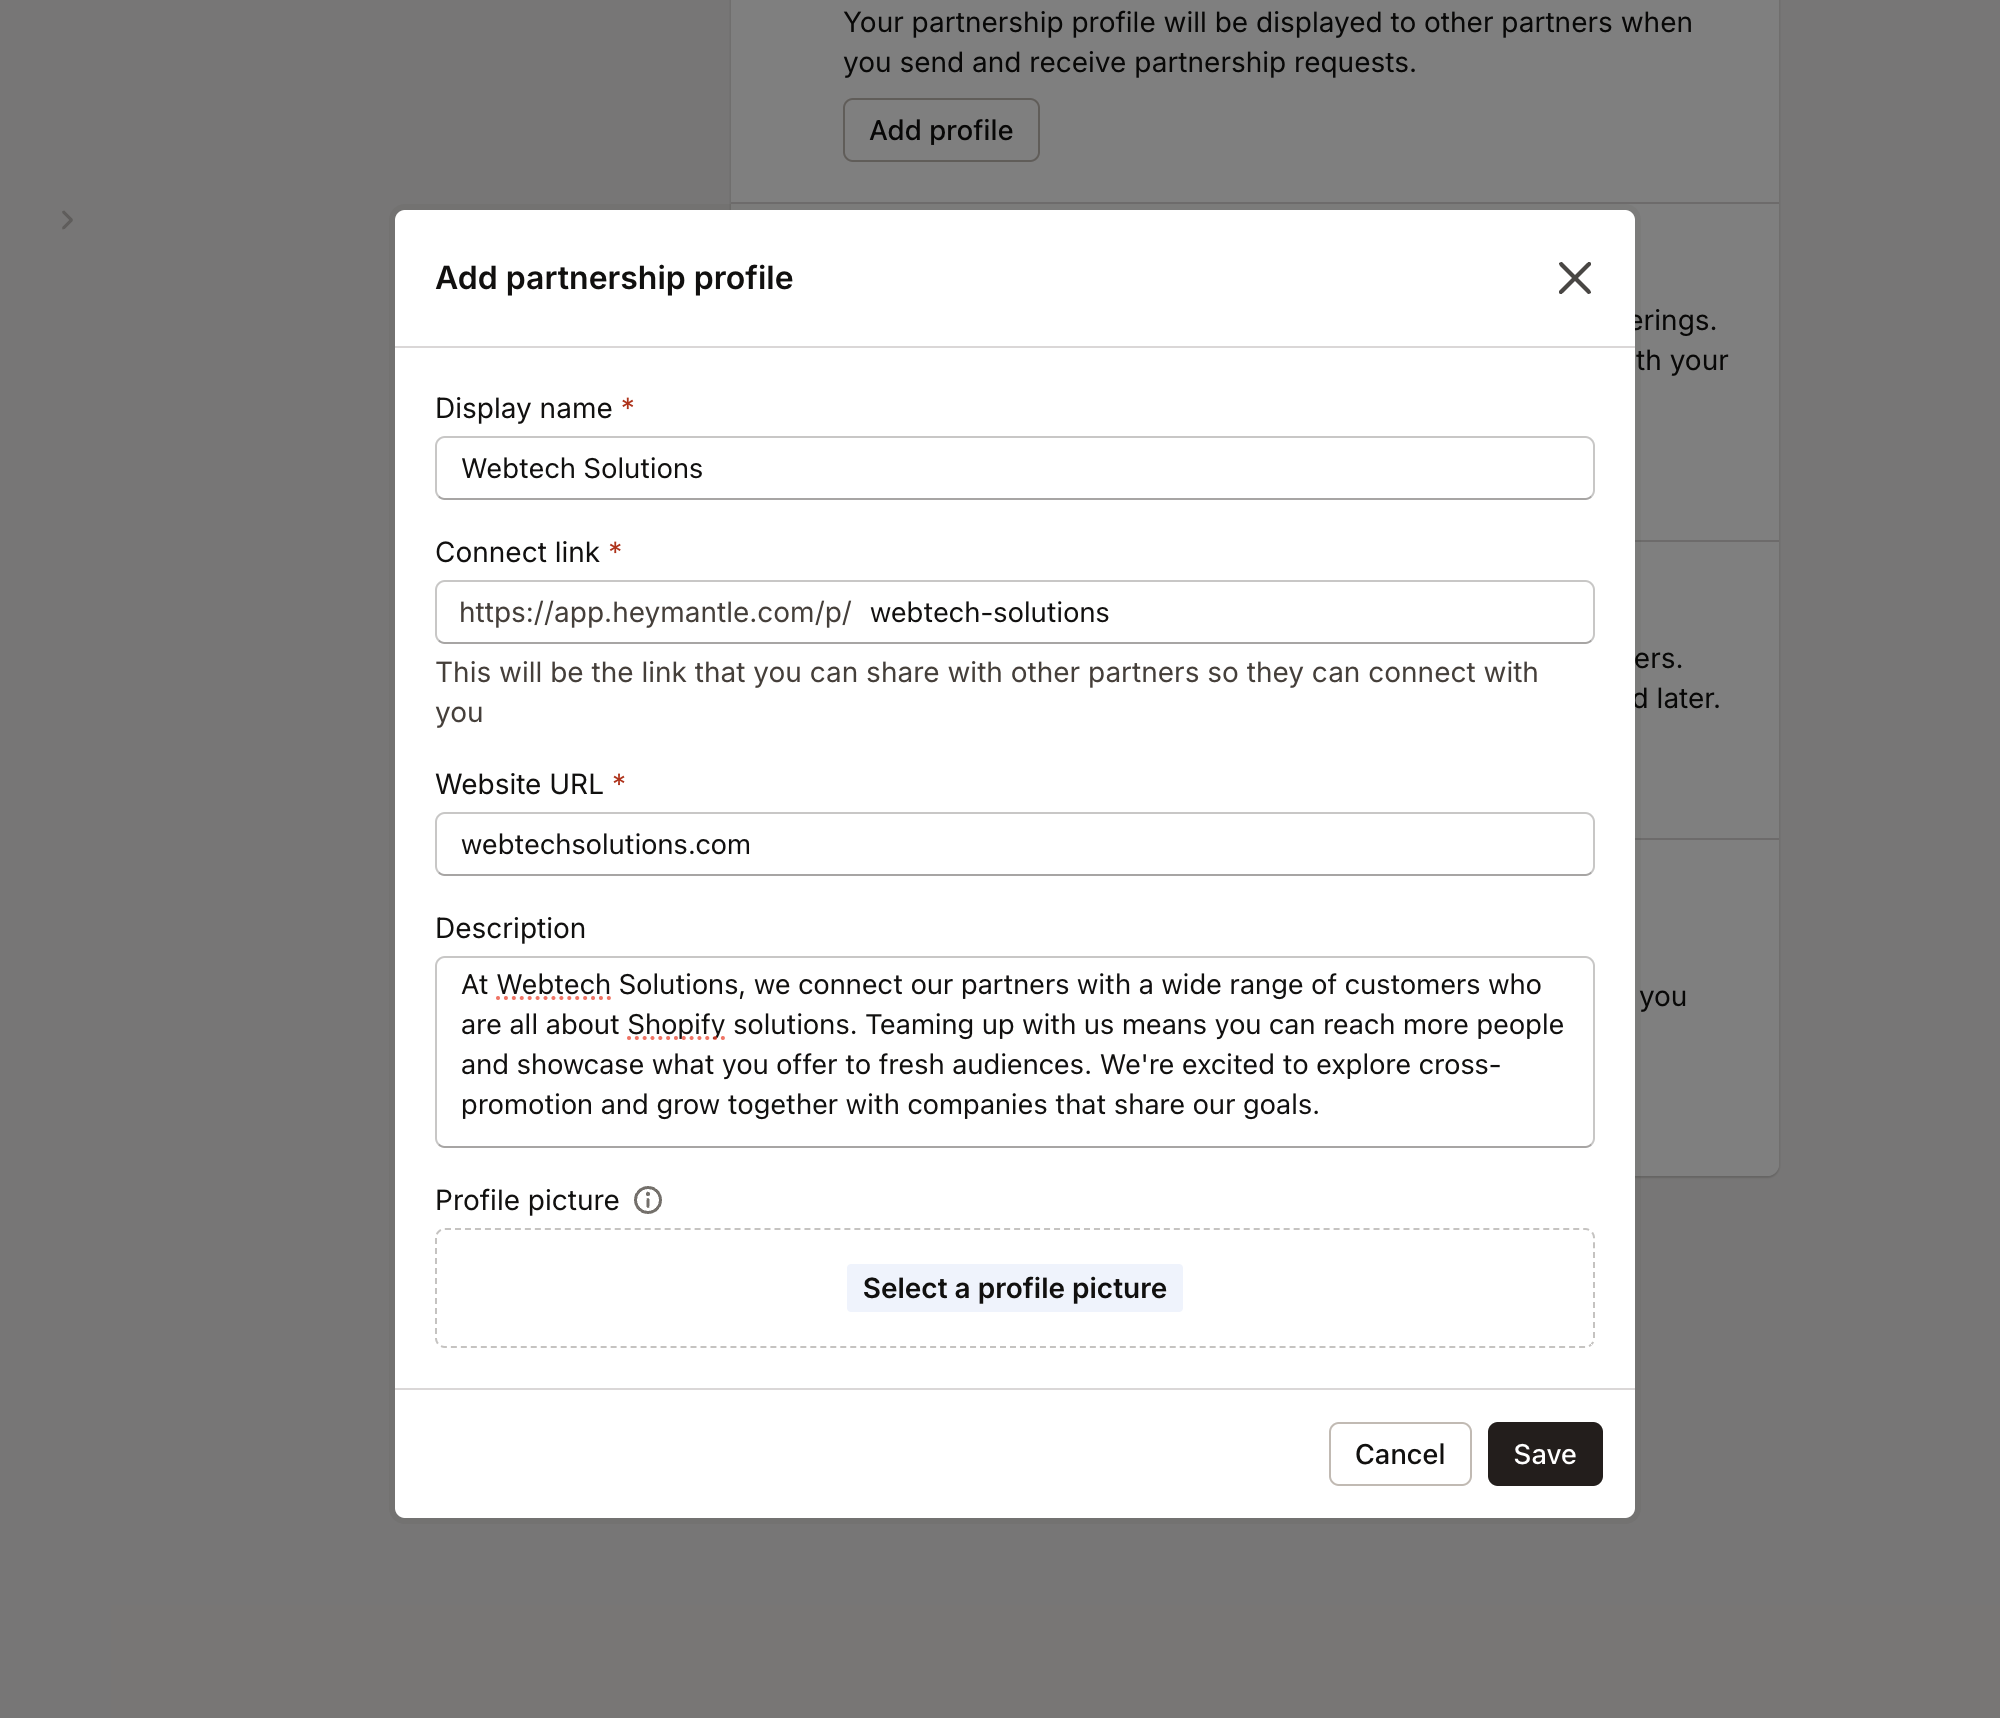
This profile information helps potential partners understand who you are and what kind of collaboration opportunities might exist between your businesses.
Adding marketing assets
Once your basic profile is set up, you can add marketing assets that your partners can use to better understand your products and services:
- Navigate to the Marketing Assets section
- Click Add Asset to upload files such as:
- Product one-pagers
- Feature overviews
- Case studies
- Partnership program details
- Co-marketing guidelines
These assets are available to your partners once you’ve connected, helping them better represent your offerings when engaging with shared customers or prospects.
Configuring data sharing
One of the most important aspects of partnership setup is determining what customer data you’ll share with partners by default:
-
Navigate to the Configure Data Sharing section under Partnerships > Edit profile > Edit permissions
-
Select which lifecycle stages you want to share:
- Prospects: Potential customers who haven’t engaged yet
- Leads: Customers showing interest but not converted
- Deals: Active opportunities in your pipeline
- Customers: Active, paying customers
- Closed/Lost: Opportunities that didn’t convert
- Churned: Former customers who’ve stopped using your service
-
Choose what customer data fields to share:
- Shop Details: Basic information like domain, Shopify plan, country
- App History: Installation, subscription, and other events
- Contacts: Email addresses and names associated with customers
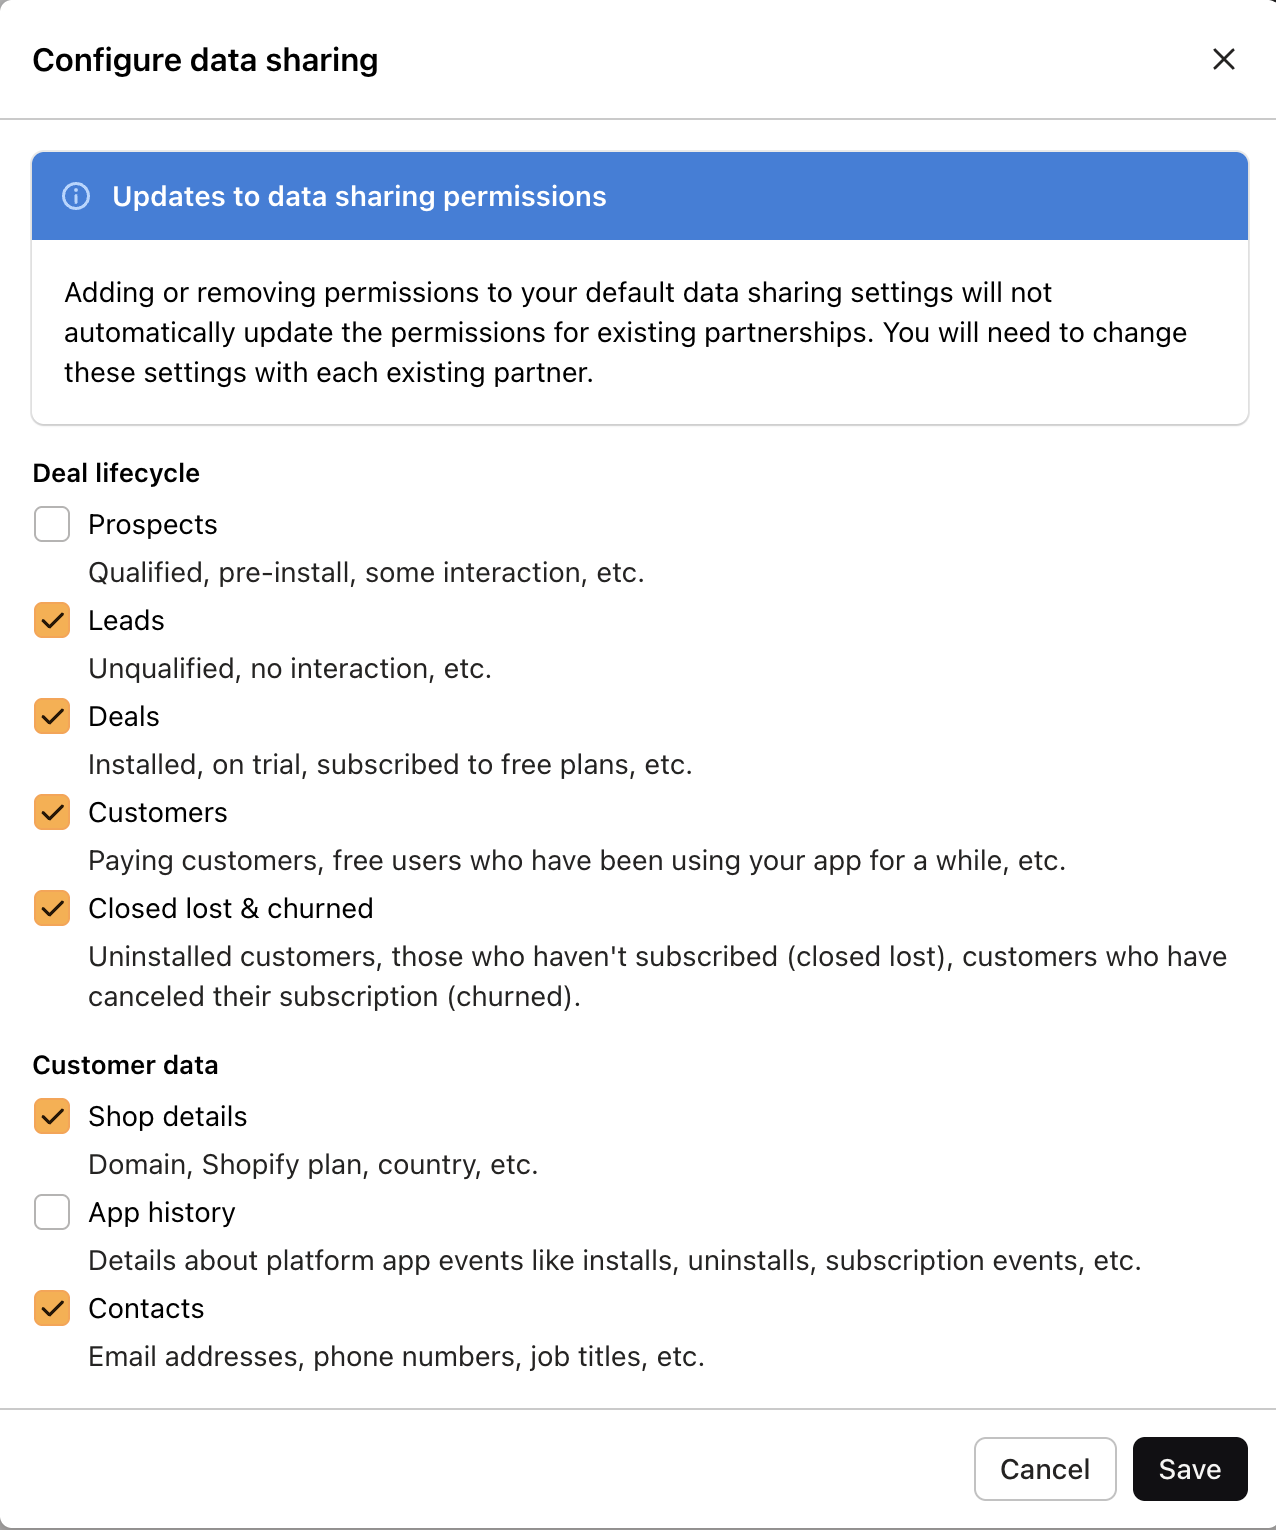
Remember, these settings establish your default sharing preferences, but you can customize permissions for each individual partnership later.
Setting up lifecycle stage mapping
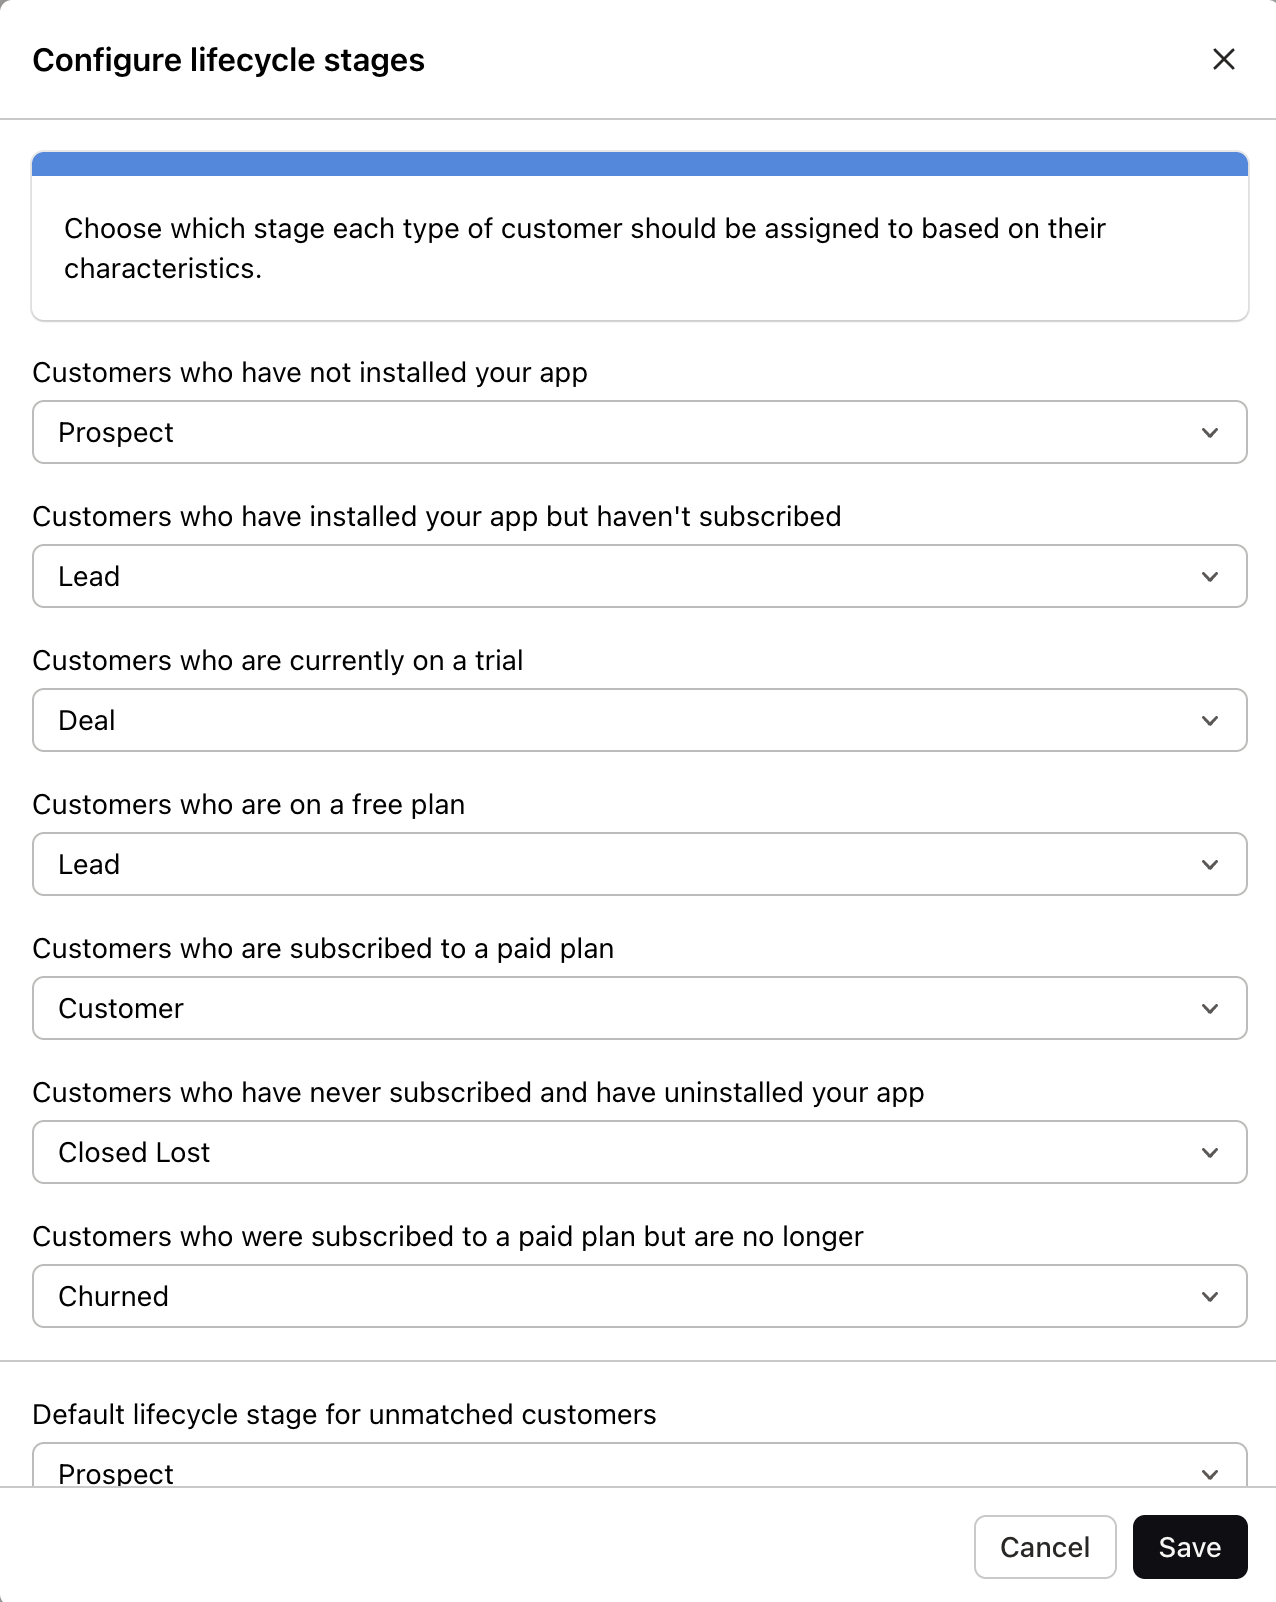
Next, you’ll need to configure how your customers are categorized into different lifecycle stages:
- Navigate to the Lifecycle Stages section under Partnerships > Edit profile > Lifecycle Stages
- For each lifecycle stage, define the criteria that determine which customers fall into that category:
- For example, set “Customers who have not installed your app” as Prospects
- Set “Customers who have installed but haven’t subscribed” as Leads
- Set “Customers subscribed to a paid plan” as Customers
- Set a default category for any customers that don’t match your defined criteria
- Click Save to apply your mapping
Depending on the size of your customer base, the categorization process may take anywhere from a few seconds to a couple of hours.
Designating partner managers
Partner managers are specific users in your organization who will be visible to your partners as points of contact:
- Navigate to the Partner Managers section in your profile settings
- Select the users in your organization who should be designated as partner managers
- Click Save to update your settings
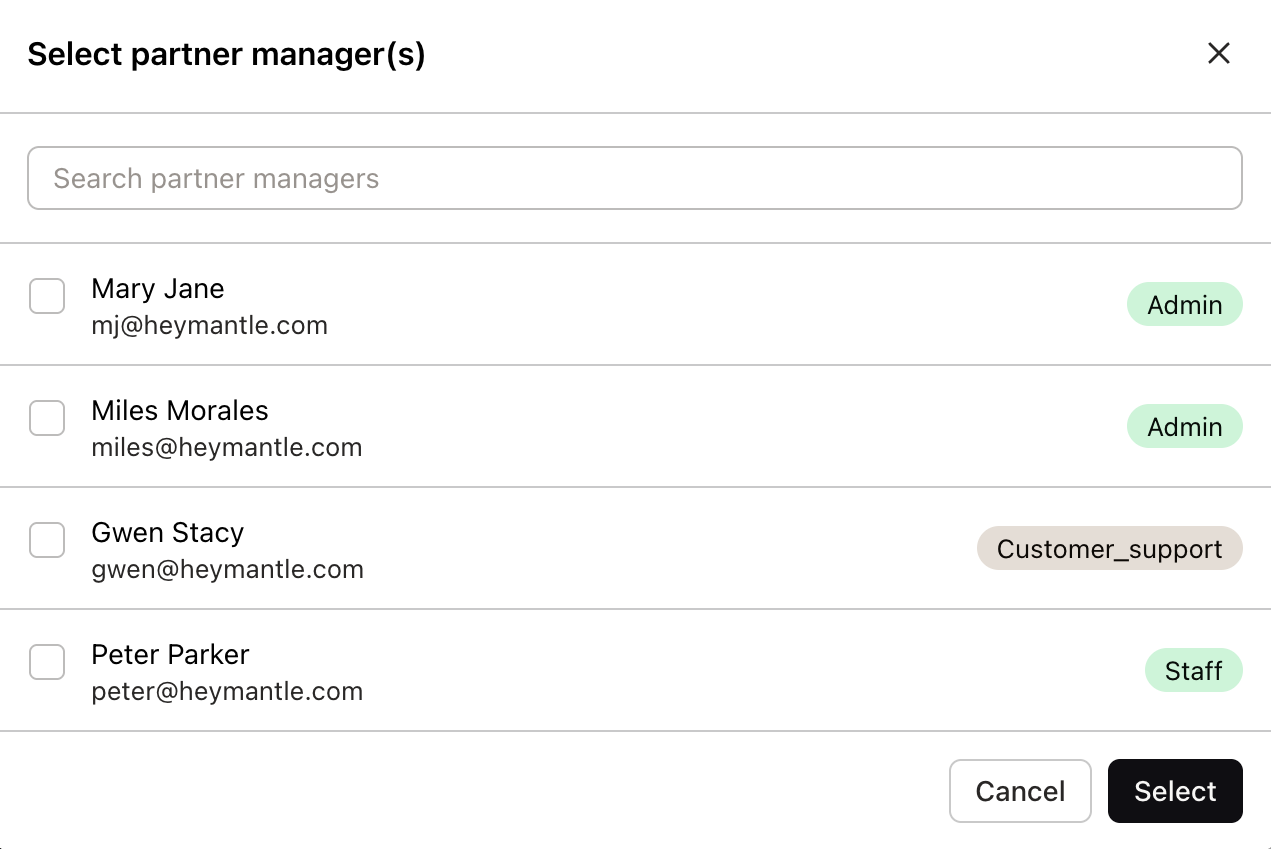
Designating partner managers helps streamline communication between your team and your partners’ teams.
Next steps
After completing the initial setup, you’re ready to start connecting with partners:
- Share your connect link with potential partners to initiate new connections
- Import additional customer data if needed (see Enriching Partnership Data)
- Connect with partners by accepting incoming requests or initiating new connections
- Explore your partnership dashboard once connections are established
Remember that all aspects of your partnership configuration can be adjusted at any time, even after connections have been established. As your partnership strategy evolves, you can update your sharing preferences, lifecycle mapping, and other settings accordingly.
For information on importing additional customer data, see our guide on Enriching Partnership Data. To learn about connecting with partners, see Managing Partner Connections.