Design your email
Once your domain and sender are ready, you can start creating your email. Just click Add email to get started:
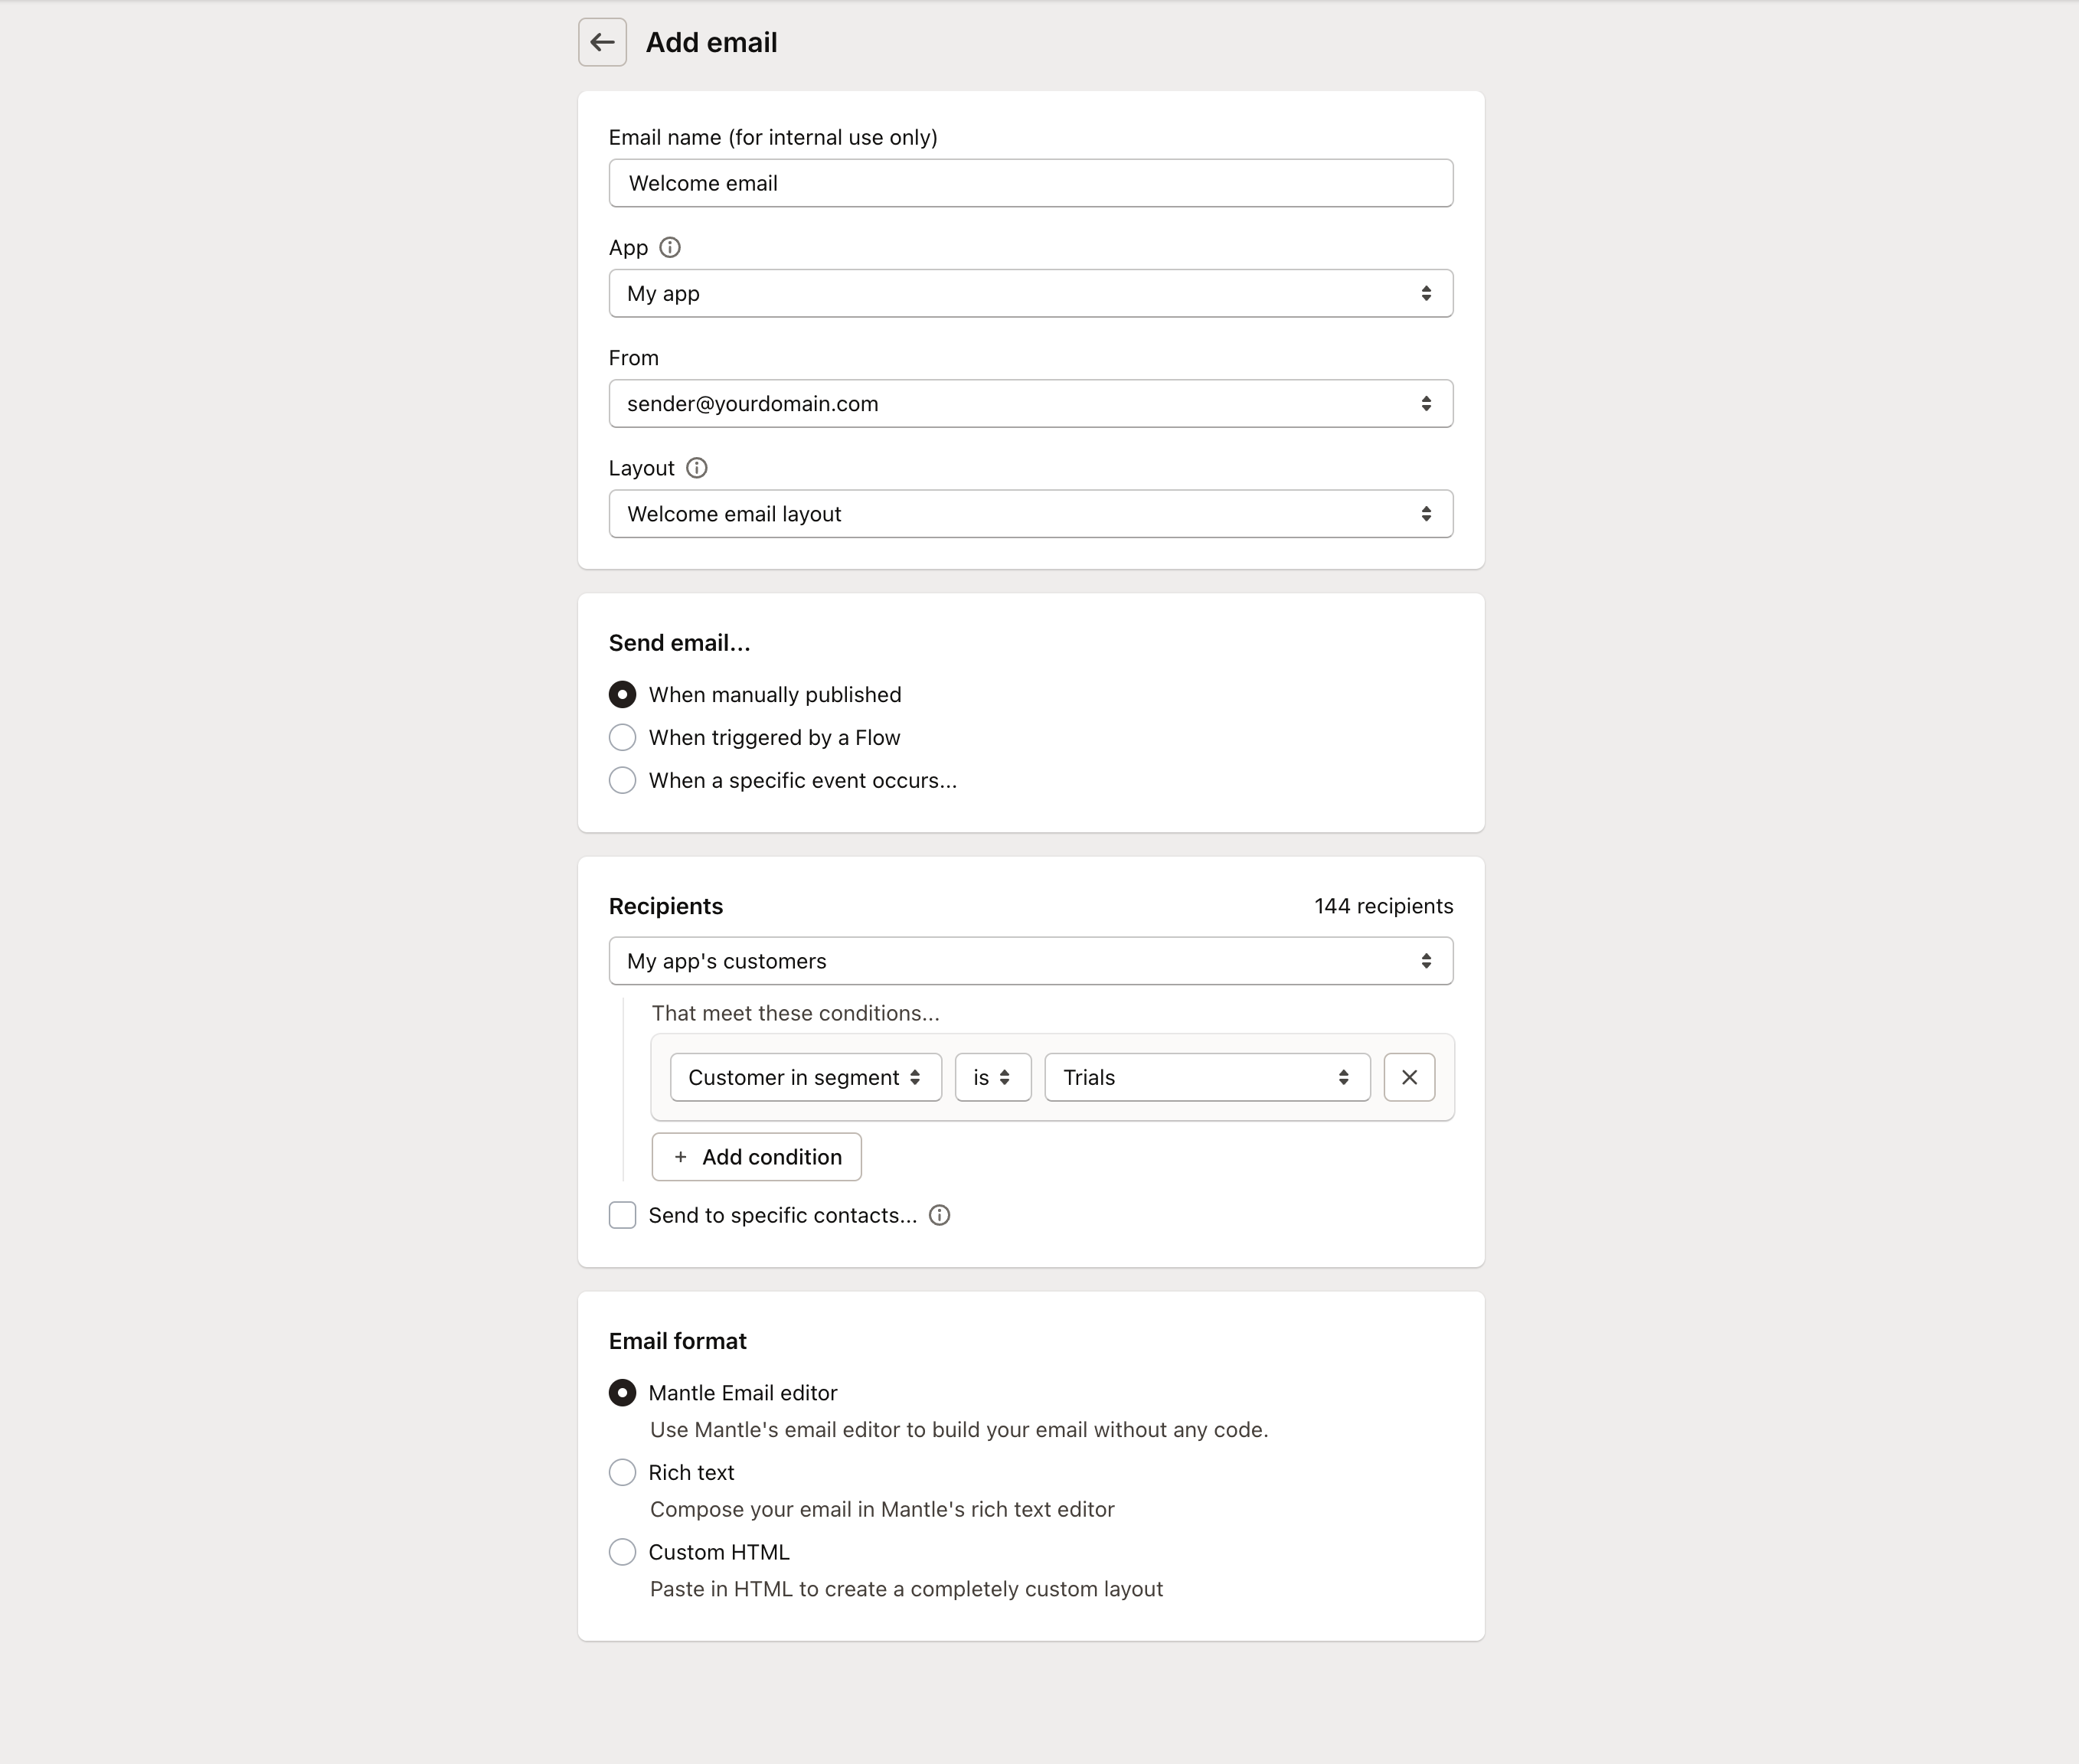
When setting up your email, you’ll need to fill out the following:
| Field | Description |
|---|---|
| Email name | A name for internal reference |
| Associated app | Link the email to an app (optional but helps with organization and reporting) |
| Sender | The email address you’ll use to send the email |
| Recipients | Choose who gets the email based on different conditions: • App events: installs, uninstalls, etc. • Customer info: email, tags, lifetime value (LTV), and more • Subscription details: status, plan, amount, and other subscription data • Segments: use pre-defined segments from your customer view (In the image, we’re using a segment called “Trials”) |
| Sending schedule | Decide whether to send manually, set it up to send automatically based on triggers (like an app install, uninstall, review, or subscription change), or trigger it as part of a flow. |
| Unsubscribe group | Select the appropriate unsubscribe group for this email |
After setting up the email details, click Continue to start designing your email’s look and feel.
Mantle gives you the ability to create and edit your emails the way you’d like to.
- Use Mantle’s easy to use drag and drop editor to add sections and create your email from scratch.
- Add your own emails by dropping in your own HTML and CSS.
- Create email templates called Layouts that will save
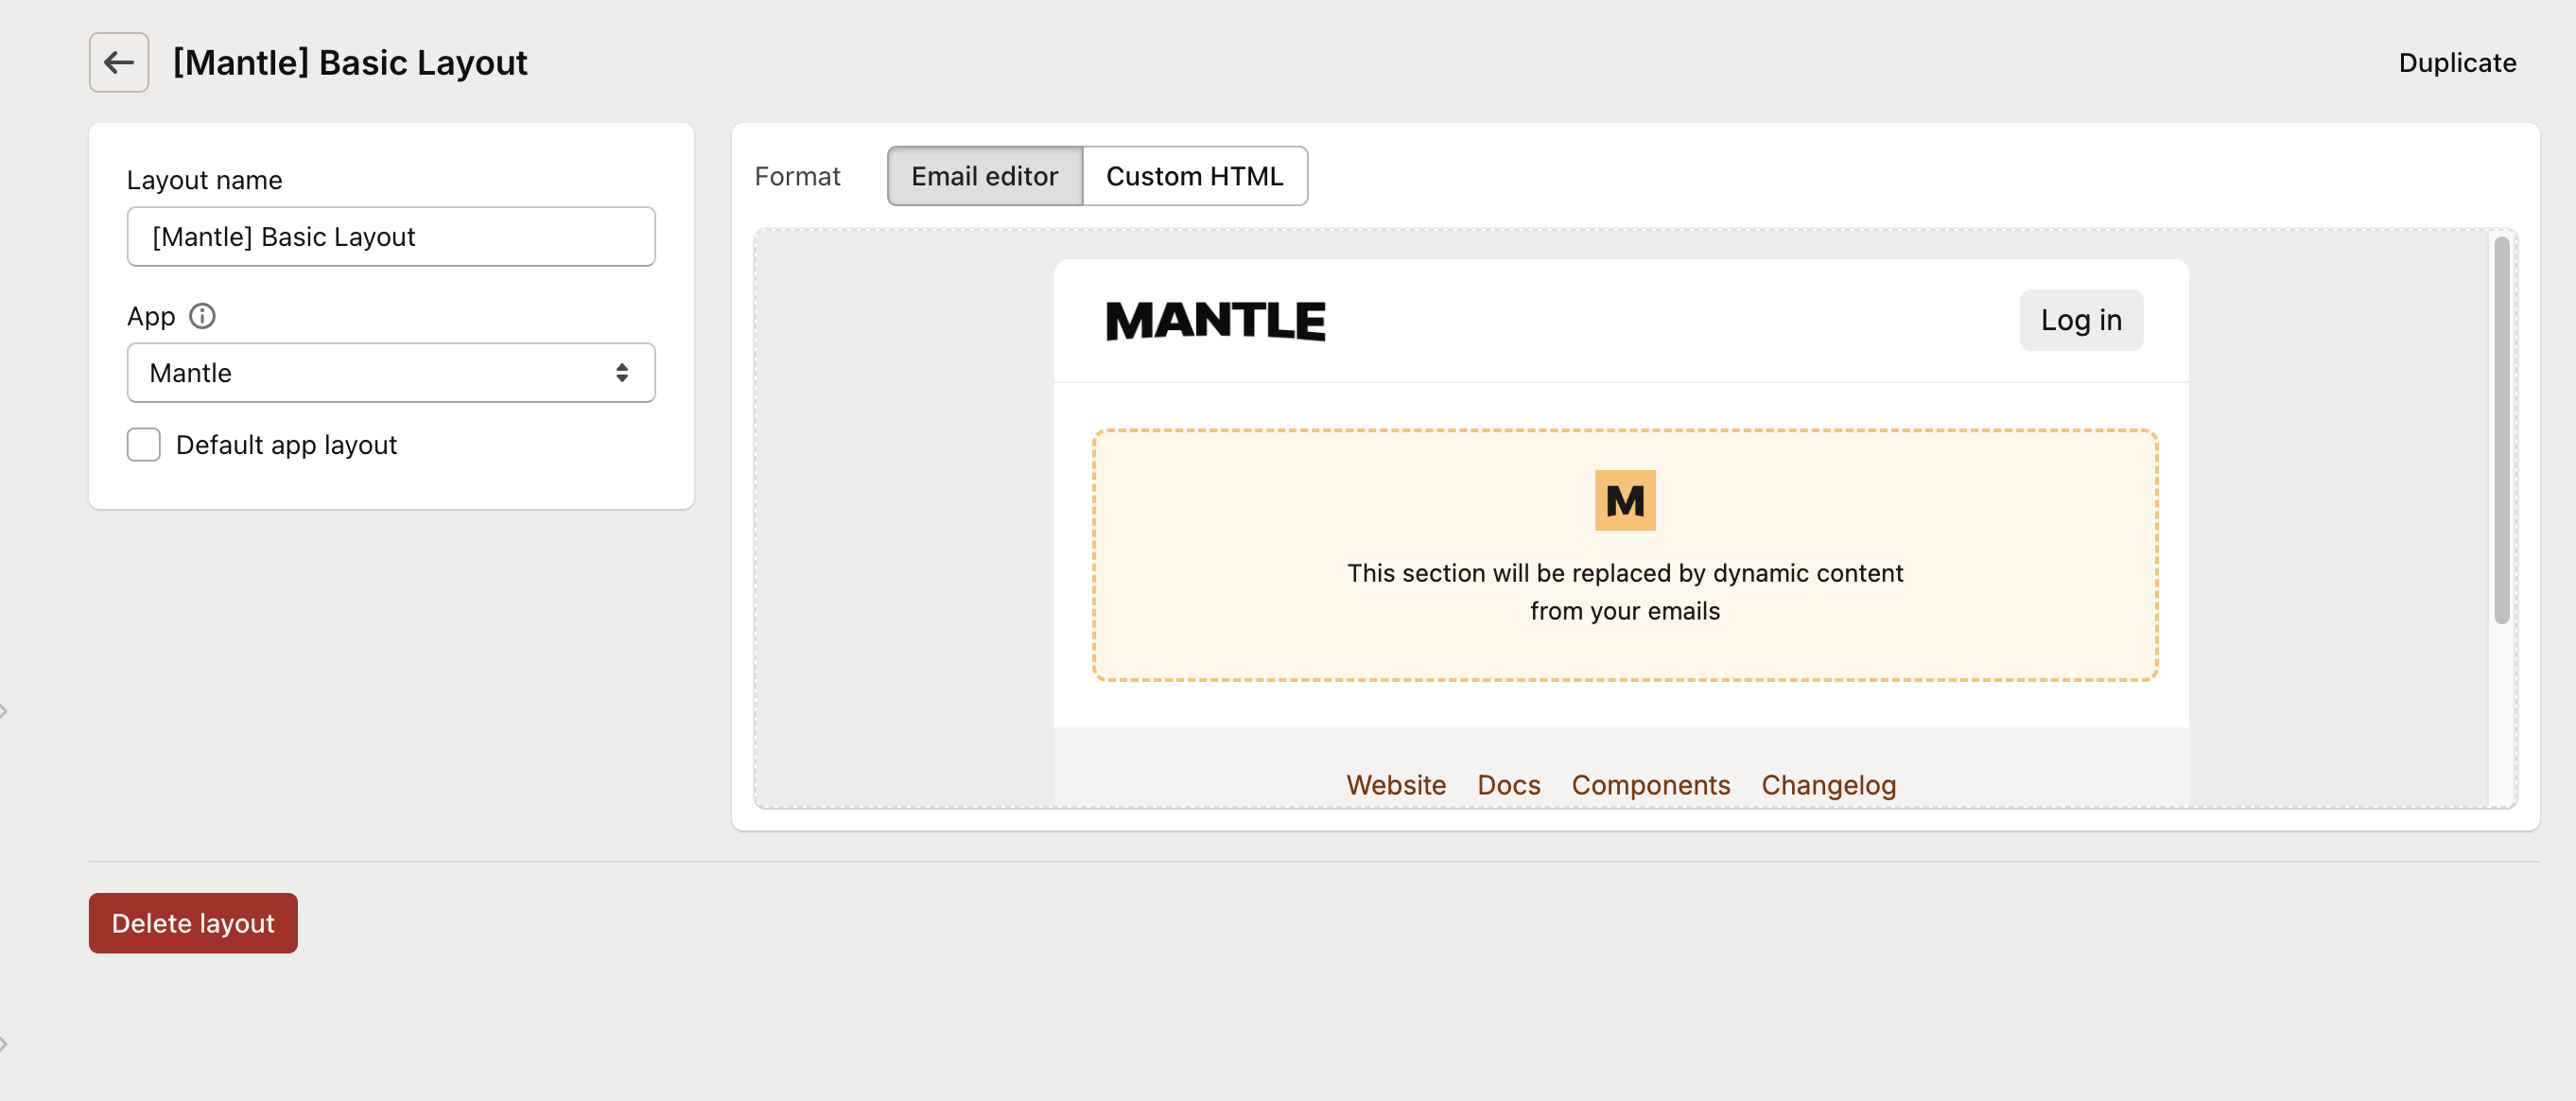
Layouts
Create reusable layouts for your emails - Just design a base template with your branding, go-to links, and other stuff you use all the time. Save it as a layout, and boom - for each new campaign, you can start with your saved layout and just add the unique bits.
It’s a great way to keep your emails looking consistent without starting from scratch every time.
To create a layout:
- Navigate to Email in the main menu
- Select Layouts from the dropdown
- Click Add layout
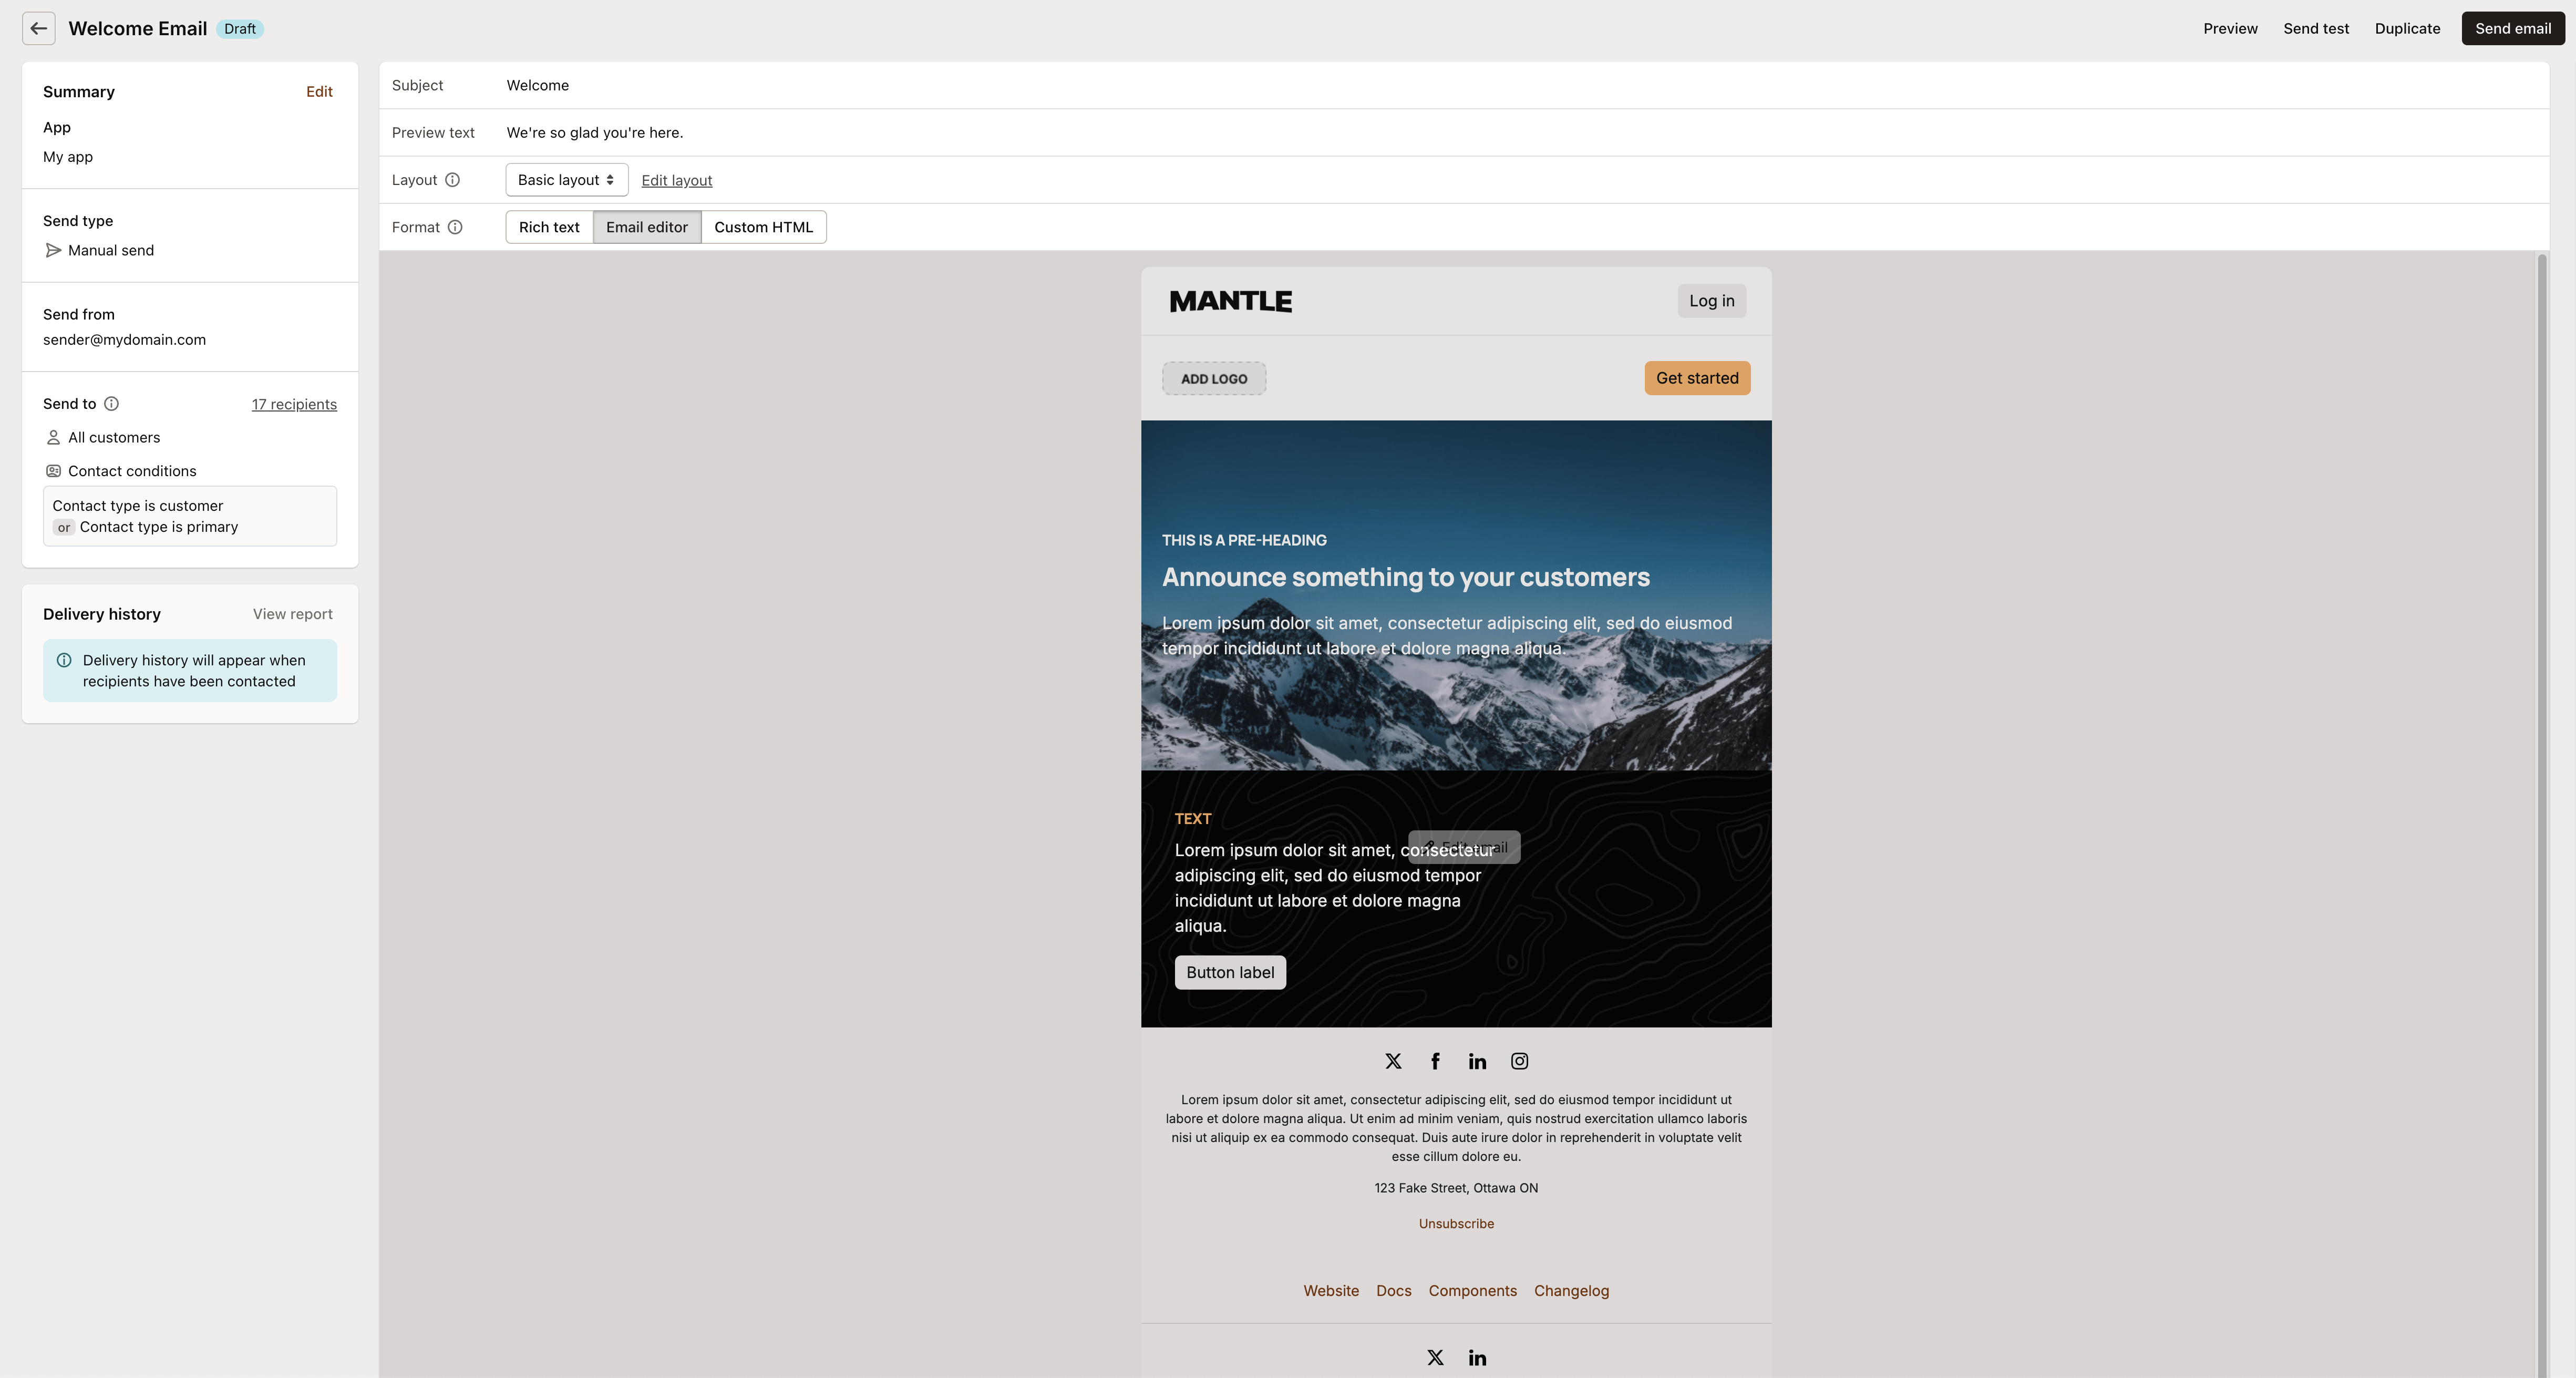
Or start with a layout by creating a new email and clicking on the editor:
Once your layout is set up, save it and you can use it as a template for any future emails.
Adding and customizing content
Mantle’s email builder gives you powerful tools for creating stunning marketing emails quickly. Choose from our stylish templates, combine various content blocks, and personalize your message with custom images, text, and branding.
Click on the email preview to open the email editor, where you can customize your message and make it uniquely yours:
Adding blocks
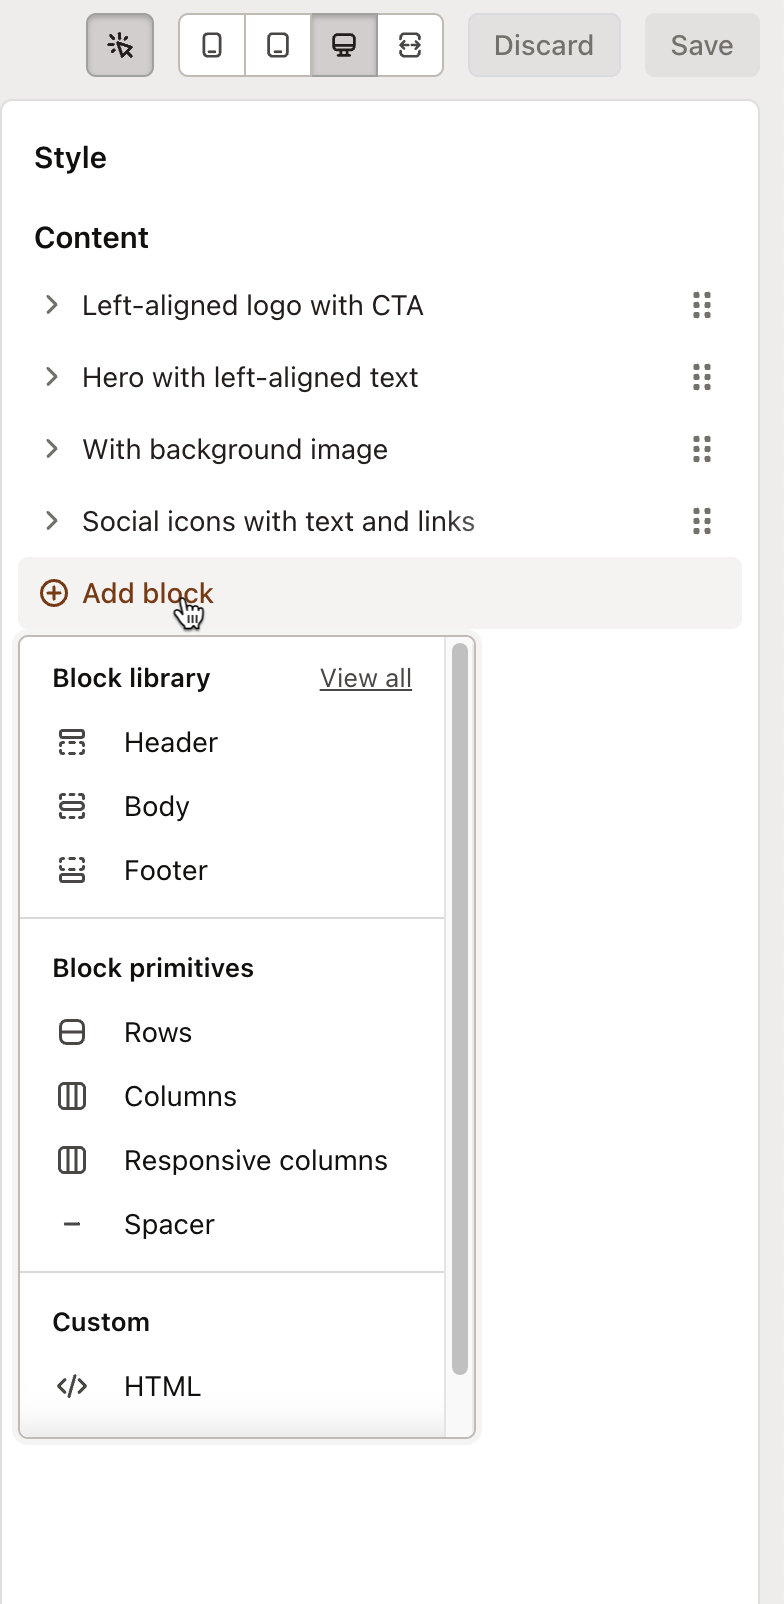
Mantle’s email editor offers a diverse range of content blocks to help you create engaging and visually appealing emails. From simple text and image blocks to more complex layouts with logos, CTAs, and social icons, you have all the tools you need to craft professional-looking emails that match your brand.
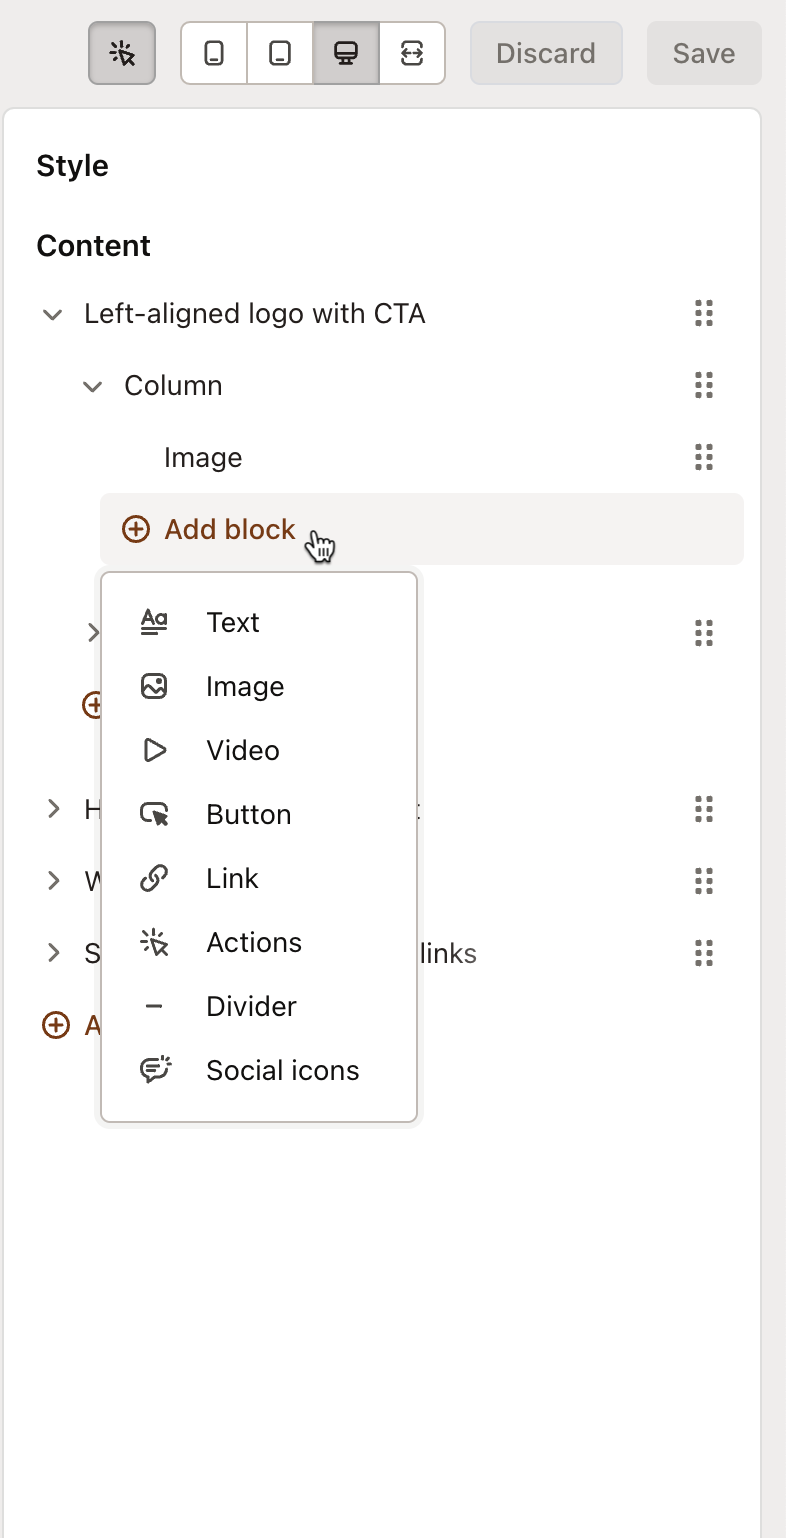
Add blocks from the quick block viewer, or click View all to explore the full range of options.
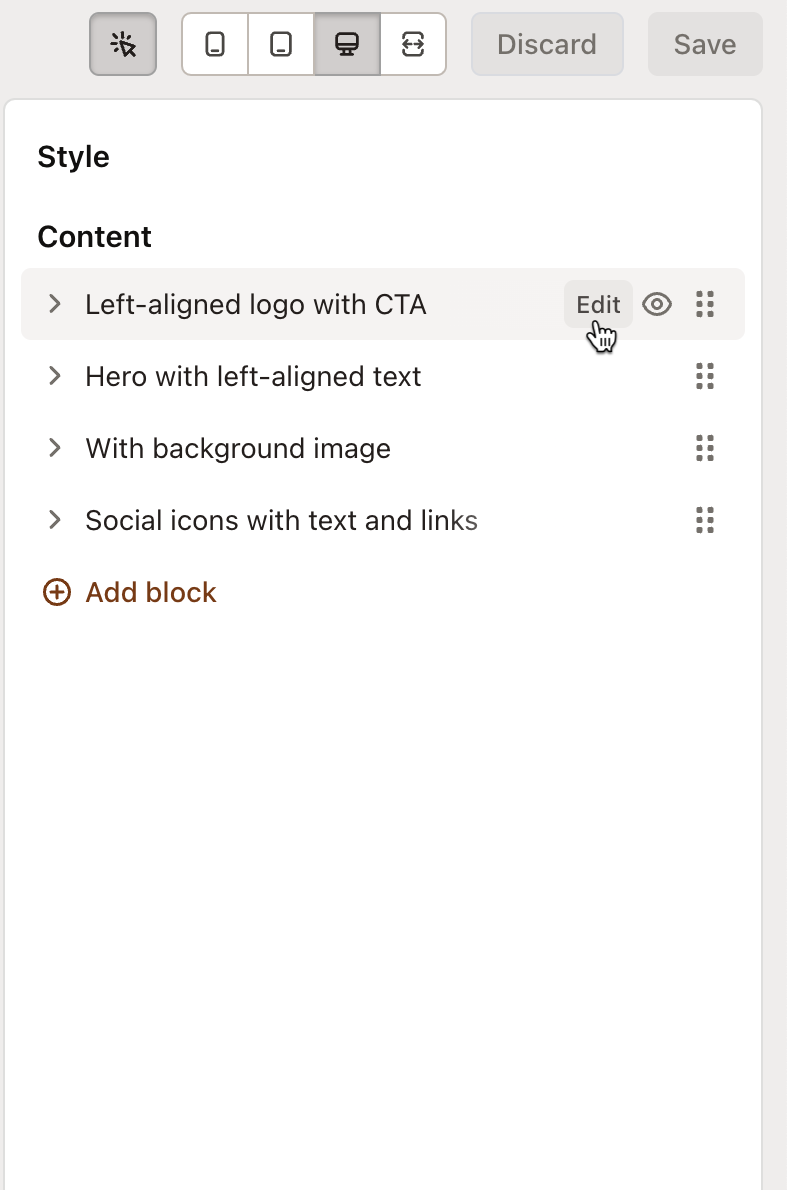
To edit the block you’ve added, click Edit on the block itself:
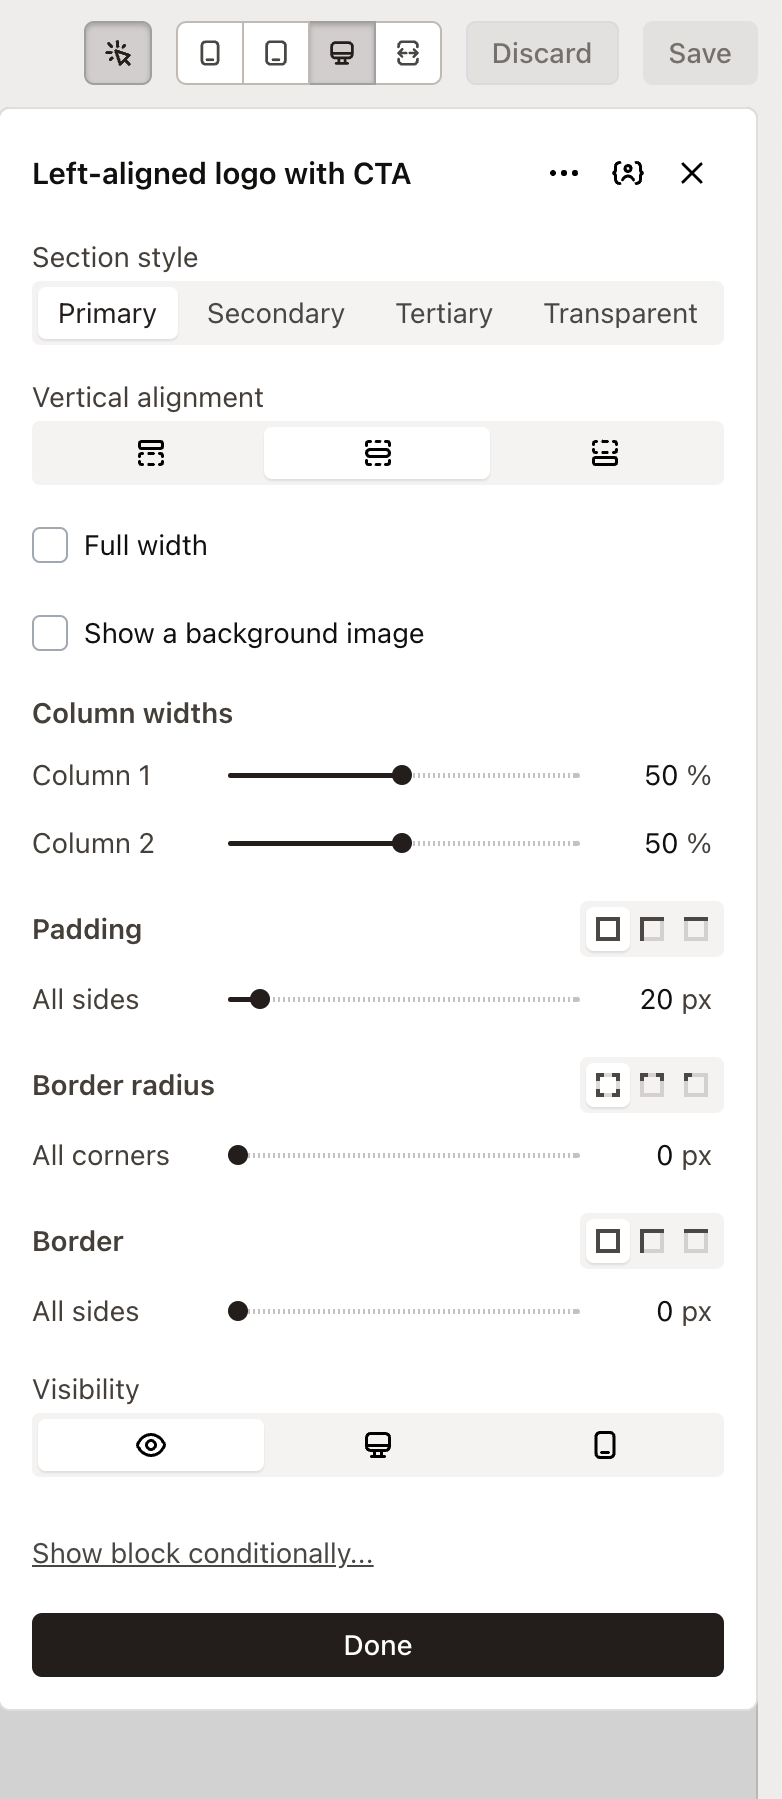
And you’ll have a list of settings to edit the content:
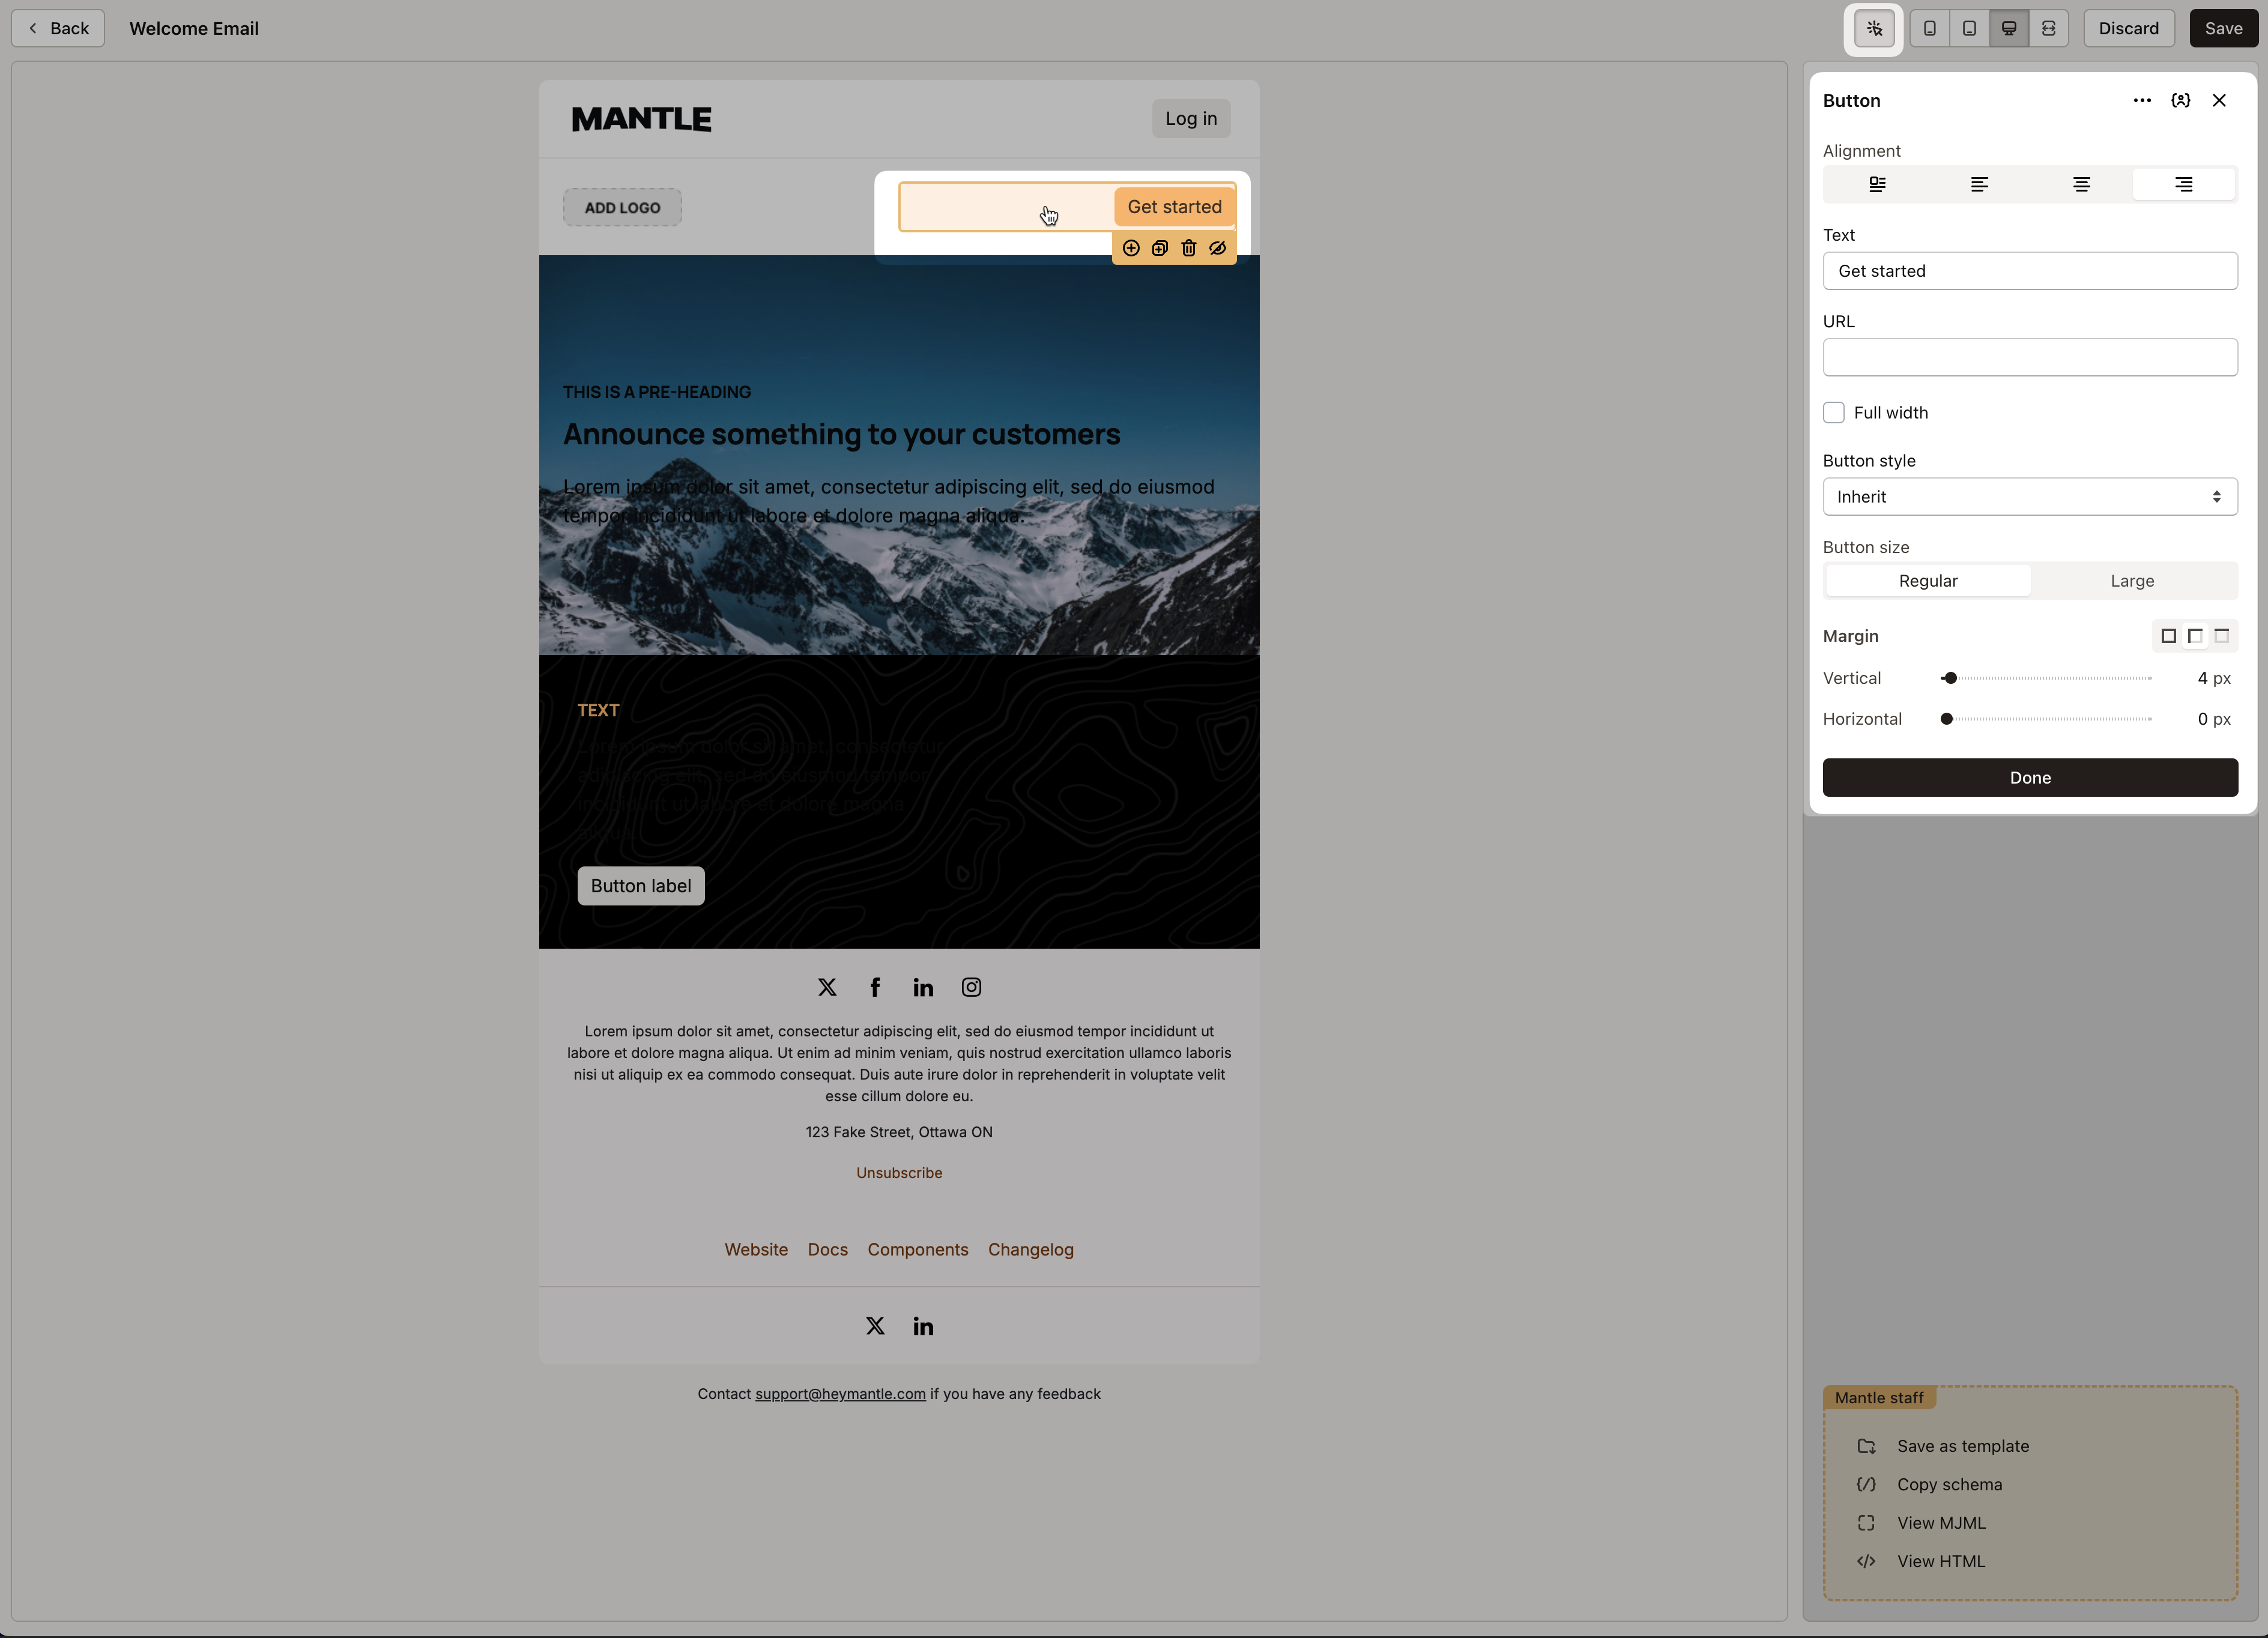
Once blocks are added, simply click into the block to edit visual settings and add content:
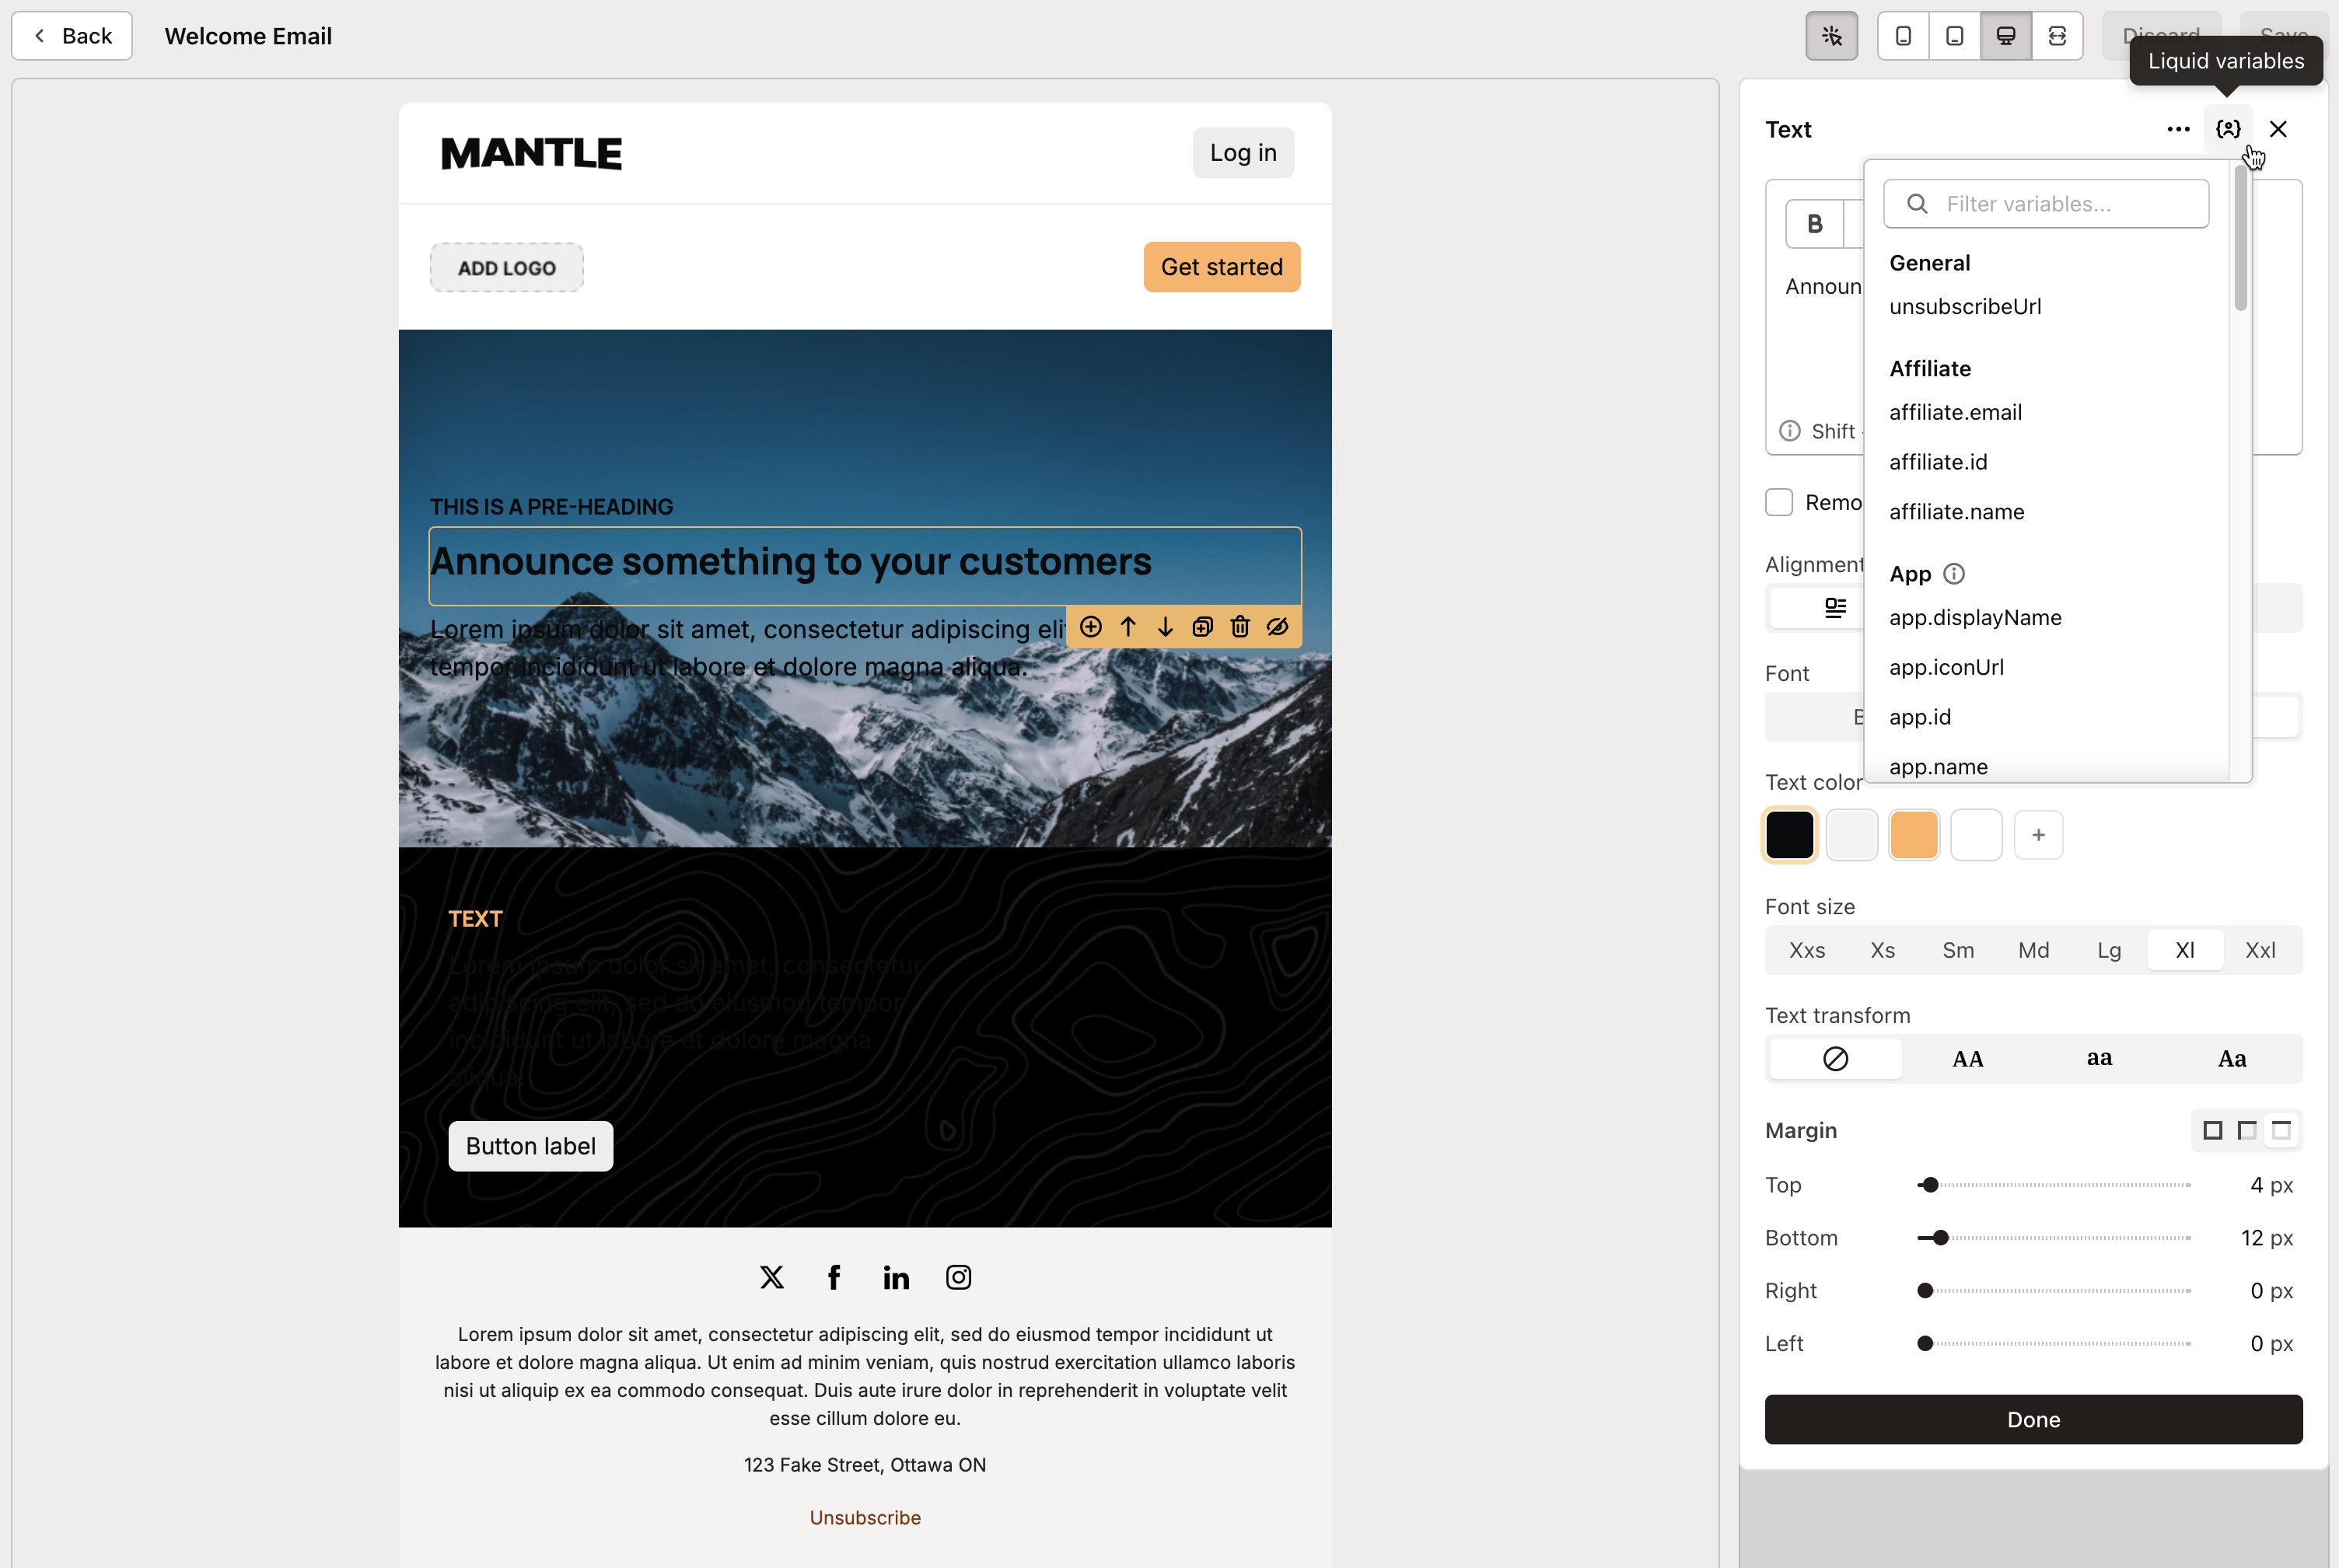
You can modify any part of your content and incorporate liquid variables to create dynamic, personalized emails:
Conditional blocks
Want to make a block show up only sometimes? Here’s how:
- Add the block you want to your email
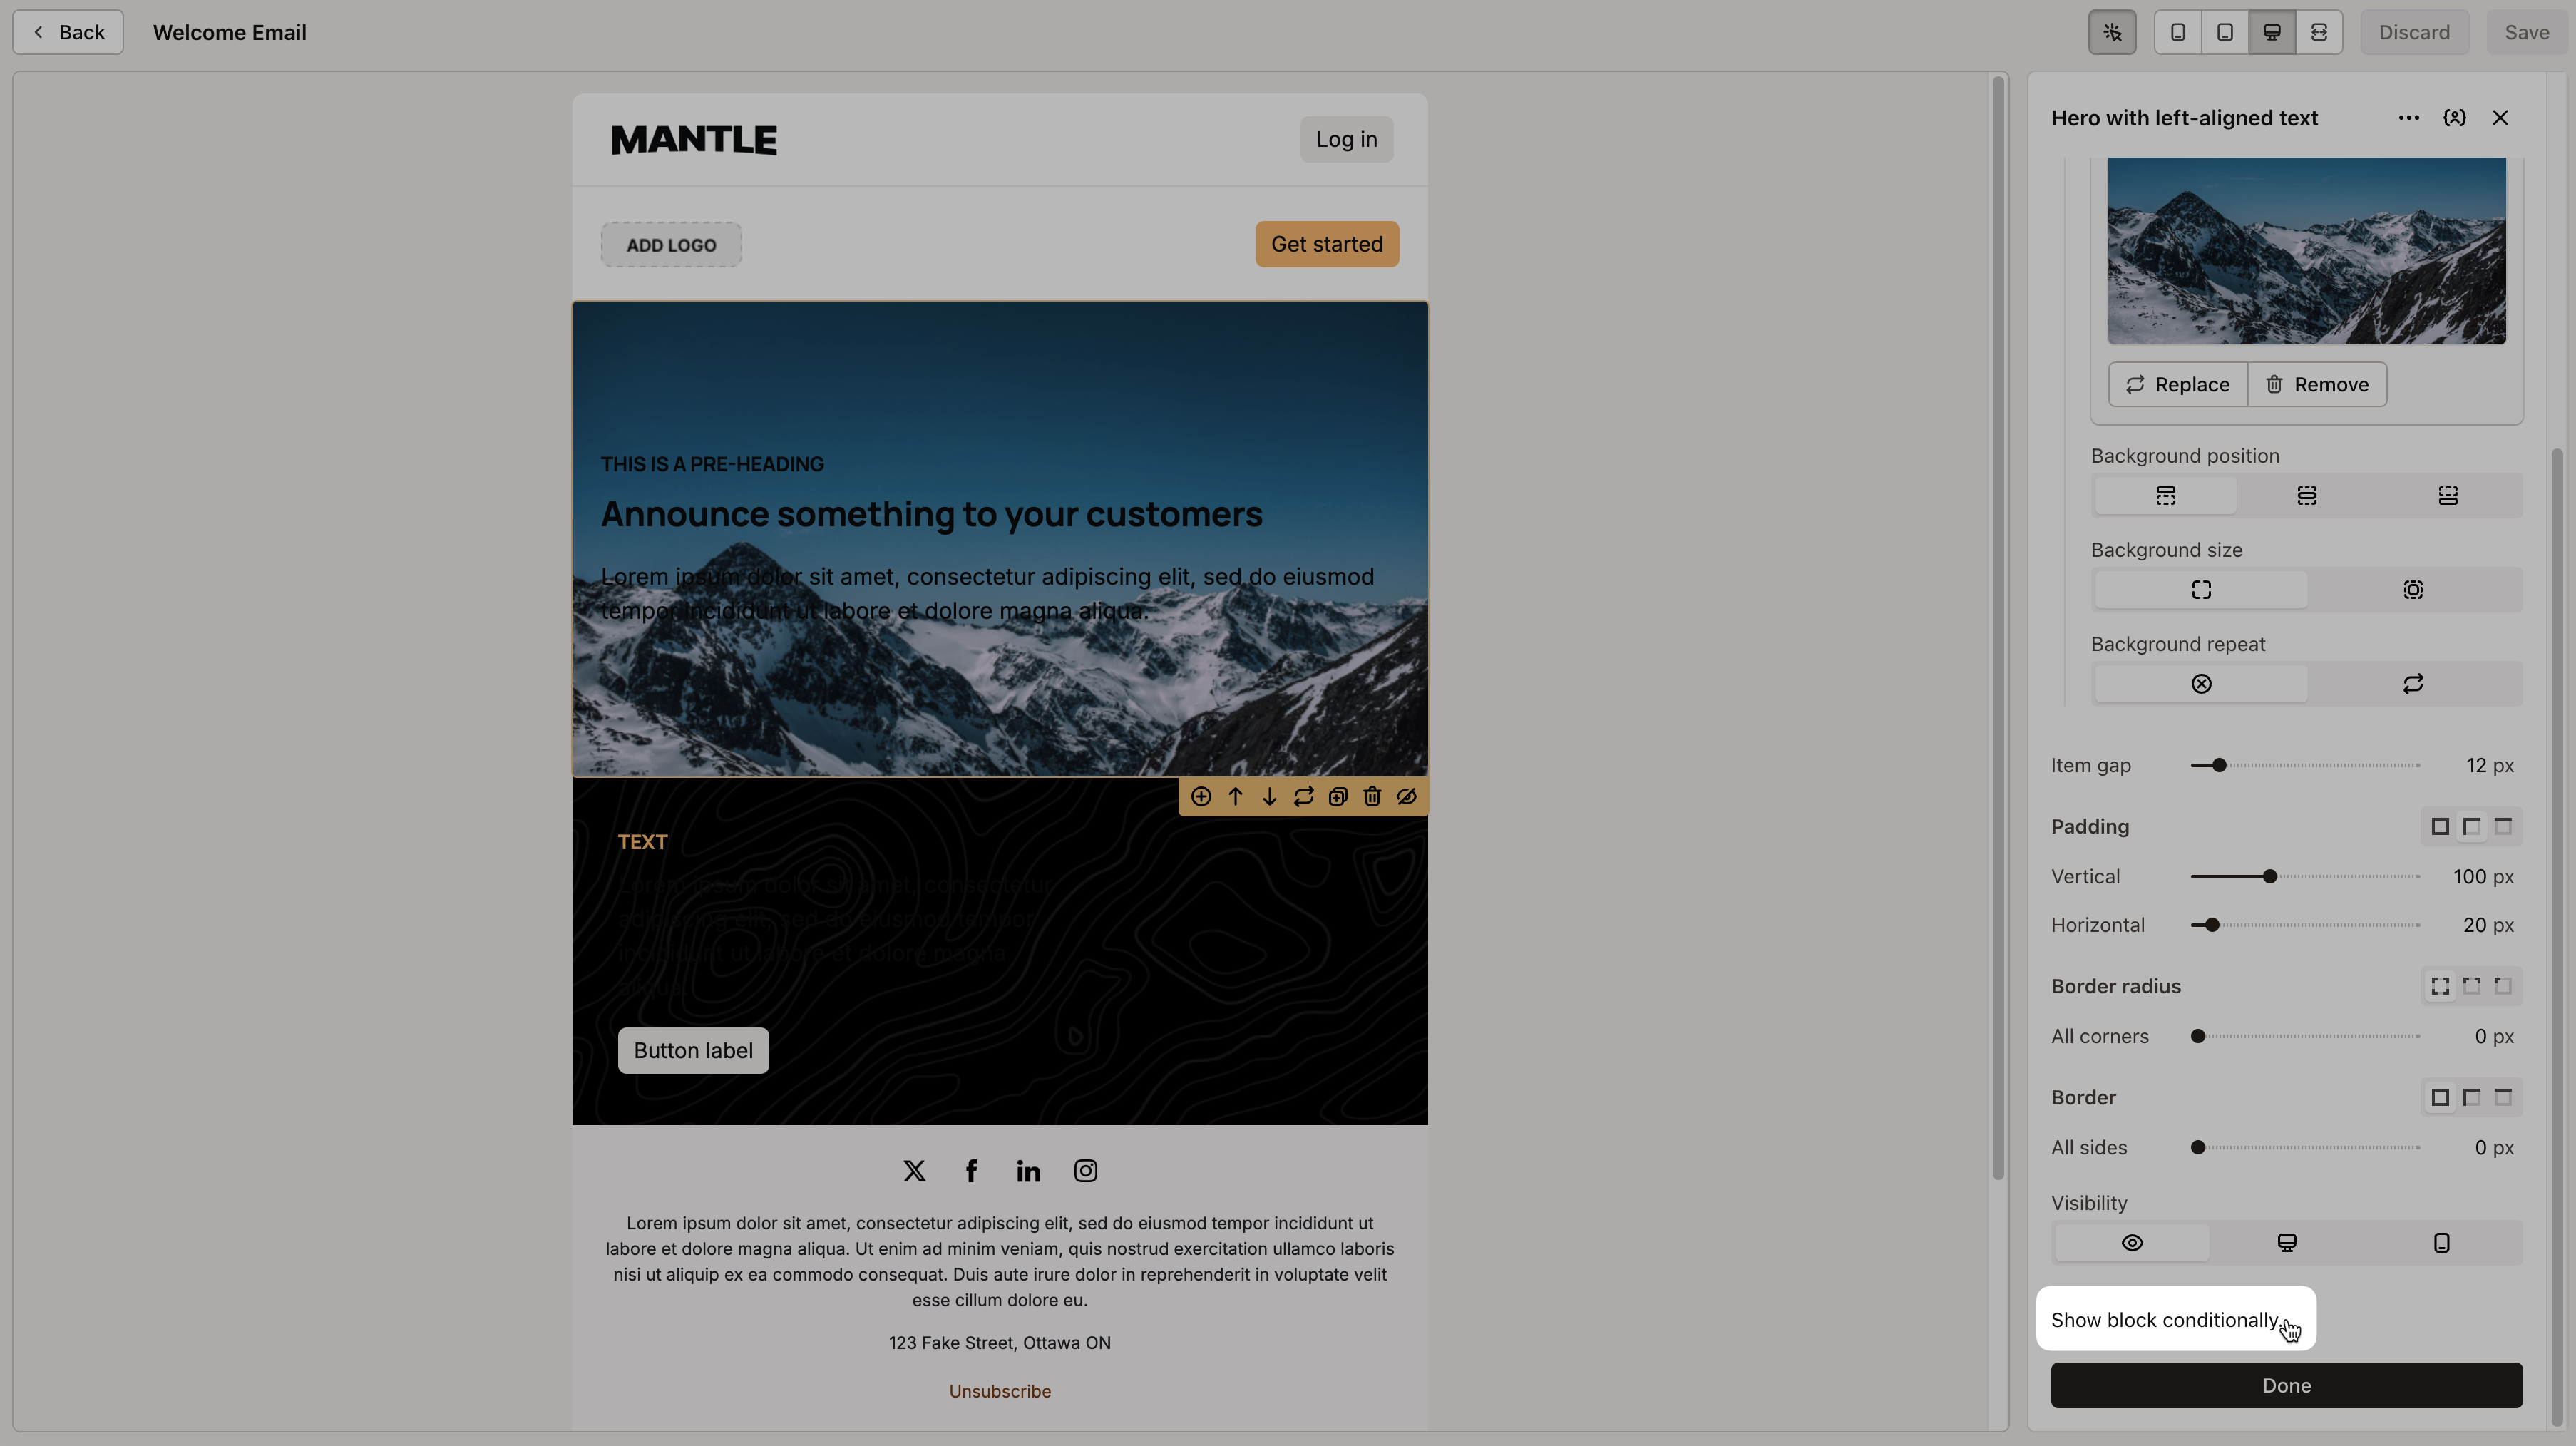
- Click Edit on the block
- Click the Show block conditionally button:
- Pick the conditions that decide when the block shows up
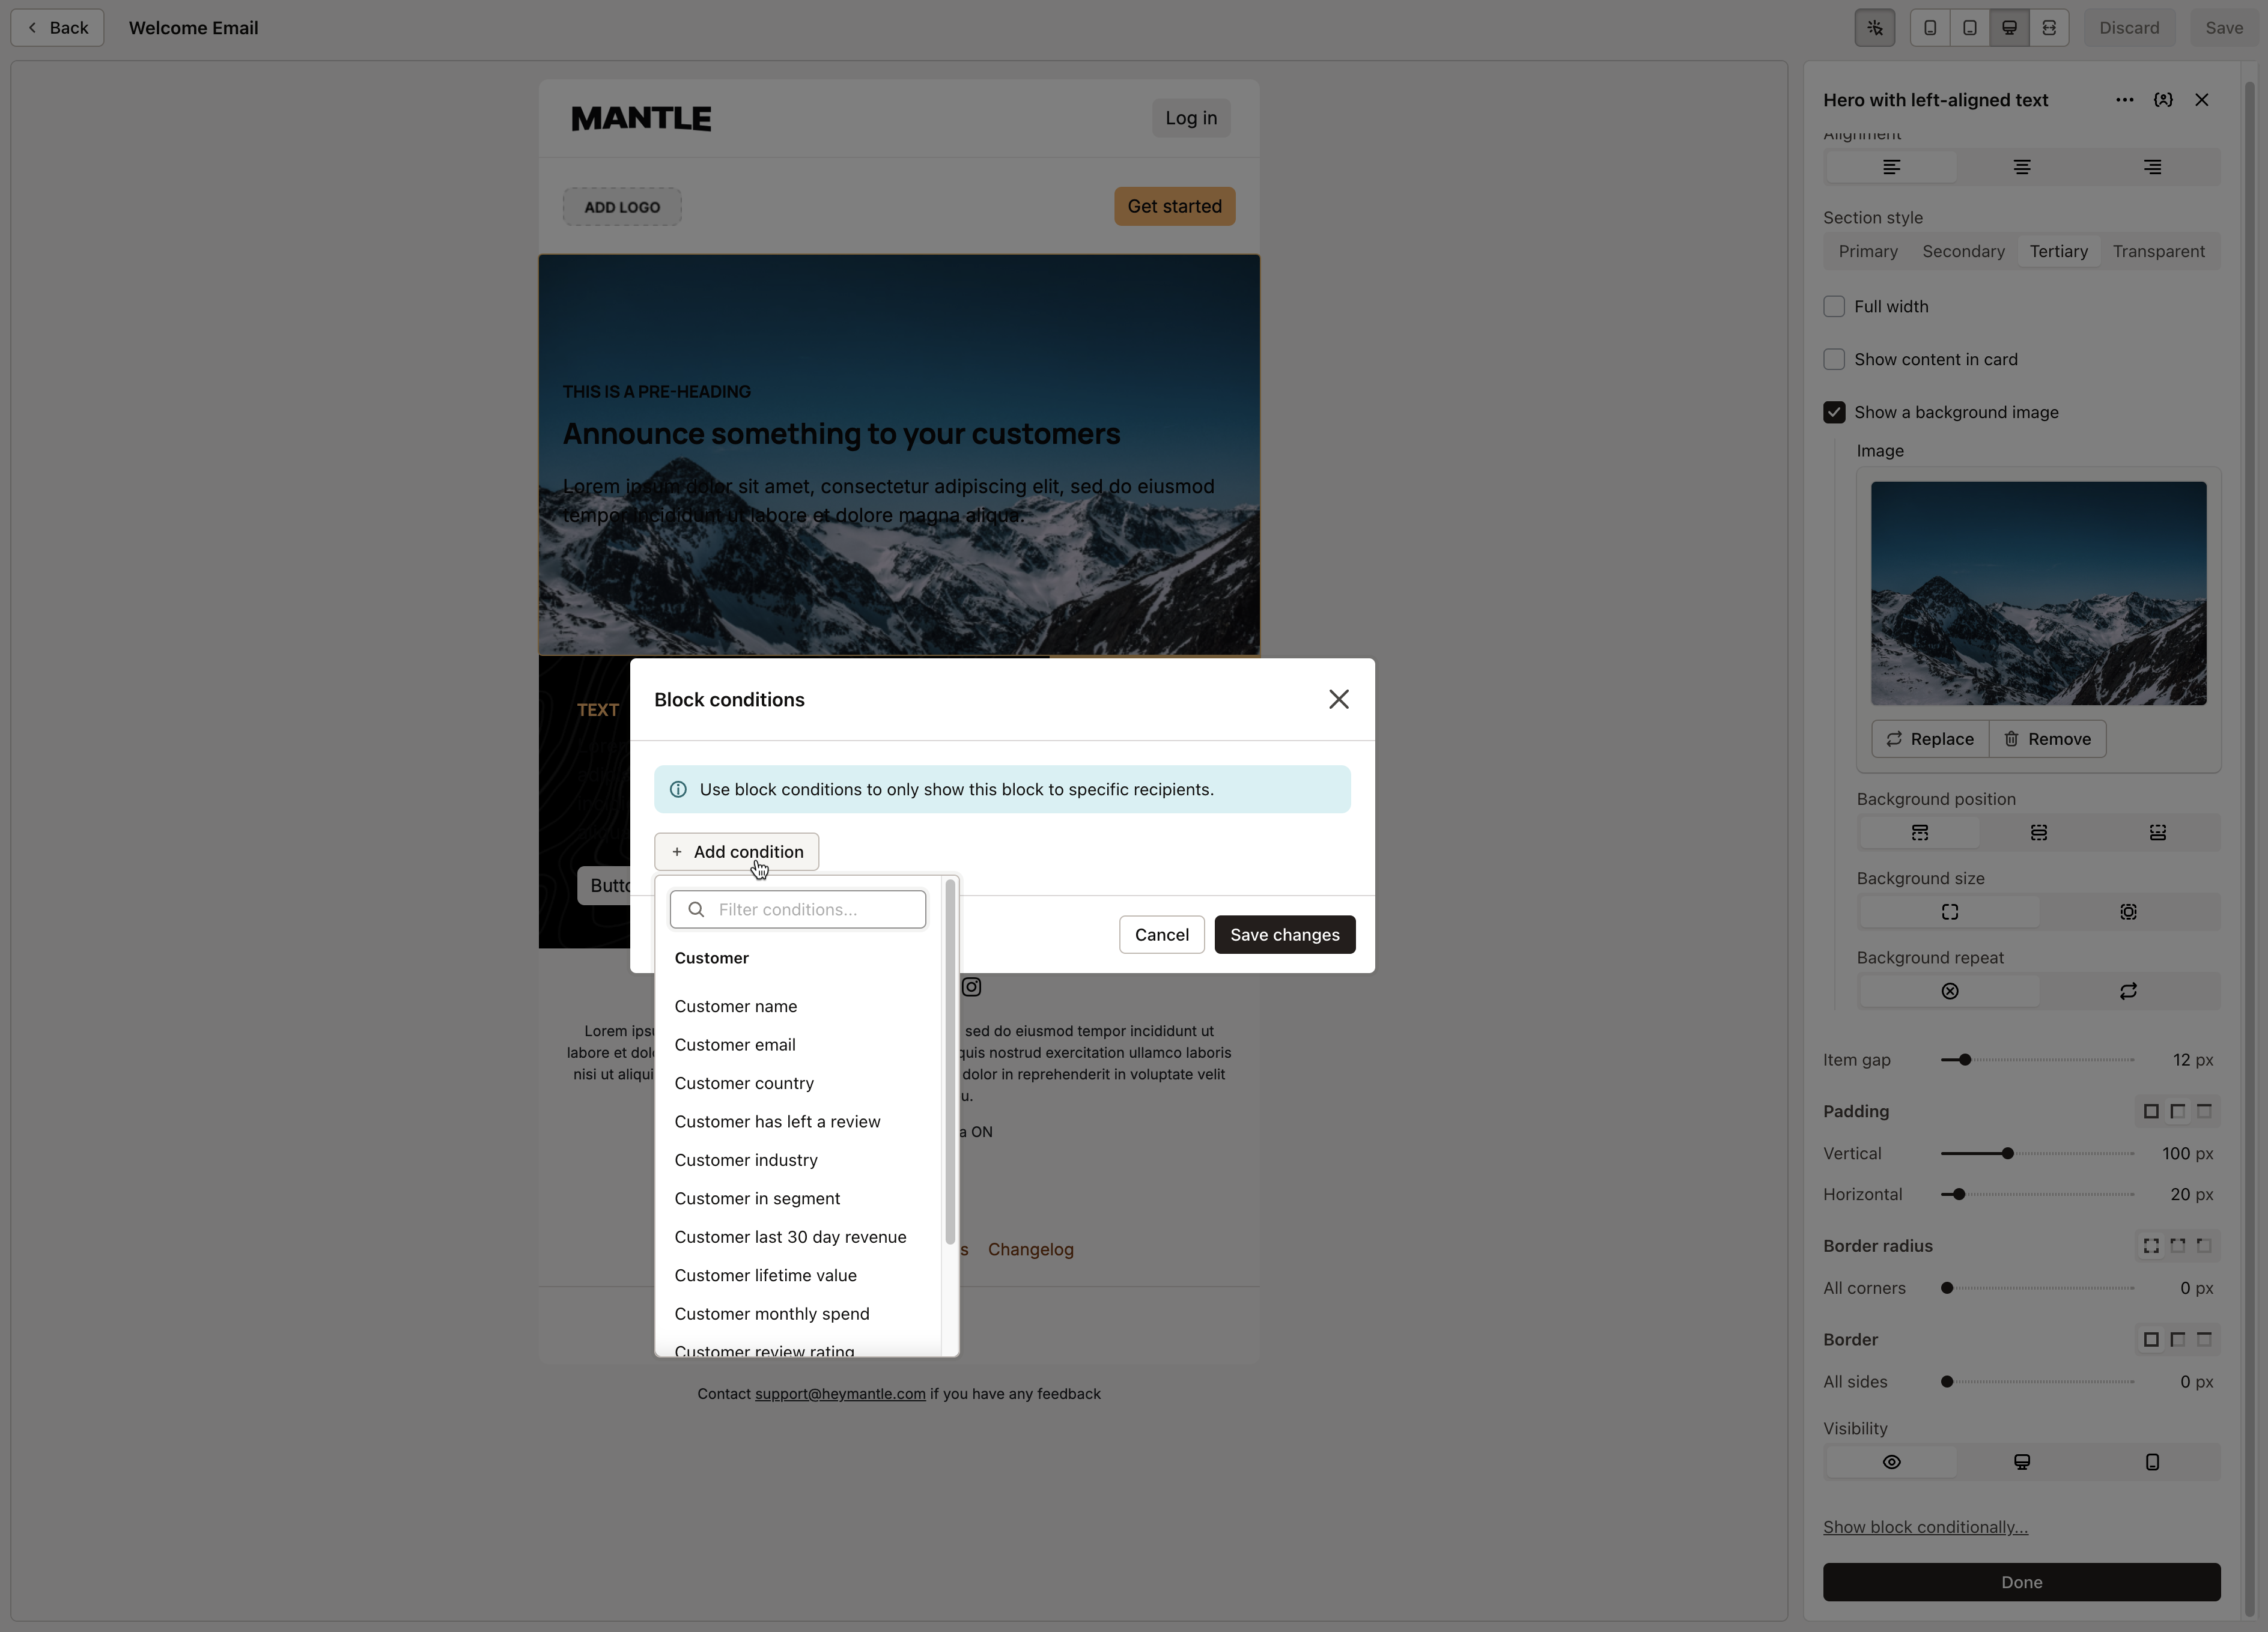
For example, you could create a block containing a specific discount code that only appears for a targeted segment of customers.
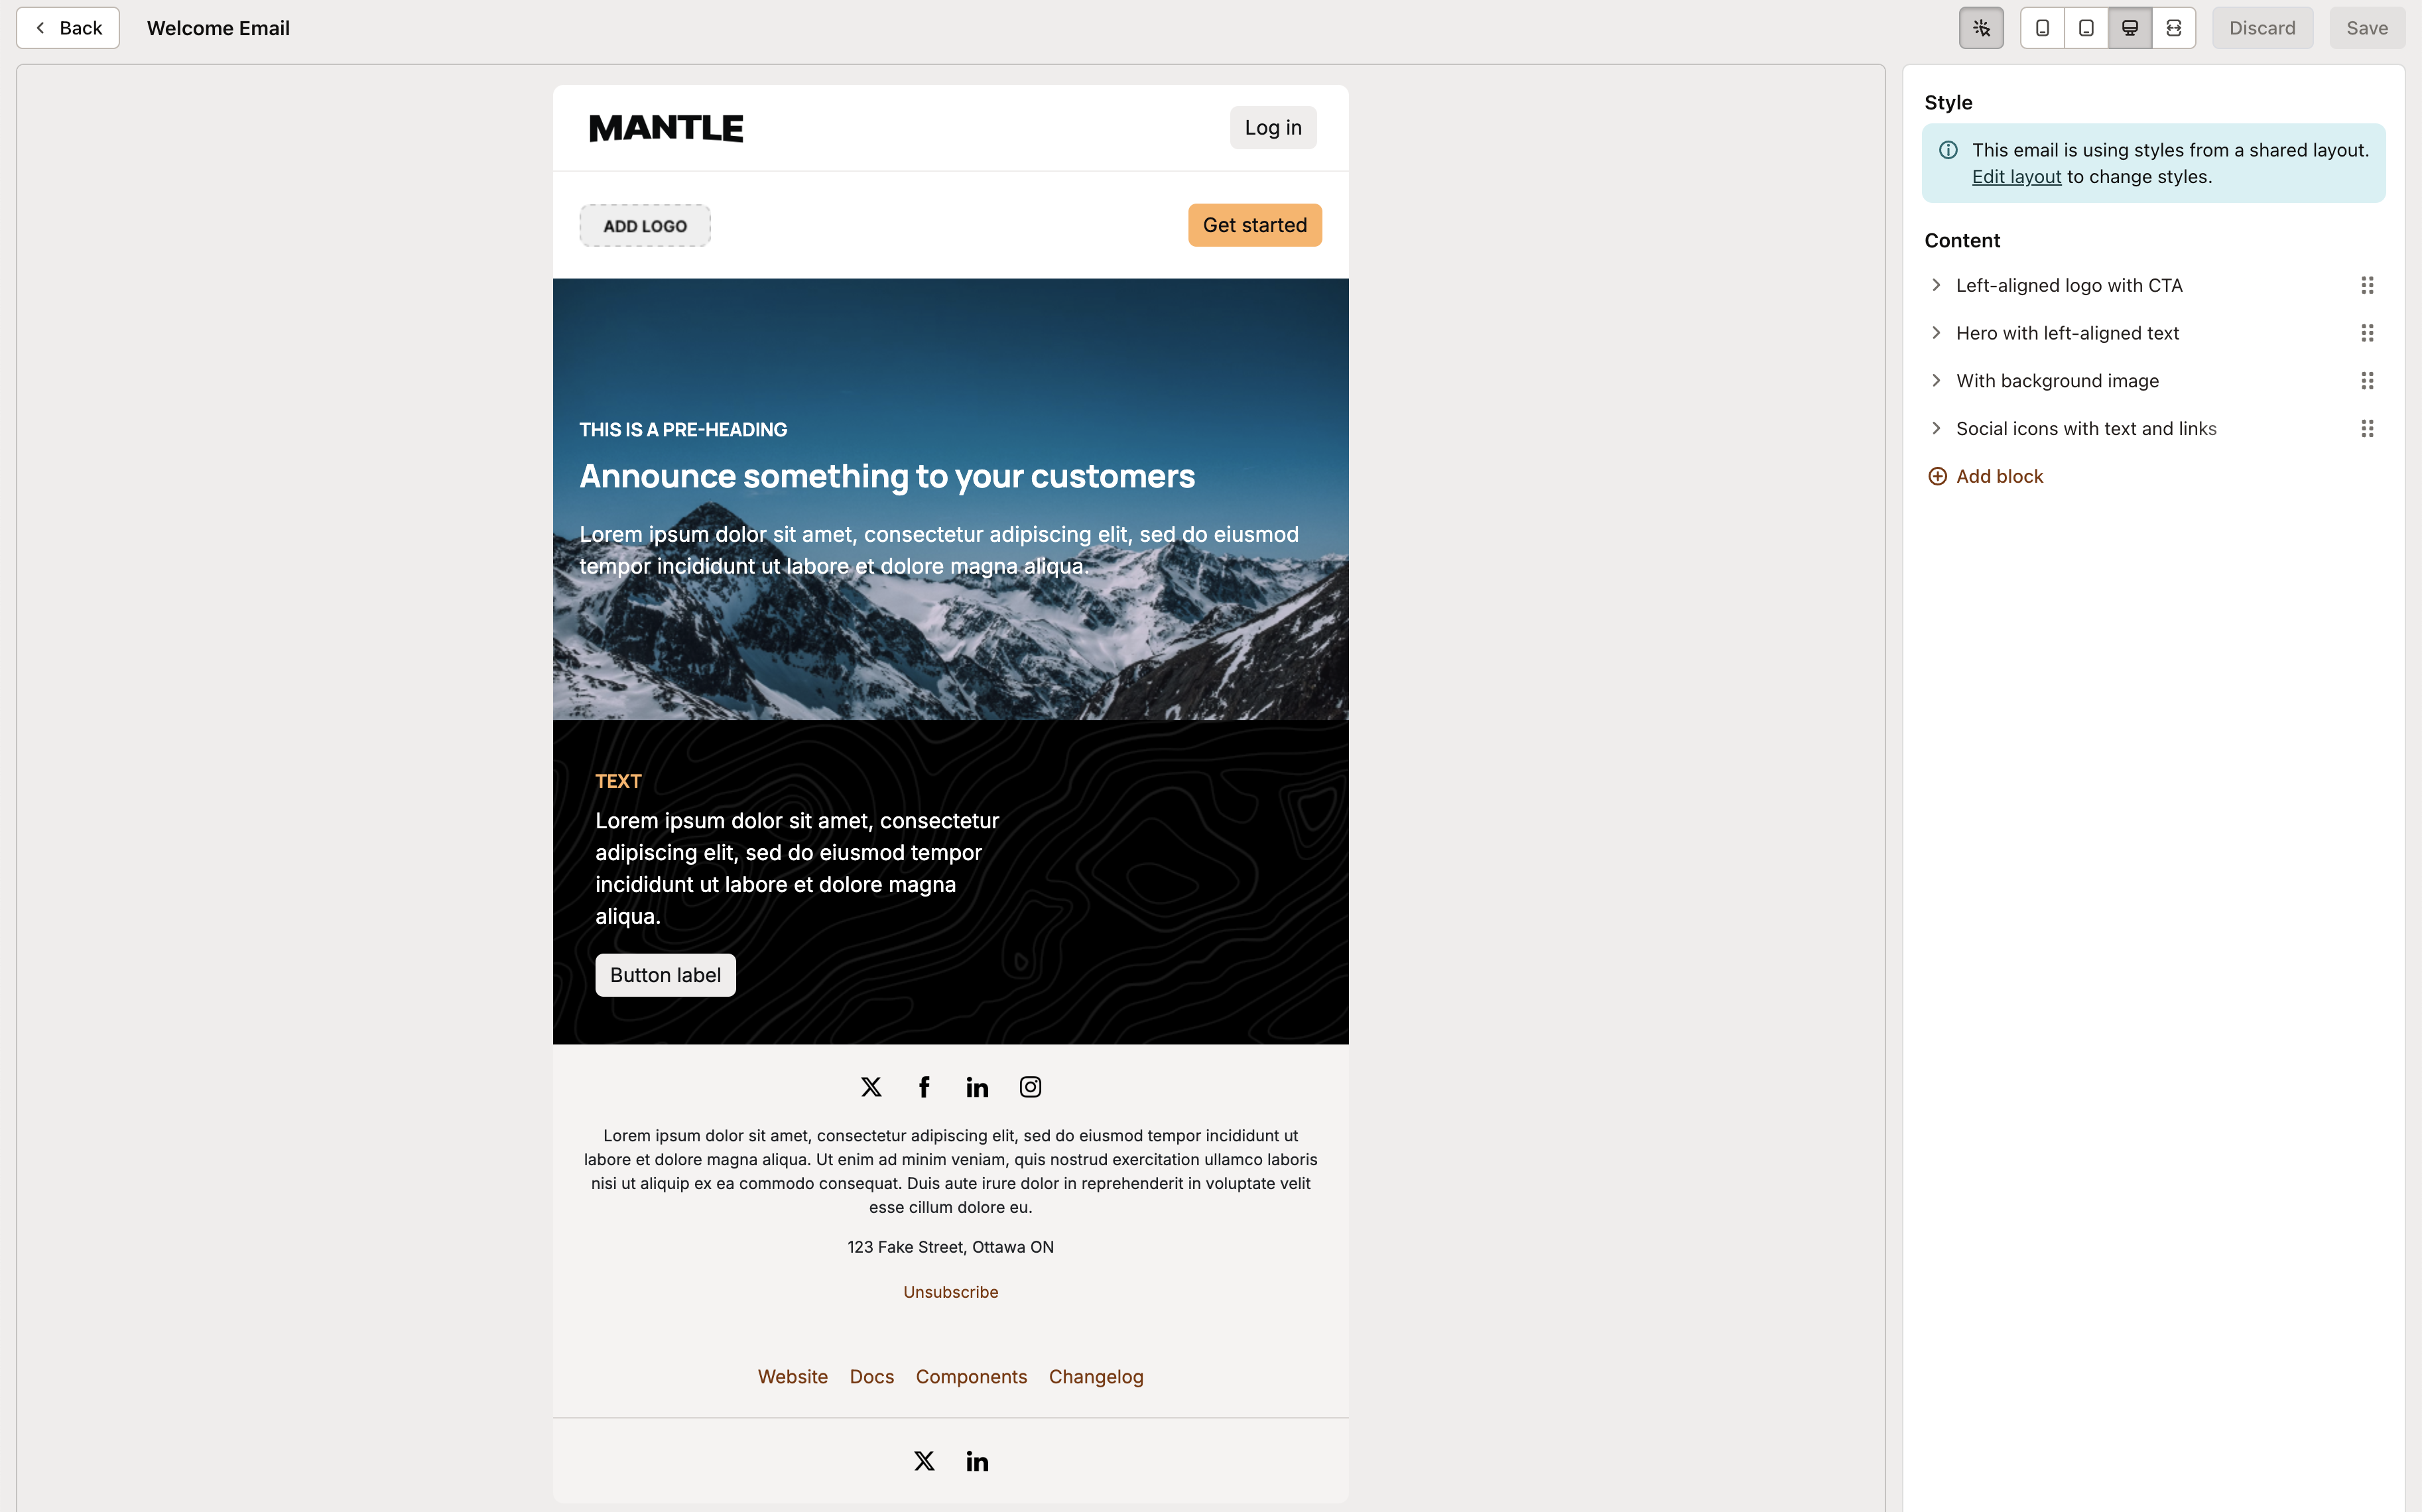
Moving, hiding & inspecting elements
Our editor features a built-in inspector mode, allowing you to click on any element to view and edit its properties:
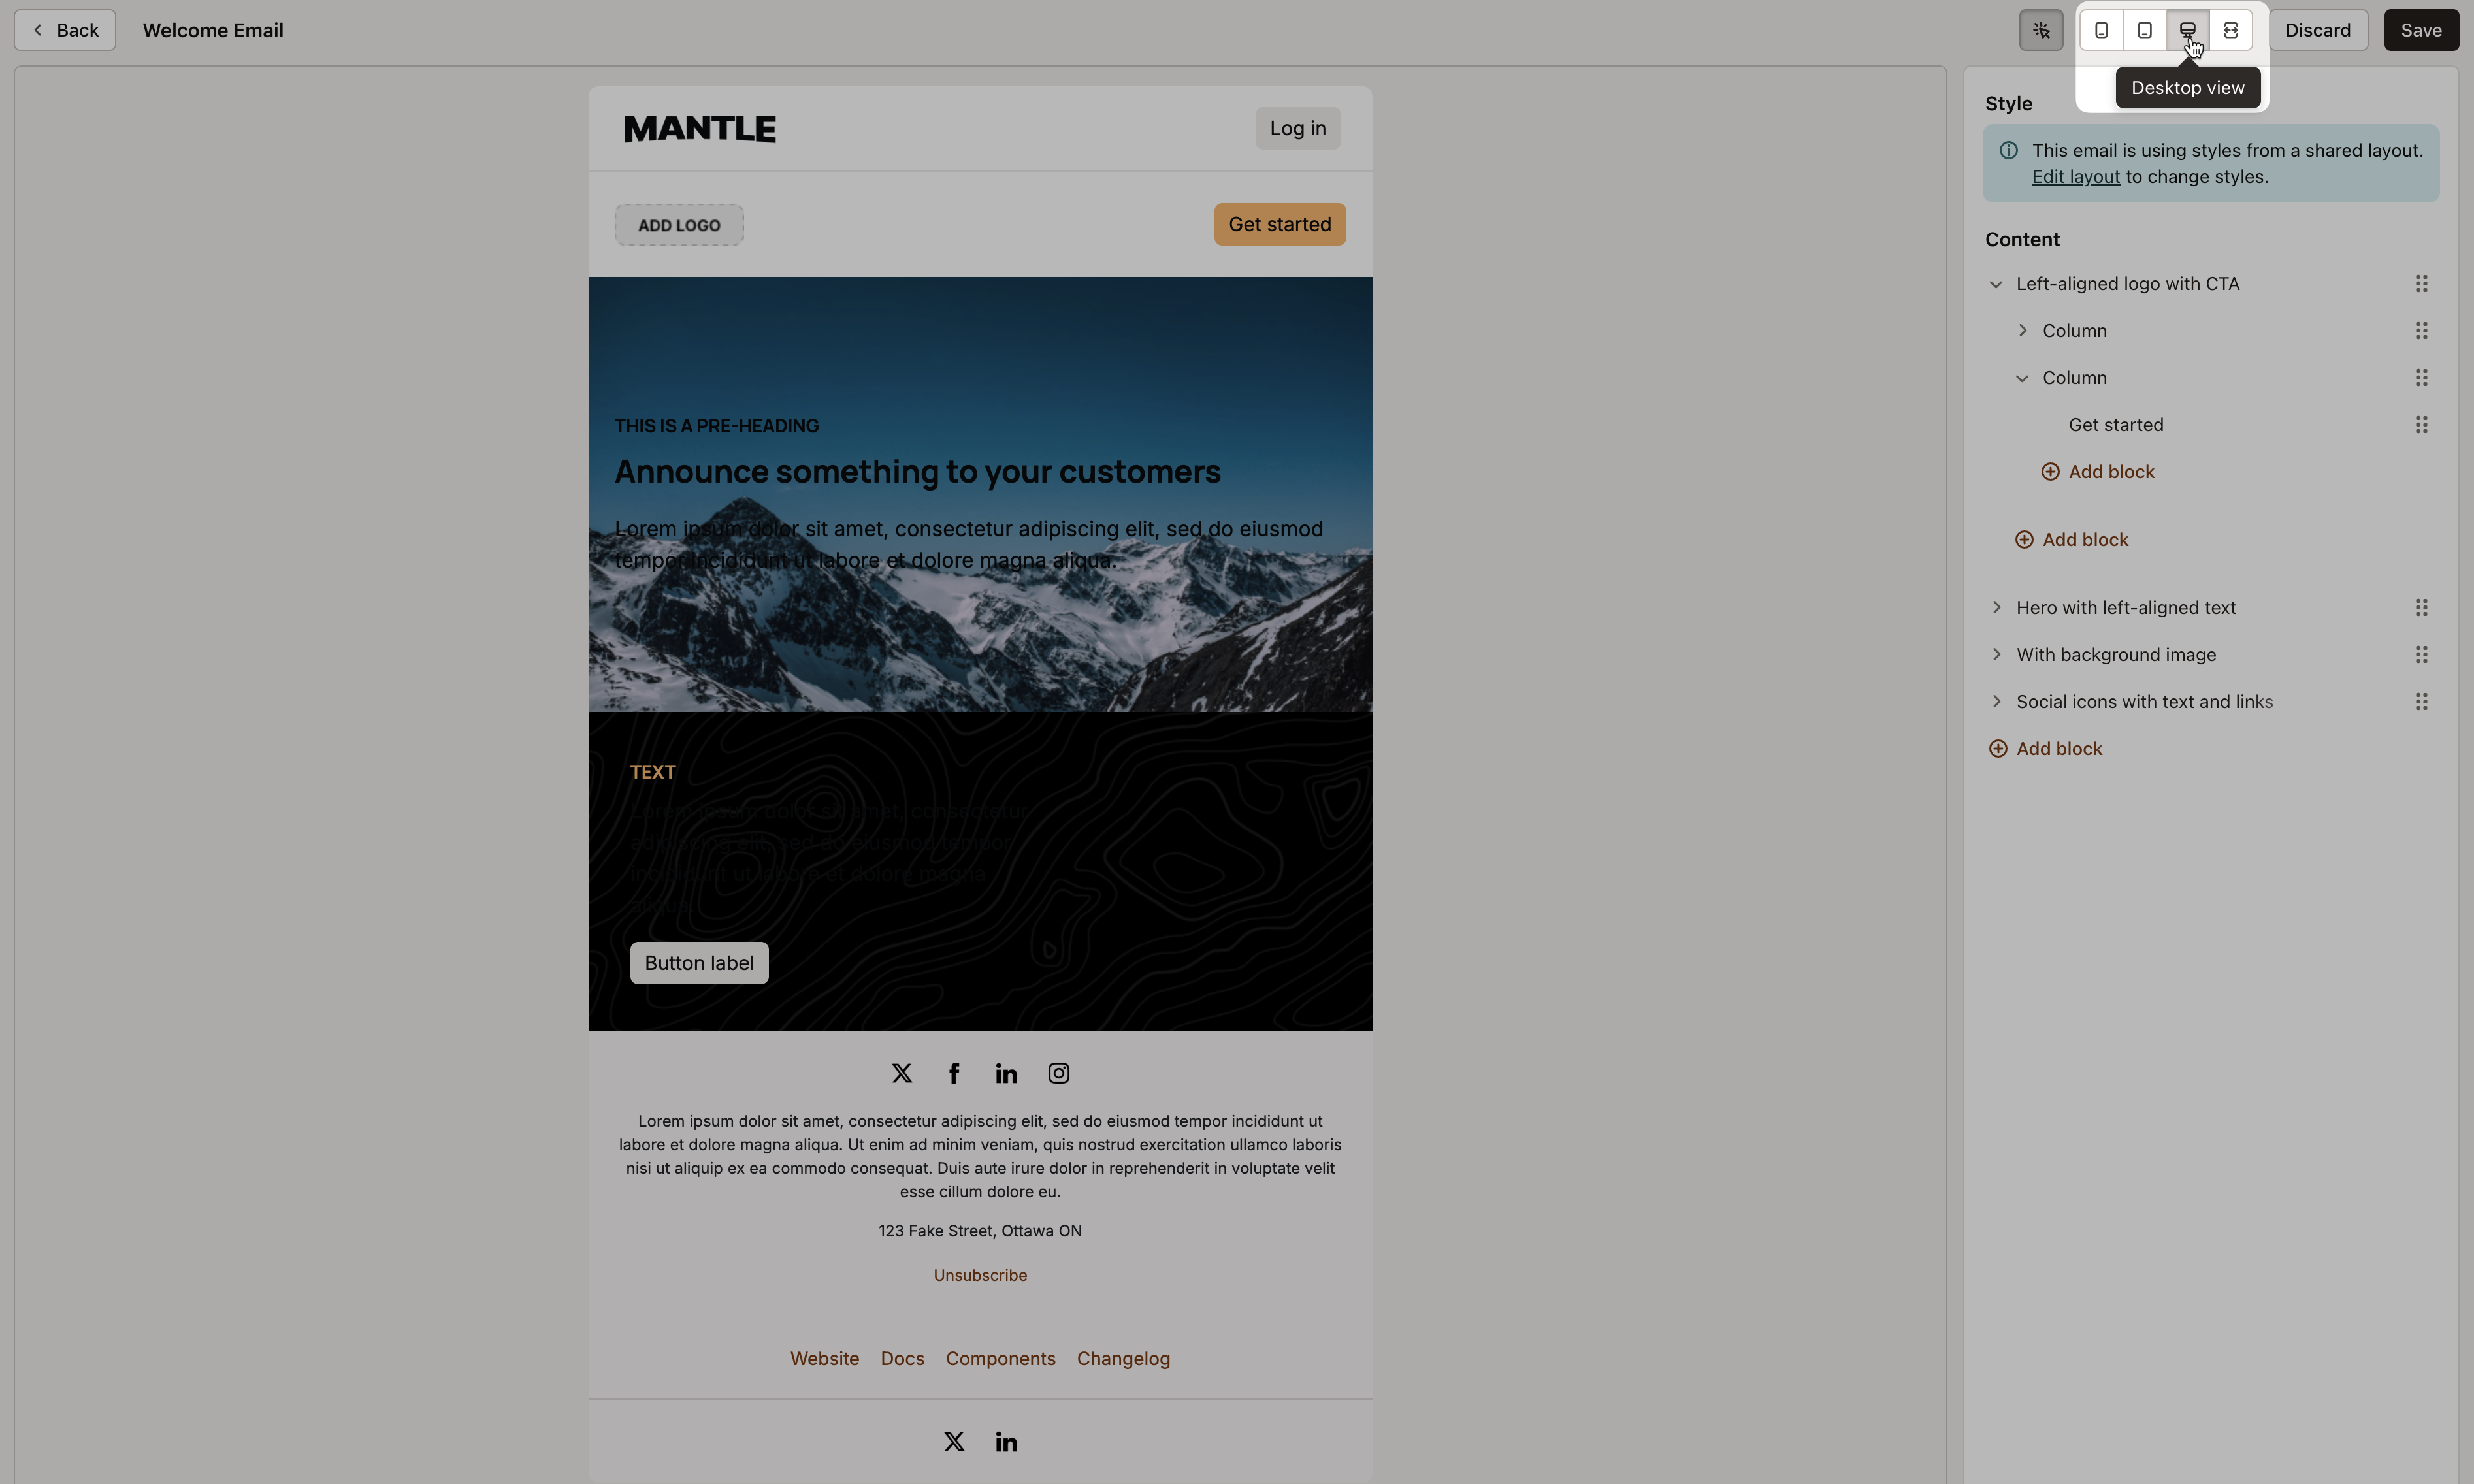
At any point, you can change the view of your email to see how it would look on desktop, tablet and mobile devices:
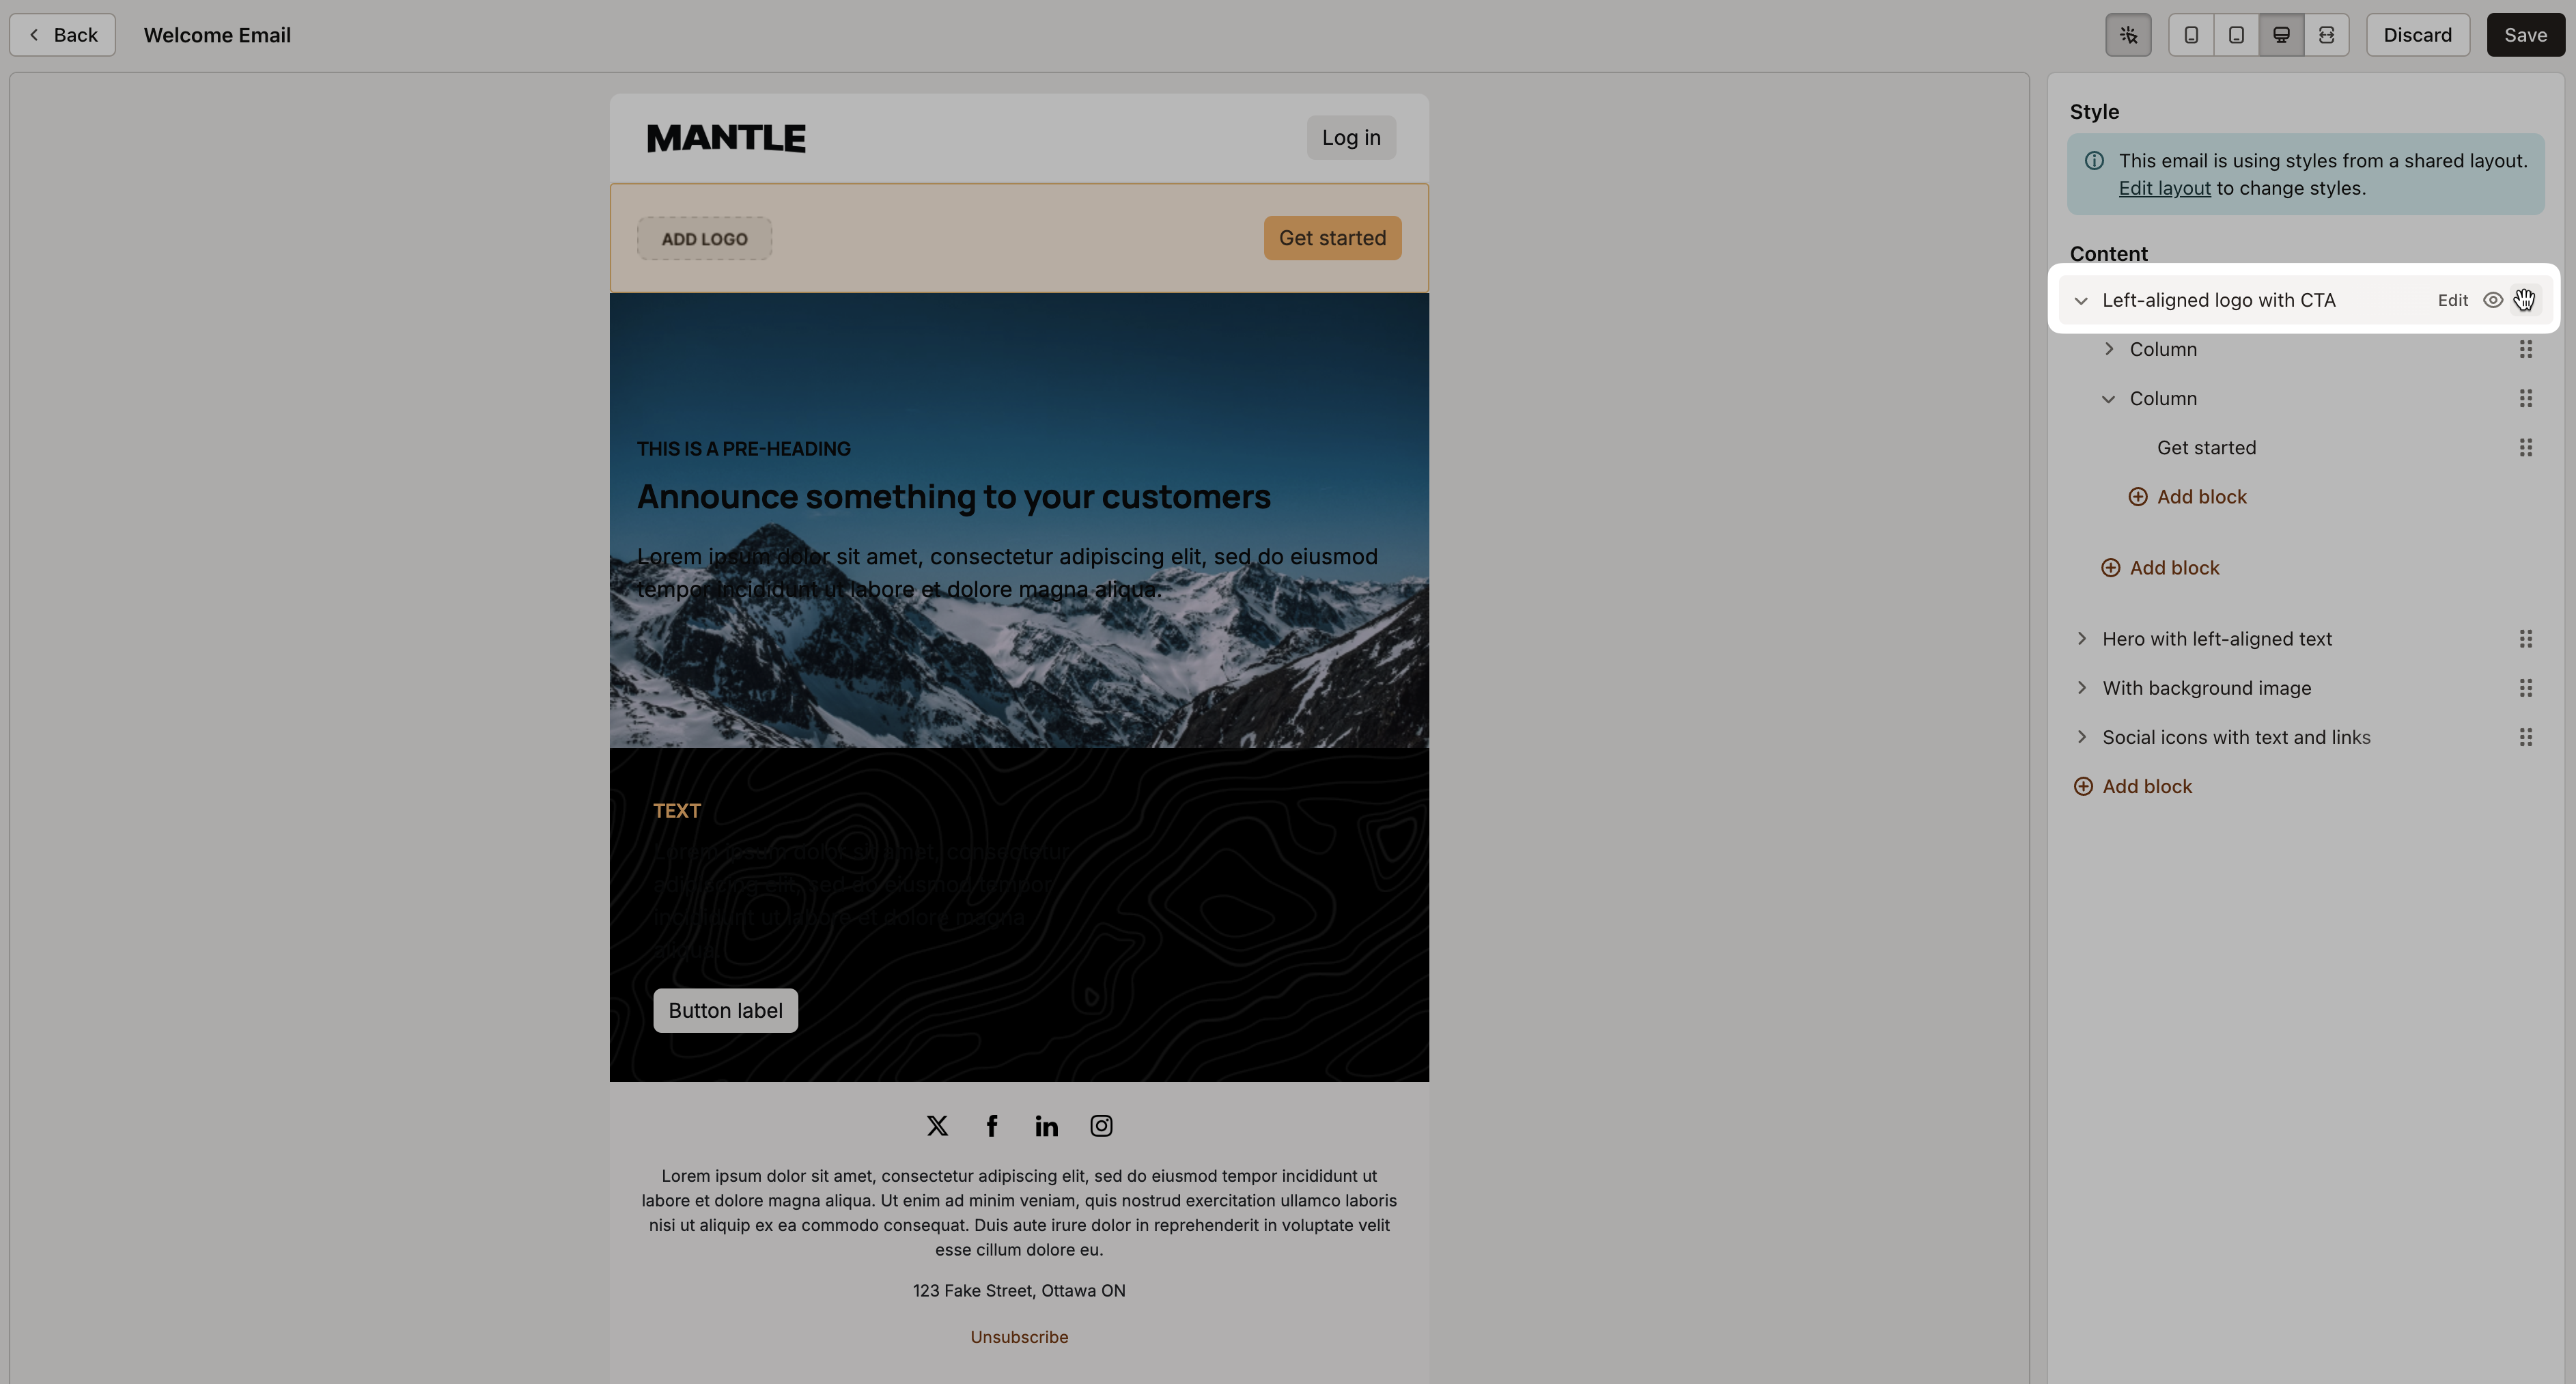
As well as change the order and visibility of elements:
Next: Send your email